Free Shrug Crochet Pattern - Furls Blog Hop 2021
Have you already made the trendy crochet pocket shawl? I know I’ve been tempted to often, looks so cosy! However I wanted to take the idea and adjust it a bit by making it more like a shrug/cardigan and add a belt to keep it on and not fall off the shoulders. Let me present to you the Morning Mist Shrug! This pattern is made in collaboration with Furls Crochet as a part of their 2021 Blog Hop. The pattern is an easy pattern written in sizes XS - 5XL. You find the free pattern later in this blog post or get your ad-free printable inexpensive pdf version here.
This post may contain affiliate links. Read more in our disclosure policy.

Bring on the vest trend
With the widely popular crochet pocket shawl as inspiration; the Morning Mist Shrug is an oversized vest/shrug/cardigan that covers the back and front and tied together with a belt. The invisible pockets make for a great place to carry small items and rest your hands. The soft merino yarn used for this makes it warm and cozy to wear. The oversized nature of it makes it cover the shoulders and with only the belt as closure on the side it is perfect to wear over other garments. This Z-twisted yarn makes it perfect to give great stitch definition on crochet projects!
Materials

Materials provided by Furls Crochet
Yarn: Whims Merino DK from Furls Crochet or other DK / 8 ply / 11 wpi / 3-weight yarn. Sample made in Light Grey - DK.
Yarn usage: 7 (8 , 9, 9, 10) (11, 12, 13, 14) skeins
Crochet hook size: 4.0 mm / G-6. Odyssey Nickel in color Blue used in the pattern.
Darning needle to weave in ends
Stitch markers or similair
About
The shrug is worked in one piece - from back section up and over to the front ending with the pockets and belt. The inexpensive printable pdf pattern includes detailed pictures and if you are all about visual learning you find the full video tutorial on my youtube channel or below.
This pattern is written using US terminology.
Chains do not count as stitches.
Gauge (10x10cm / 4x4”): 8 v-sts in 16 rows
Abbreviations
Ch - Chain
St(s) - Stitch(es)
Sc - Single Crochet
V-st - V-stitch
Sp - Space
Ch-sp - Chain space
Sk - Skip
Sl st - Slip stitch
Yo - Yarn over
Sm - Stitch marker
Sl st - Slip stitch
Sl st BLO - Slip stitch back loop only
Sizes
Note! The measurements below are the measurements of the final garment size (after blocking). Your own measurements should be at least 5 cm / 2” smaller, preferably 15 - 20 cm / 6-8”. If you want it narrower at the shoulders, choose a smaller size.
Size - Body(Bust) - Body section length (or you preferred length) - Yarn usage (estimate)
XS 100 cm / 39.4” 65 cm / 25.6” 1025 m / 1100 y
S 110 cm / 43.3” 65 cm / 25.6” 1200 m / 1300 y
M 120 cm / 47.2” 70 cm / 27.6” 1350 m / 1480 y
L 130 cm / 51.2” 70 cm / 27.6” 1500 m / 1600 y
XL 140 cm / 55” 75 cm / 29.5” 1630 m / 1800 y
2XL 150 cm / 59” 75 cm / 29.5” 1750 m / 1920 y
3XL 160 cm / 63” 80 cm / 31.5” 2000 m / 2200 y
4XL 170 cm / 67” 80 cm / 31.5” 2125 m / 2320 y
5XL 180 cm / 71” 85 cm / 33.5” 2480 m / 2600 y
Checking you gauge and learn the v-stitch
Chain 27
Row 1: In the 3rd chain from the hook (1 sc, ch 1, 1 sc), *skip next 2 ch, (1 sc, ch 1, 1 sc) in next ch* rep *-* from across until 3 last ch of the row. Skip next 2 ch, (1 sc, ch 1, 1 sc) in last ch. Ch 2. Turn.
(1 sc, ch 1, 1 sc) - will be referred to as a V-stitch from now on (v-st)
After row 1 you’ll have 9 v-sts.
Row 2: In the ch1-sp between the sc from prev row, v-st. Repeat to end of row. Ch 2. Turn. (9 v-sts)
Row 3 - 20: repeat row 2.
Measure your gauge. Gauge (10x10cm / 4x4”): 8 v-sts in 16 rows (non-blocked it is 18 rows)
The Pattern
For detailed pictures grab the inexpensive printable pdf or watch the full video tutorial on Youtube.
Back section
Chain 120 (135, 144, 156, 168) (180, 192, 204, 216)
Row 1: In the 3rd chain from the hook (1 sc, ch 1, 1 sc), *skip next 2 ch, (1 sc, ch 1, 1 sc) in next ch* rep *-* from across until 3 last ch of the row. Skip next 2 ch, (1 sc, ch 1, 1 sc) in last ch. Ch 2. Turn.
(1 sc, ch 1, 1 sc) - will be referred to as a V-stitch from now on (v-st)
After row 1 you’ll have 40 (45, 48, 52, 56) (60, 64, 68, 72) v-sts.
Full video tutorial of the pattern
Row 2: In the ch1-sp between the sc from prev row, v-st. Repeat to end of row. Ch 2. Turn. (40 (45, 48, 52, 56) (60, 64, 68, 72) v-sts)
Row 3 - 104 (104, 112, 112, 120) (120, 128, 128, 136)*: repeat row 2. Do not fasten off.
*If you want a longer cardigan, make more rows here (you’ll need more yarn). Please note that this stitch needs blocking to get its full length and the sections might be up to 10-15 cm / 4-6” shorter before blocking (my swatch was 16 rows in height after blocking, 18 before). This yarn works great to steam block, try on your swatch first though.


Front sections
Front section / Shoulder 1
Continue from the back section. Put a sm in the ch1-sp of the 18 (21, 22, 23, 25) (27, 28, 30, 32) v-stitch from each edge.
Row 1: v-sts until the stitch marker. End the row with a v-st in the ch1-sp with the sm. Ch 2. Turn. (18 (21, 22, 23, 25) (27, 28, 30, 32) v-sts)
Row 2: v-st. Repeat to end of row. Ch 2. Turn. (18 (21, 22, 23, 25) (27, 28, 30, 32) v-sts)
Row 3 - 73 (73, 79, 79, 85) (85, 91, 91, 95)*: repeat row 2. Do not fasten off.
Row 74 (74, 80, 80, 86) (86, 92, 92, 96): Pocket opening row. In this row we’ll create the opening for the pockets. If you don’t want pockets, simply continue repeating row 2.
Put a sm in the 4 (5, 5, 5, 5) (6, 6, 7, 8) v-st (ch1-sp) from each edge.
V-st until the sm, v-st in the st with sm. Ch 30 (33, 36, 39, 45) (45, 48, 48, 48). V-st in the next st with sm. V-st to end of row. Ch 2. Turn.

Row 75 (75, 81, 81, 87) (87, 93, 93, 97): v-st until chains. In the 3rd chain (1 sc, ch 1, 1 sc), *skip next 2 ch, (1 sc, ch 1, 1 sc) in next ch* rep *-* from across until next v-st. V-st to end of row. Ch 2. Turn. (18 (21, 22, 23, 25) (27, 28, 30, 32) v-sts)
Row 76 (76, 82, 82, 88) (88, 94, 94, 98) - 104 (104, 112, 112, 120) (120, 128, 128, 136)*: repeat row 2. Fasten off.
*as many rows as the back section


Front section / Shoulder 2
Made in the same way as front section / shoulder 1. Attach your yarn in the sm on the back section with a slip knot. Ch 1.
Row 1: v-st in the stitch with the stitch marker. V-st to end of row. Ch 2. Turn. (18 (21, 22, 23, 25) (27, 28, 30, 32) v-sts)
Row 2 - 104 (104, 112, 112, 120) (120, 128, 128, 136)*: follow the instructions for front section / shoulder 1.
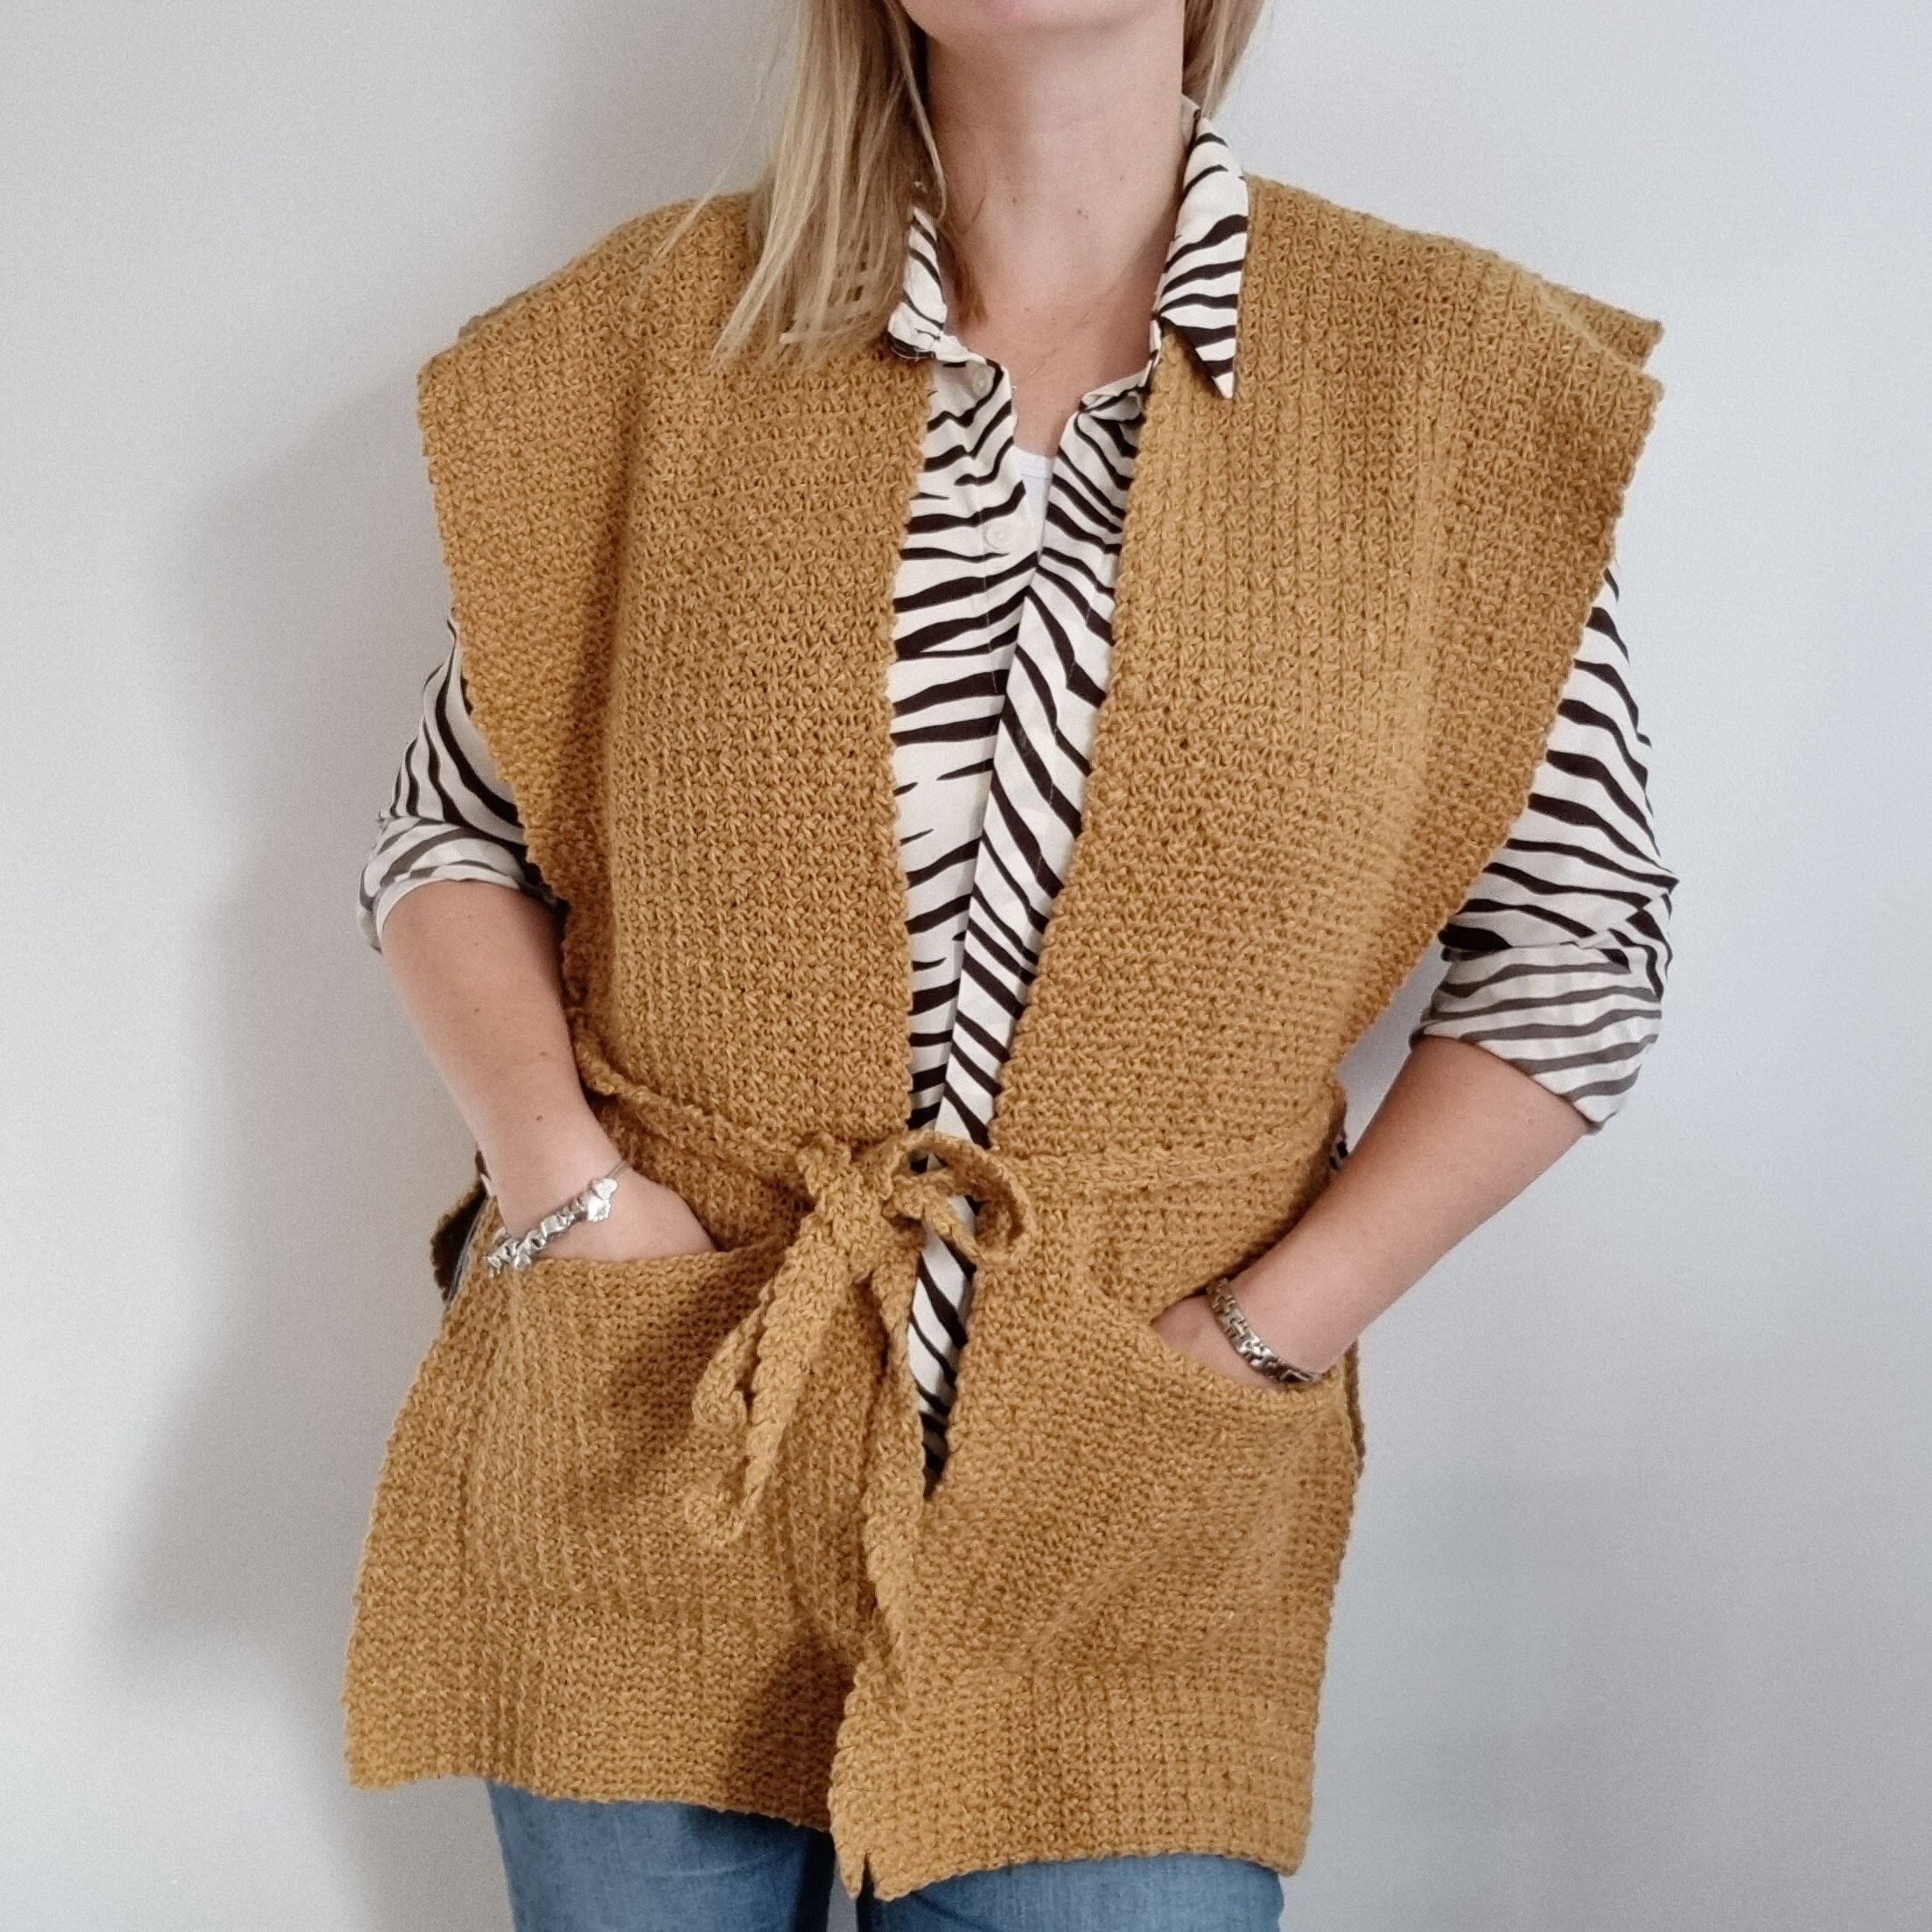
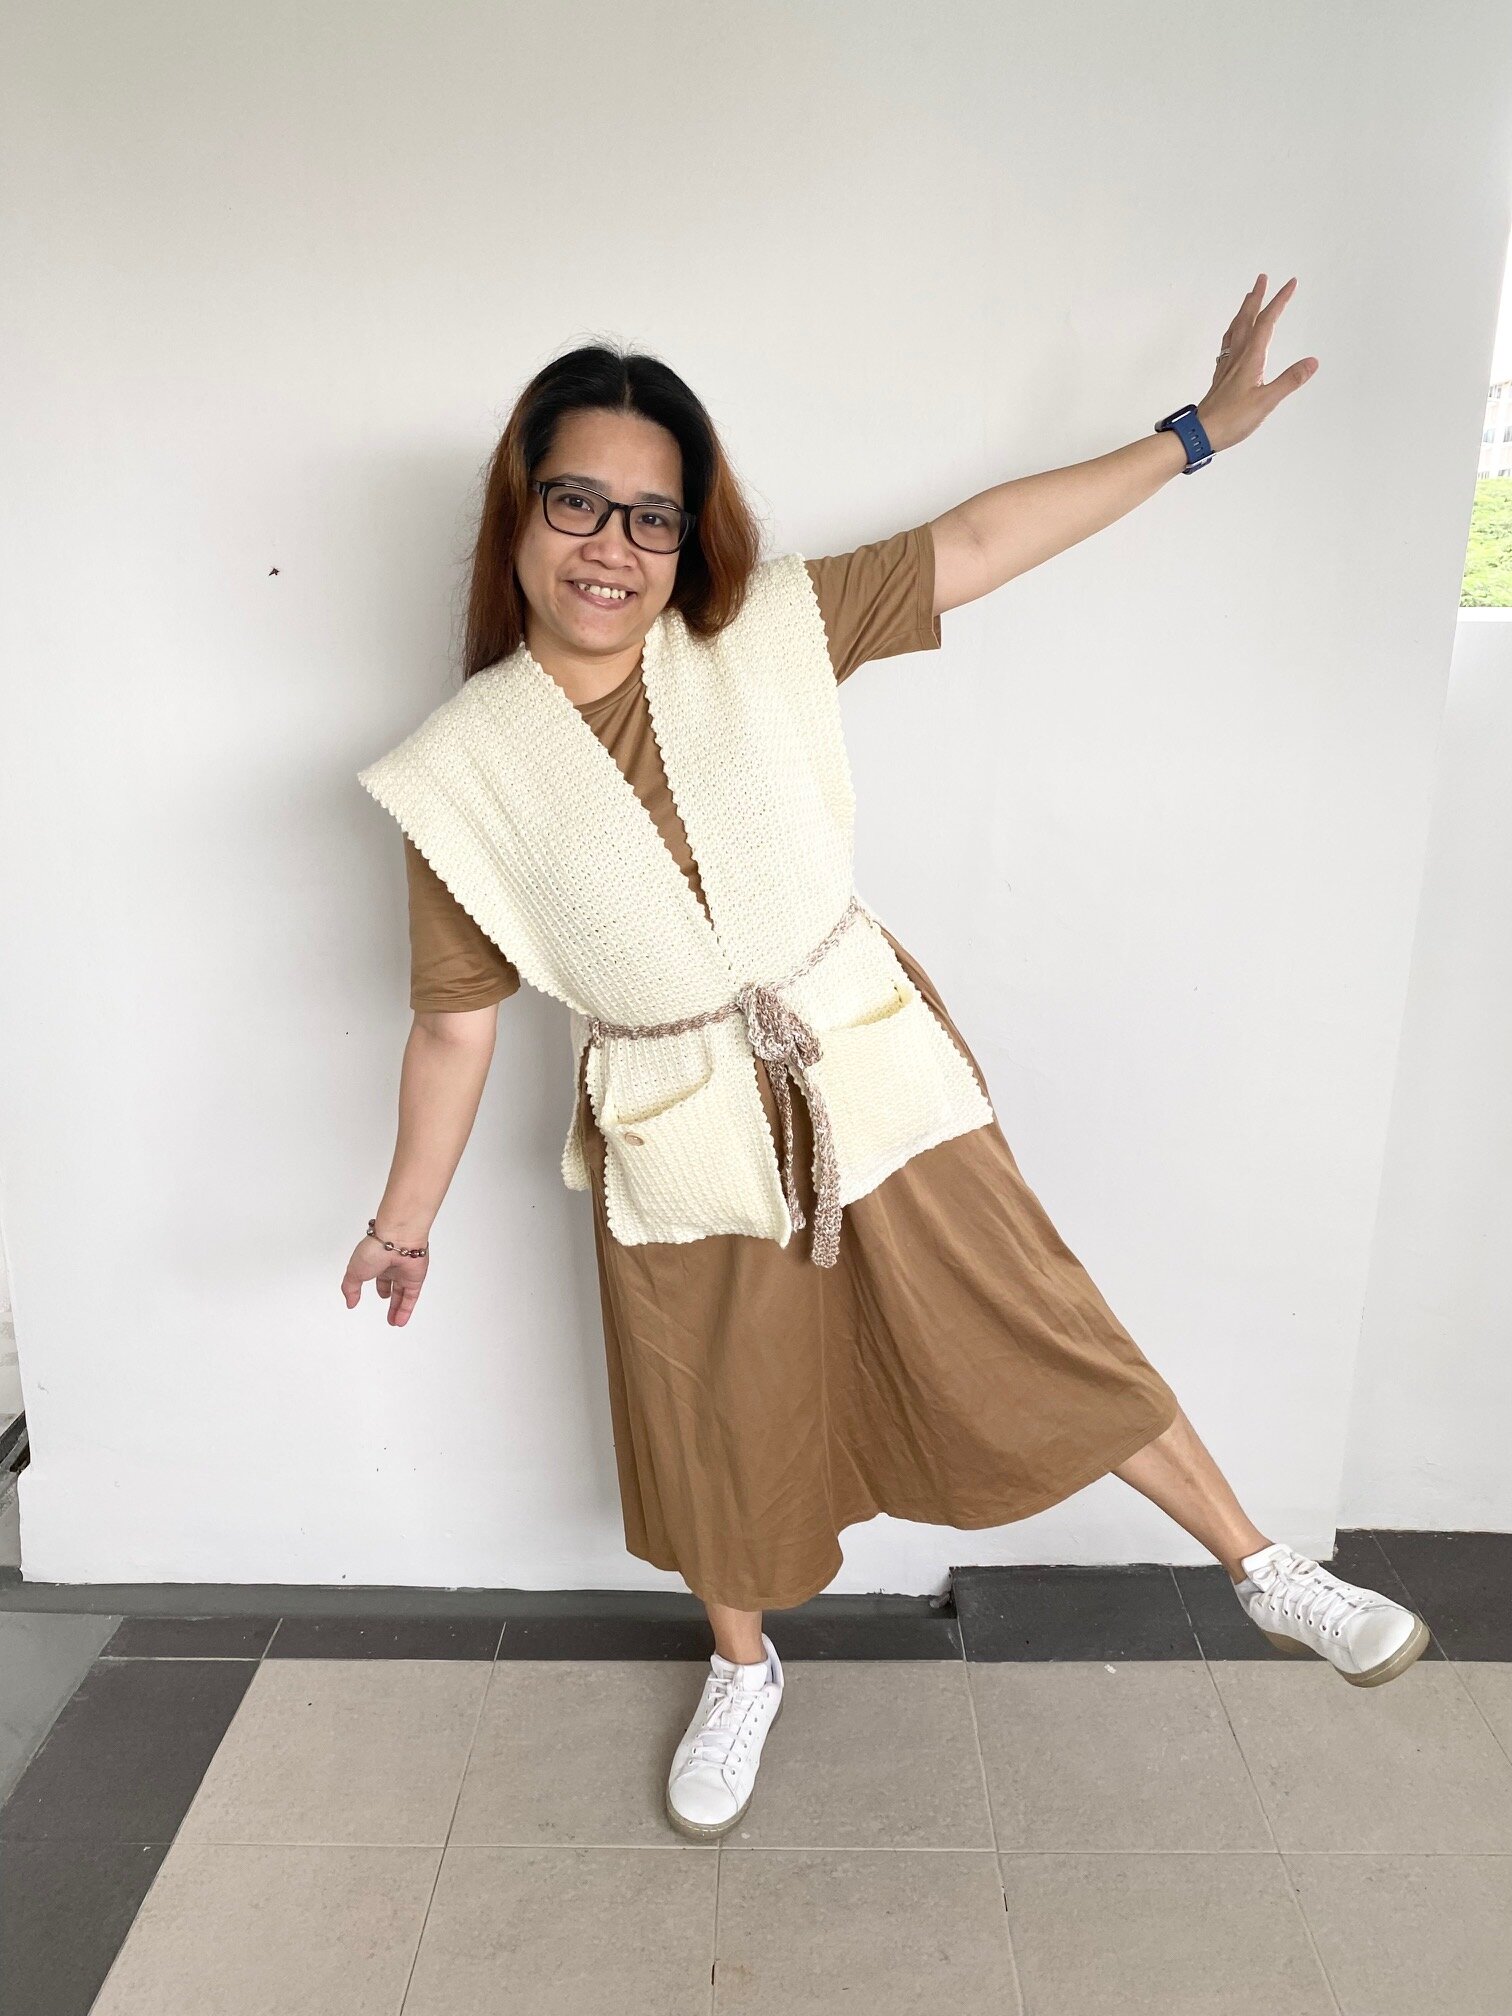
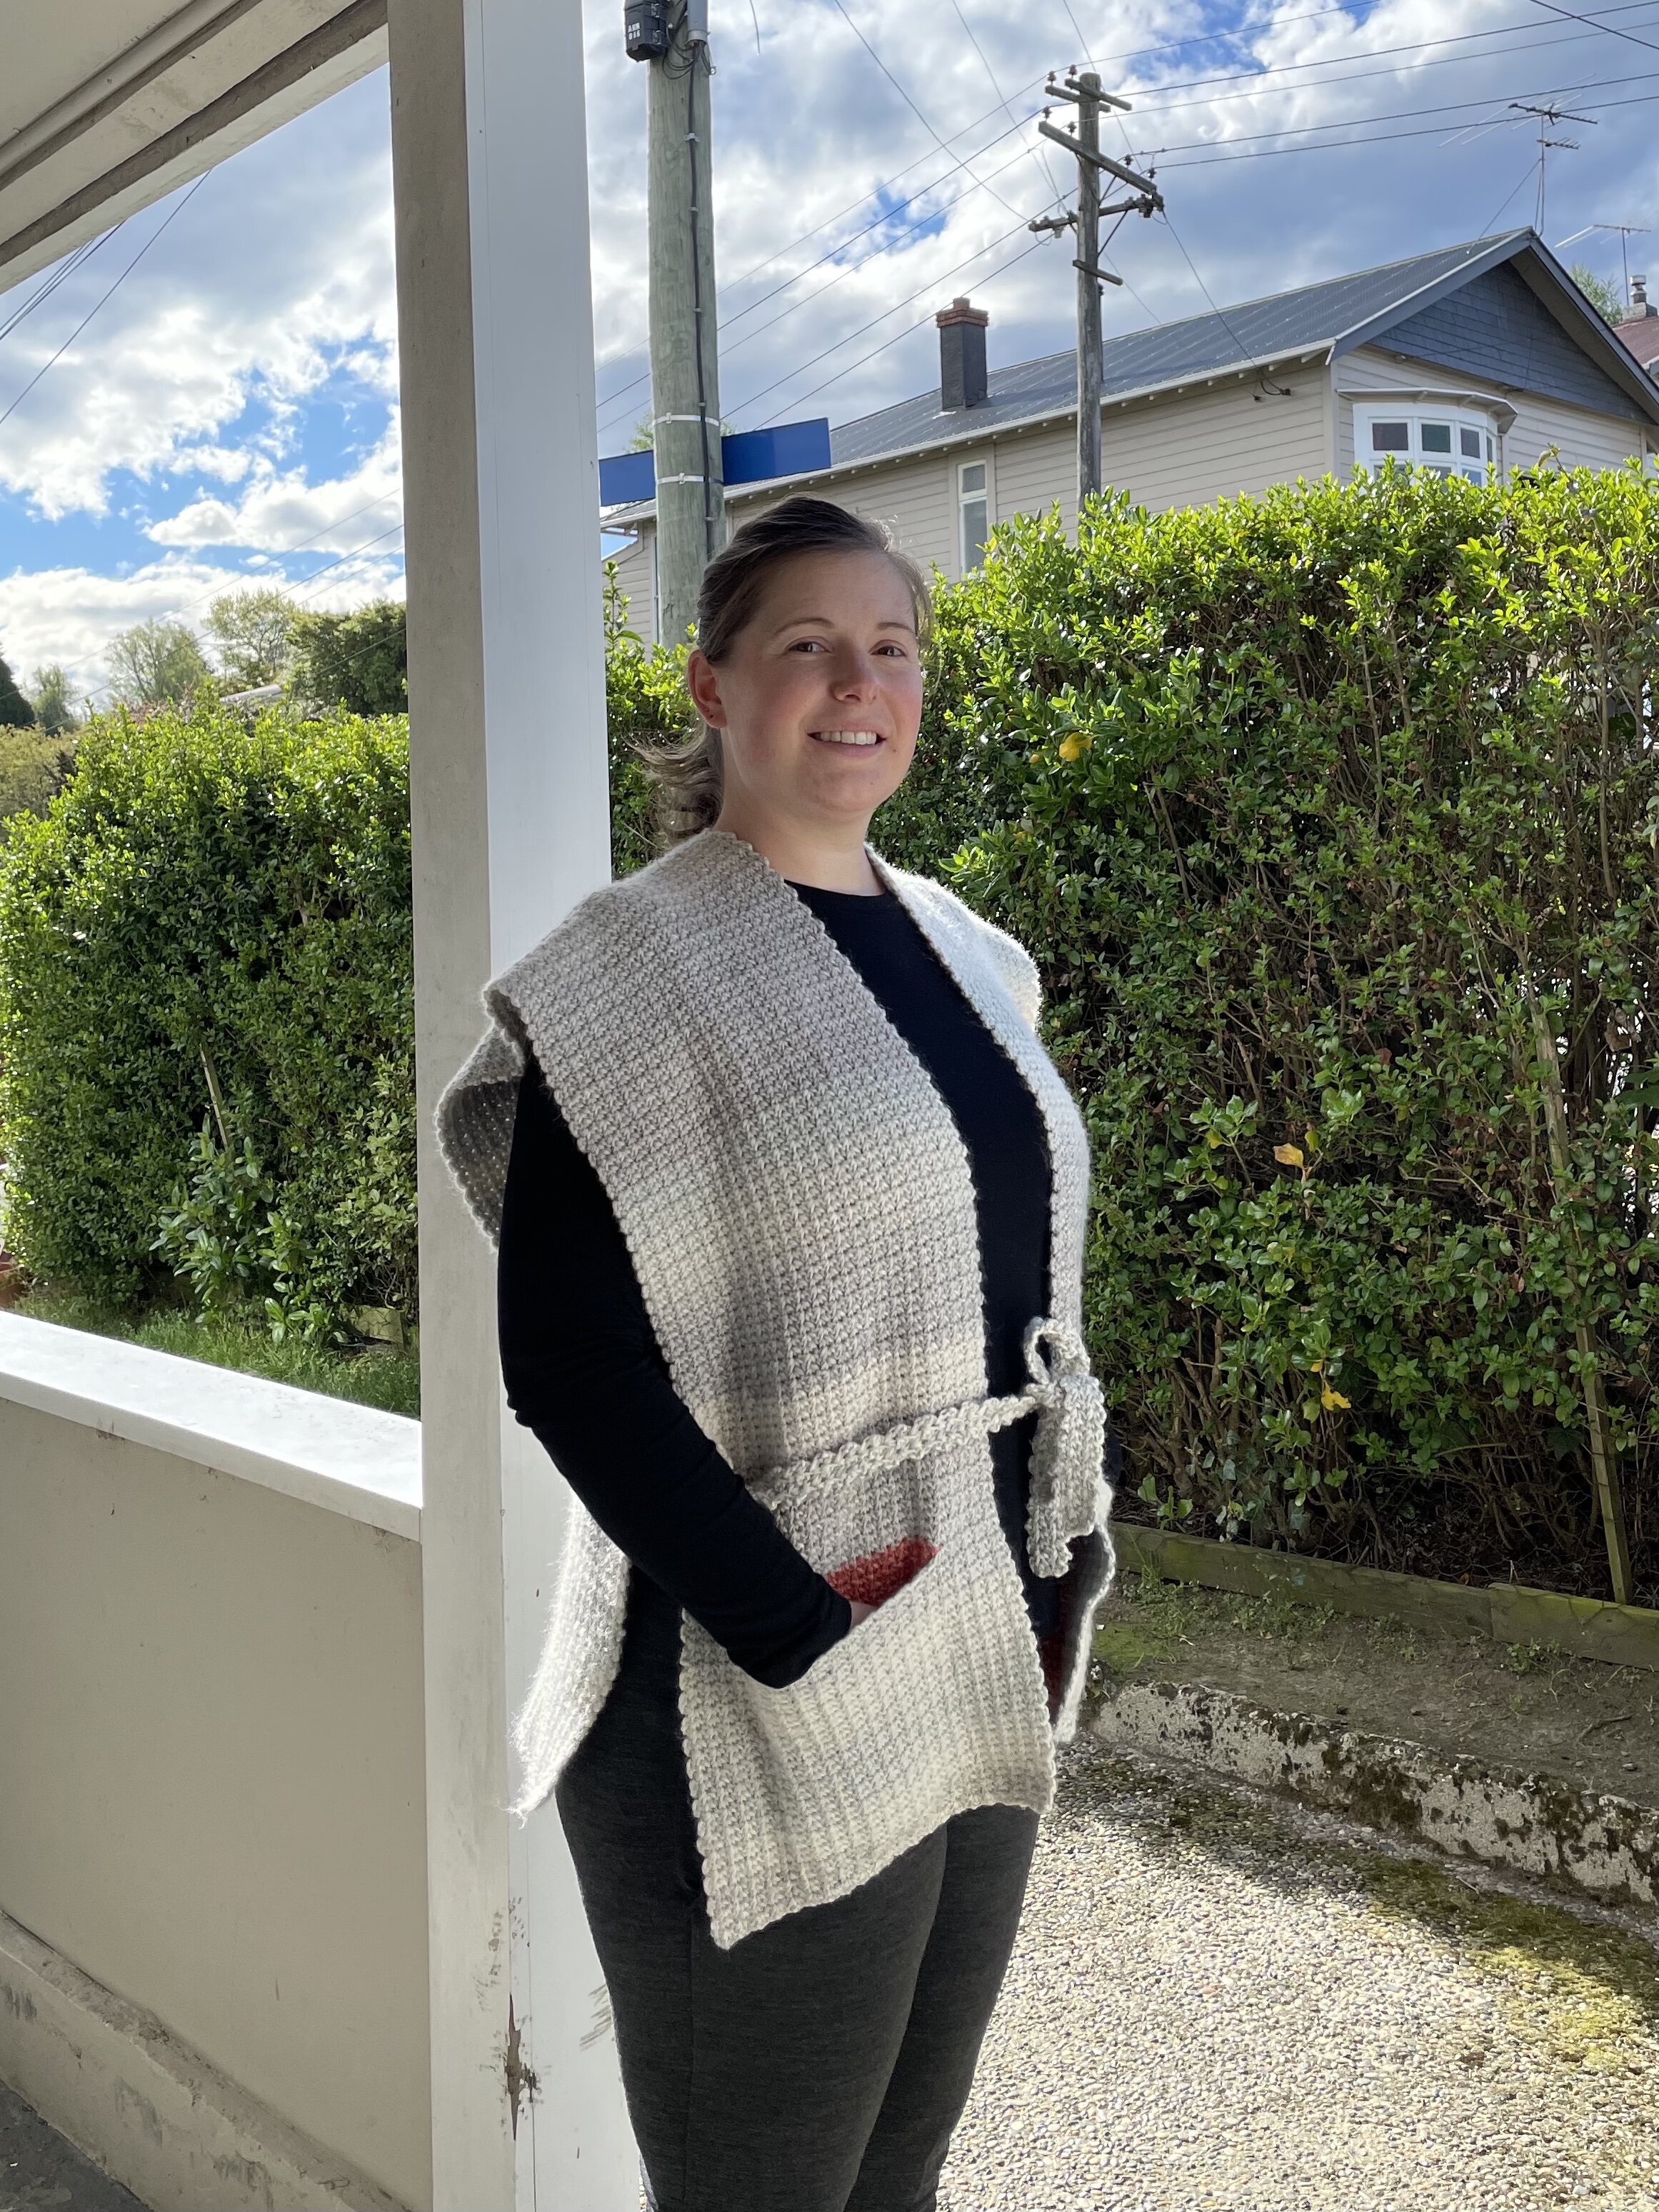
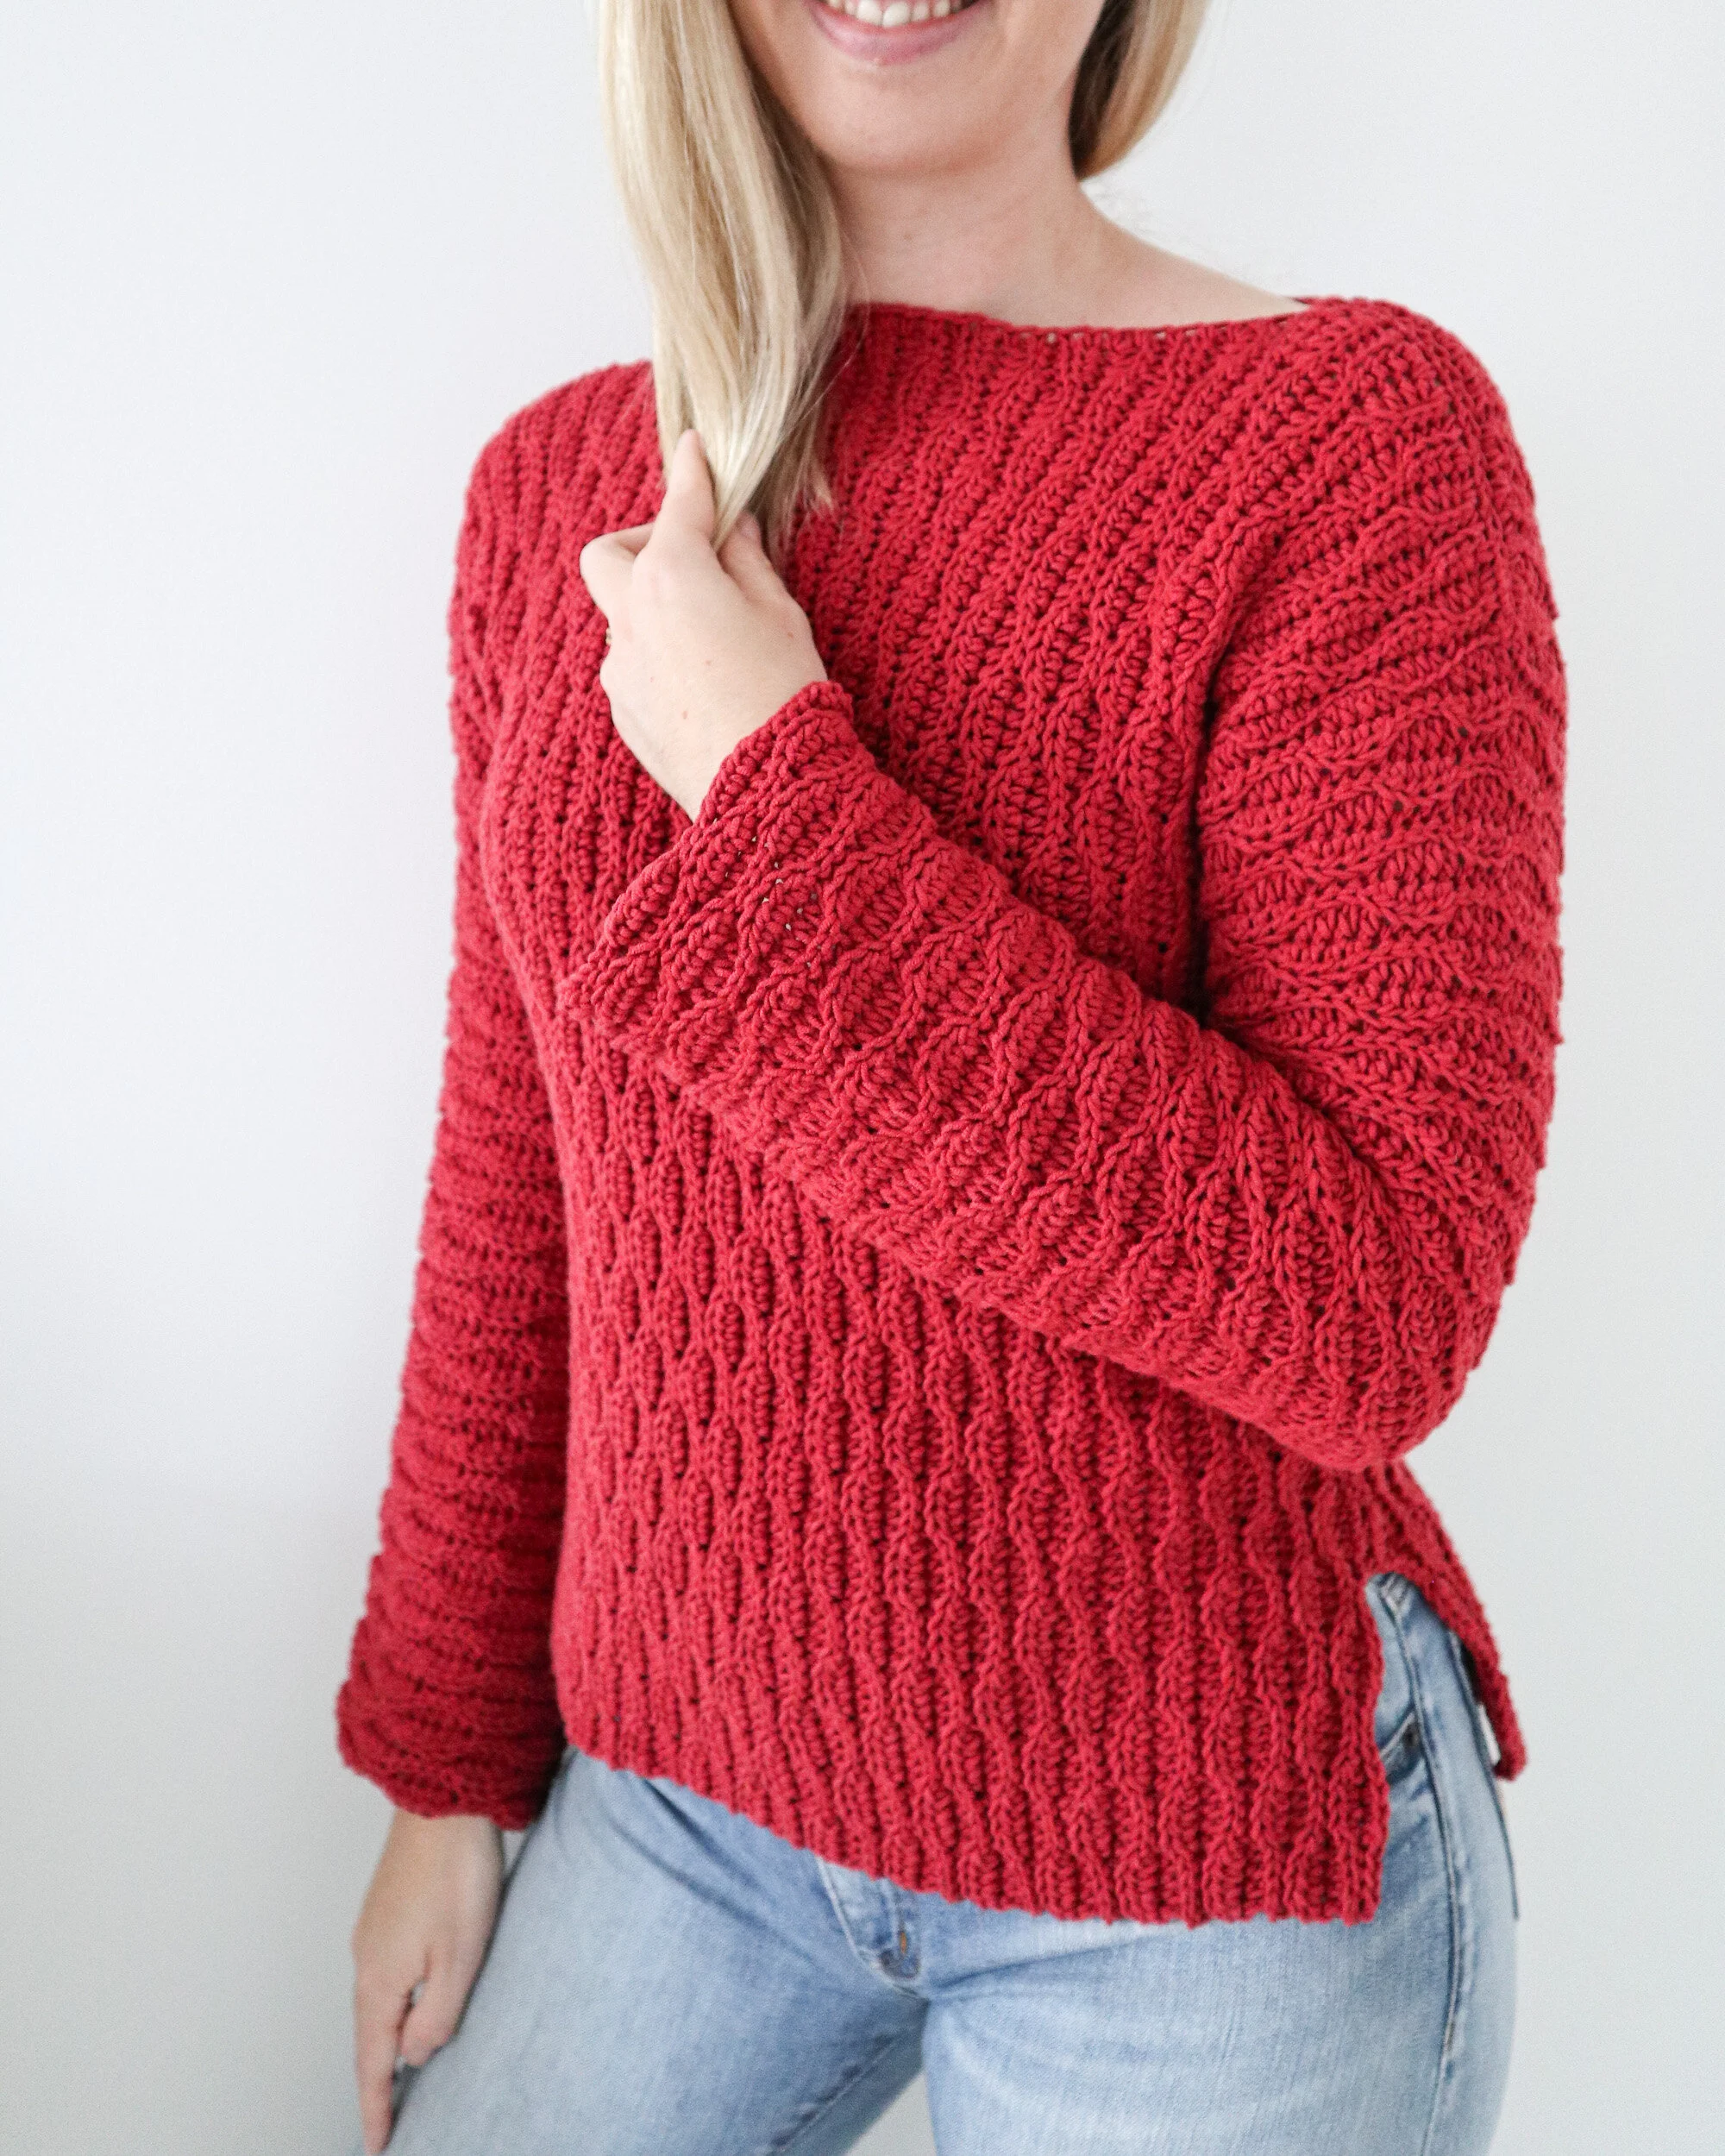
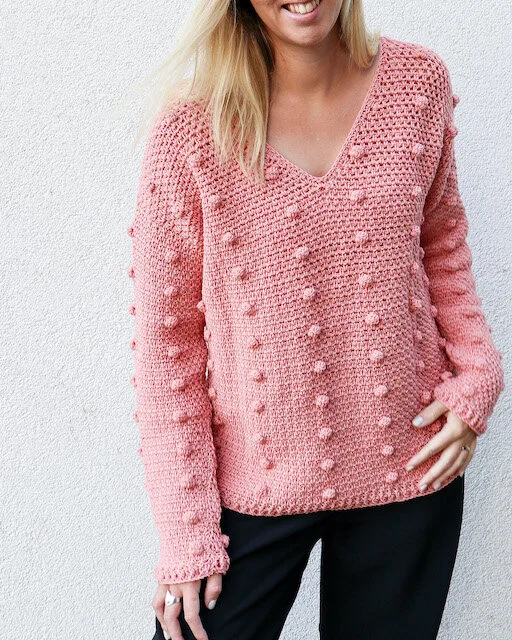
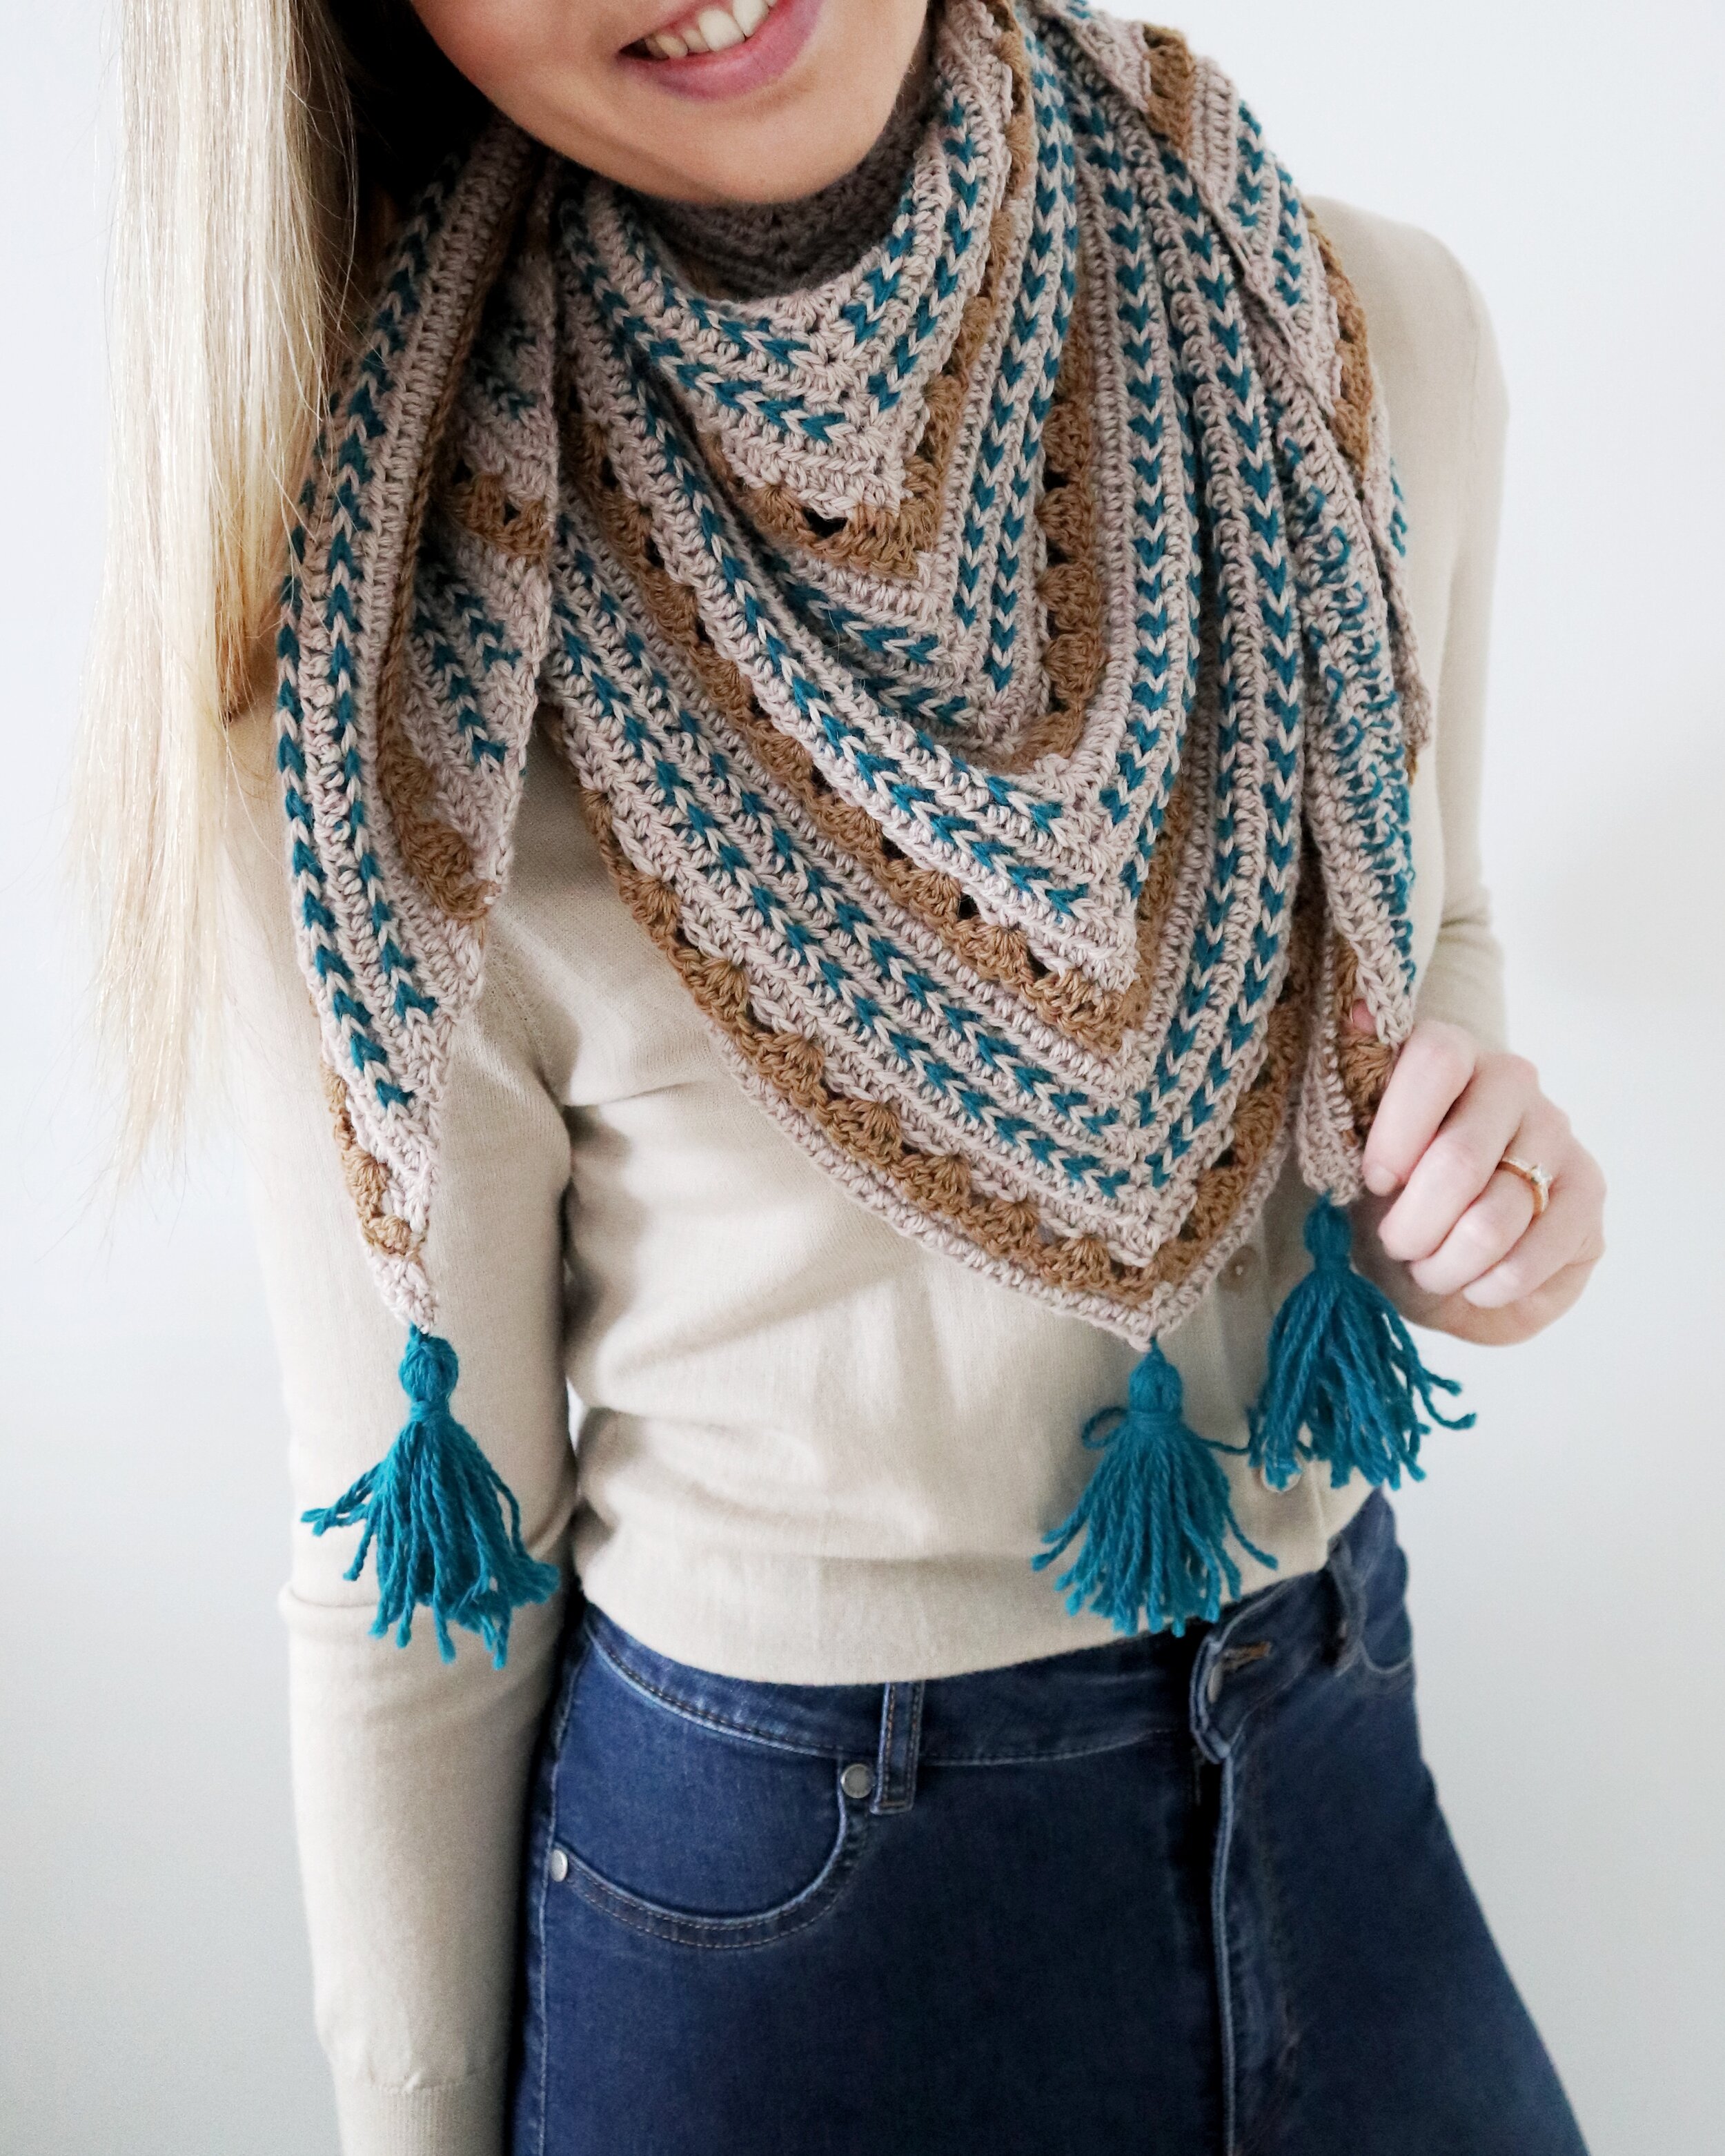
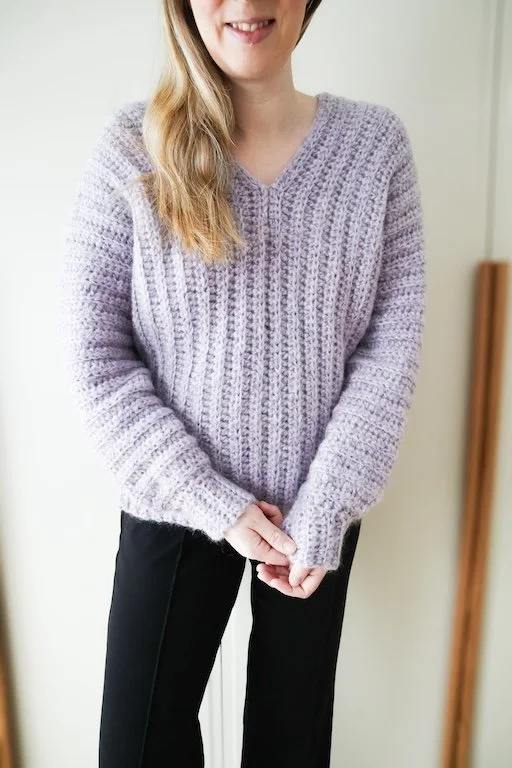
Some of the lovely pattern tester versions
Closing the pockets
Leave a long tail for sewing (at least 50 cm / 20”) Attach your yarn in the v-st before the pocket opening (i.e. on row 73 (73, 79, 79, 85) (85, 91, 91, 95)). This should be attached on the wrong side of the garment. This stitch does not have a right or wrong side. You decide which side is the wrong side, remembering to use the same side for both front section pockets.
V-stitch to end of pocket opening. Ch 2. Turn. (10 (11, 12, 12, 13, 15) (15, 16 16, 16) v-sts)

Continue making rows of v-st until the piece is around 3-5 rows shorter than the front section. Fasten off.
Use the long tail to and sew around the 3 edges of the pocket to close it. Be careful not to go through to the front.
Belt
The belt is made on each side of the back section to close the sides of the garment. Put a sm in the st on the 9th and 13th row above the pocket (but on the back section, that is in the 39th and 43rd row from bottom up), or at a good height for your waist. Attach your yarn in one of the st with a sm and crochet 4 sc between the stitch markers. Ch 2. Turn.
Row 1: in the first sc (1 sc, ch 1, 1 sc), *skip next 2 scs, (1 sc, ch 1, 1 sc) in the last sc. Ch 2. Turn.
Row 2: In the ch1-sp between the sc from prev row, v-st. Repeat to end of row. Ch 2. Turn. (2 v-sts)
Row 3 - *: repeat row 2. Fasten off.
*The belt length is made to match your waist. Make the belt 15 - 20 cm / 6-8” longer than your waist measurement divided by 2 (or if you don’t know the waist measurement, 10-20 cm / 4-8” longer than bust size on the garment size divided by 2).
Repeat on the other side.

Attachment points for the belt
Put a sm in the st on the 9th and 13th row above the pocket on the front panel opposite the belt (or at the same height as the belt was made if you adjusted it). Attach your yarn in one of the st with a sm and ch 6. Sl st in the st with the other sm. Ch 1. Turn. Sl st BLO across the chains. Fasten off. Repeat on the other side.
Block to correct measurements and weave in ends.
With the crochet pattern for the Morning Mist Shrug you’ll make a version of the trendy pocket shawl. The belt makes it similar to a wrap cardigan but with open sides and no sleeves.
Part of the Furls Blog Hop 2021
Pattern is available in sizes XS-5XL
Skill level: Beginner / Easy - full video tutorial available
Bust: 85 cm / 33.5” - 180 cm / 71”
Recommended Yarn: Whims Merino DK Furls Crochet or other DK / 8 ply / 11 wpi / 3 - weight yarn. Sample made in color Light Grey - DK.
Yarn usage: 7 (8, 9, 9, 10) (11, 12, 13, 14) skeins. Estimated yarn amounts: 1025 m / 1100 yards - 2480 m / 2600 yards
Crochet hook size:4 mm / G-6
(or the one required to meet gauge)
The pattern is available in English (US terms).
Happy Making!


Follow on me on Instagram @coffeeandcrocheting