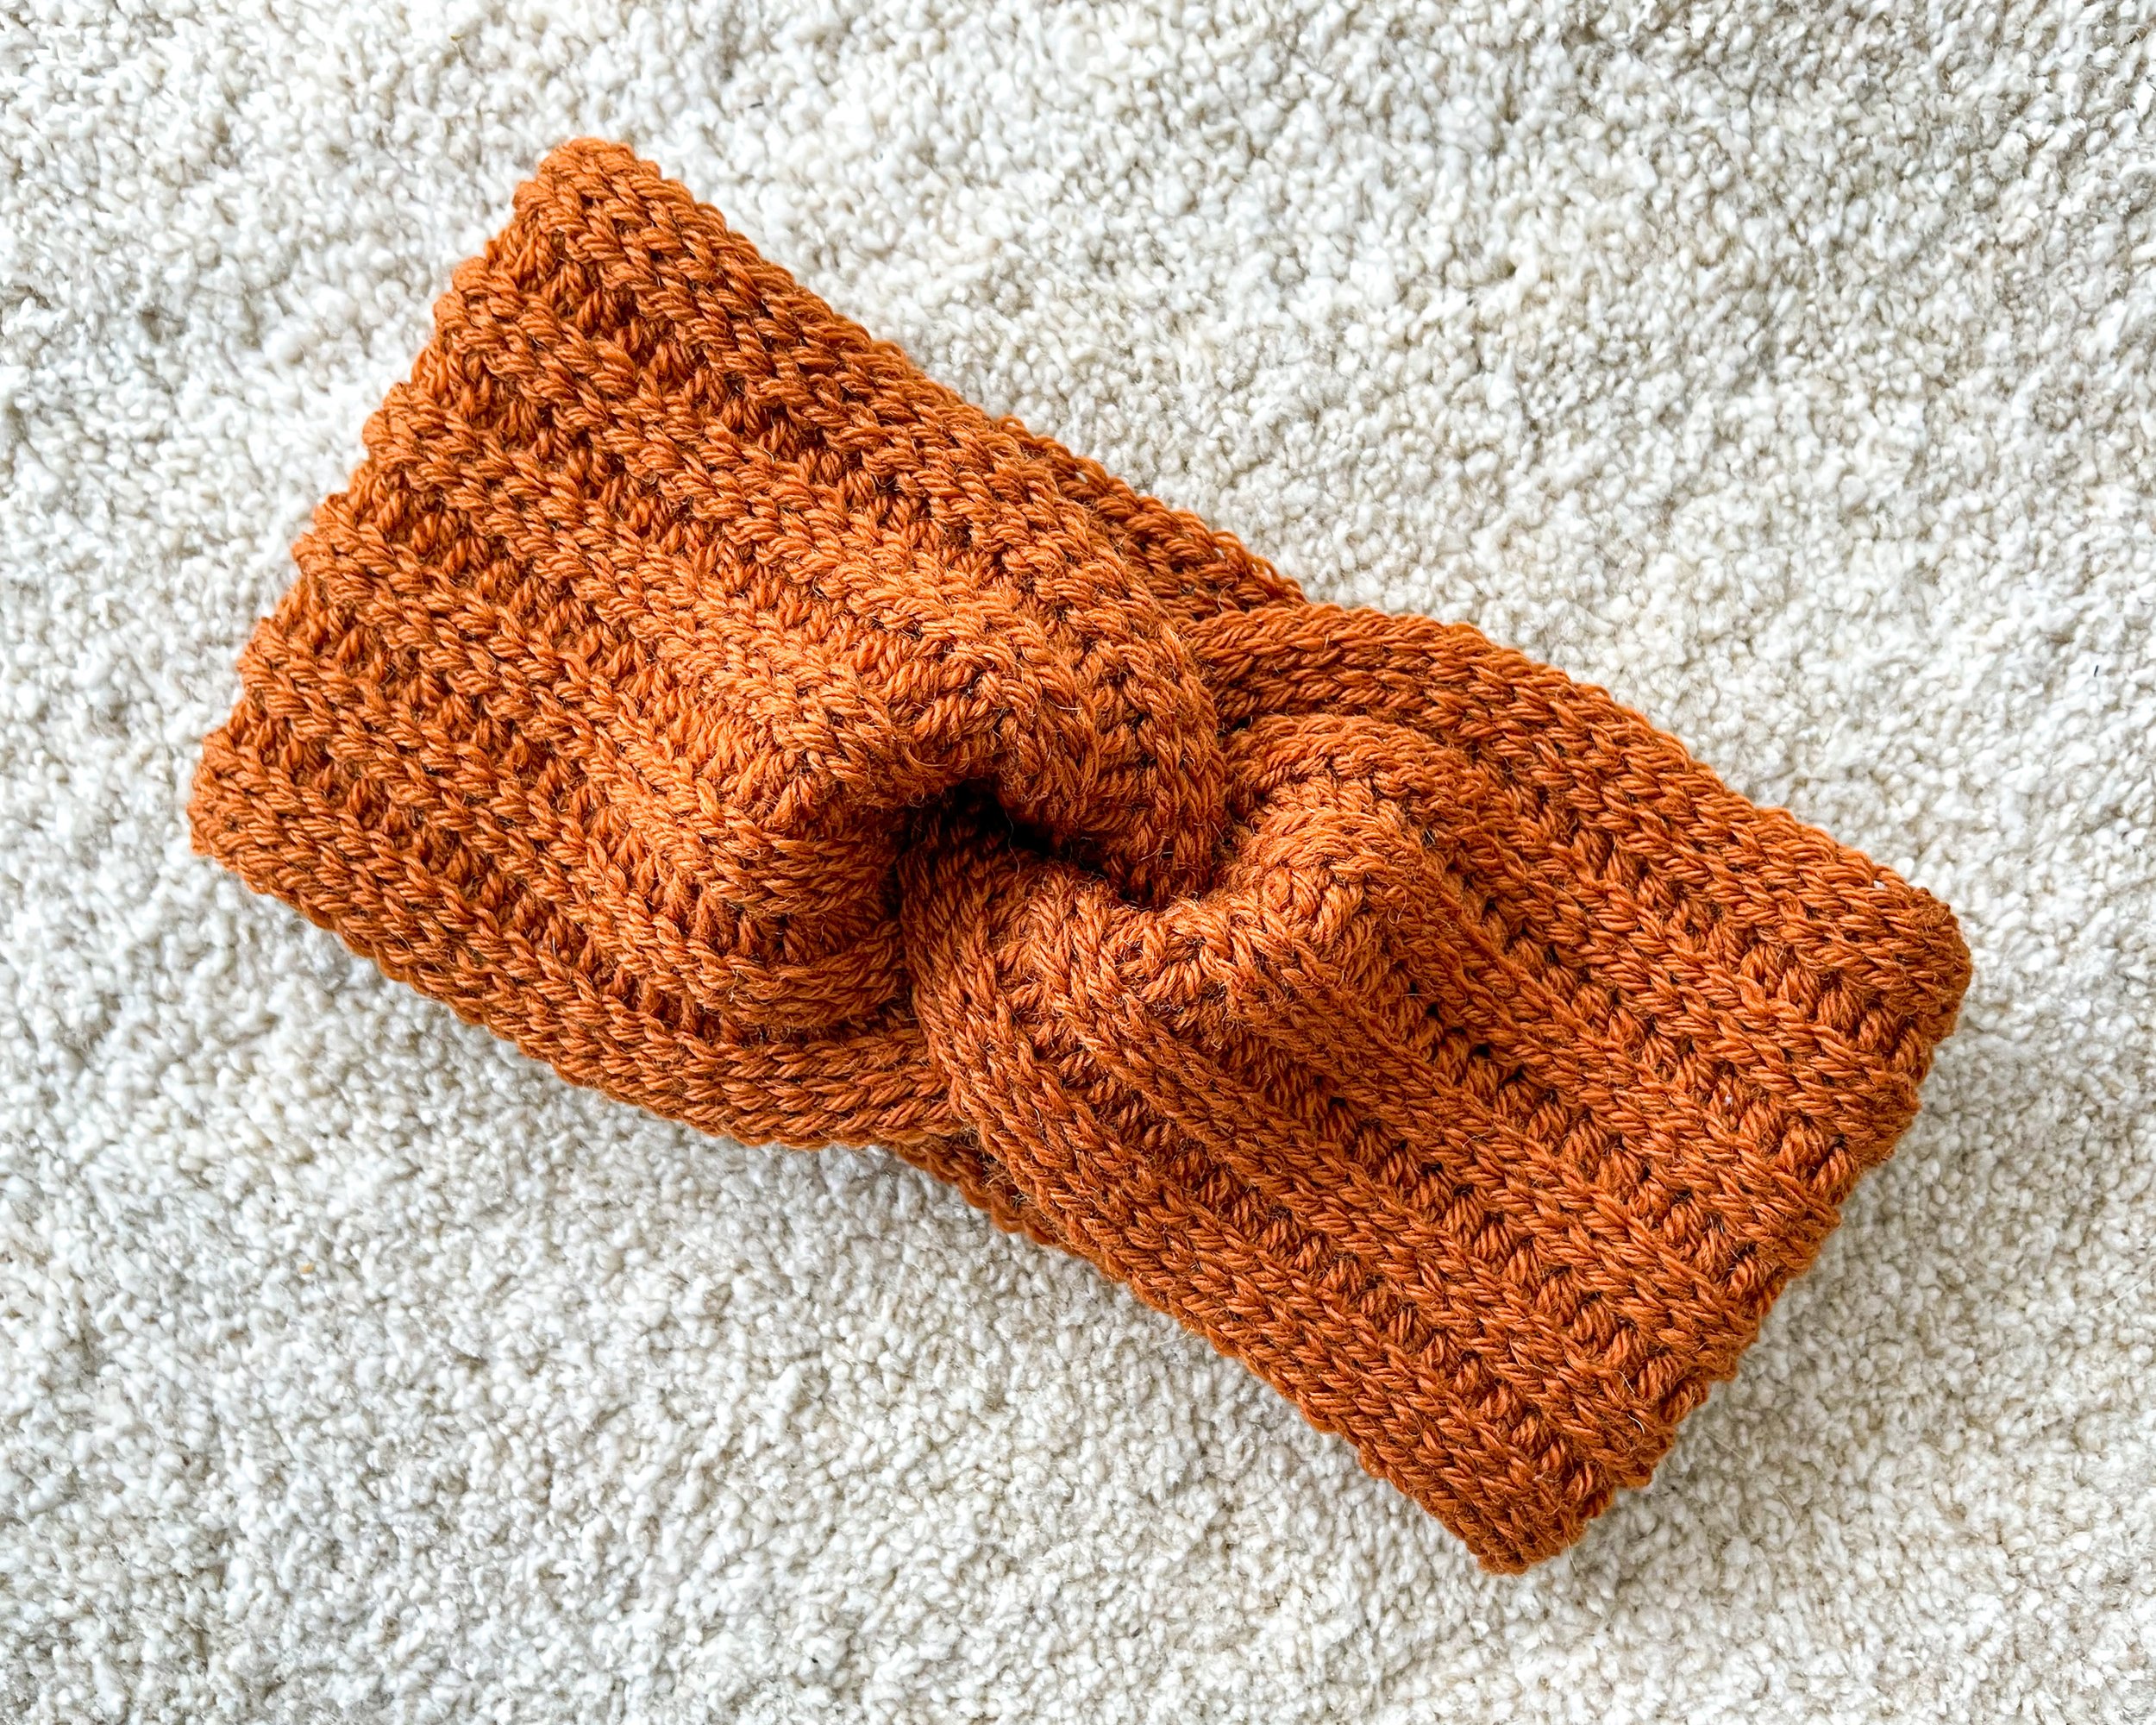
Crochet Headband Pattern - The Solmu
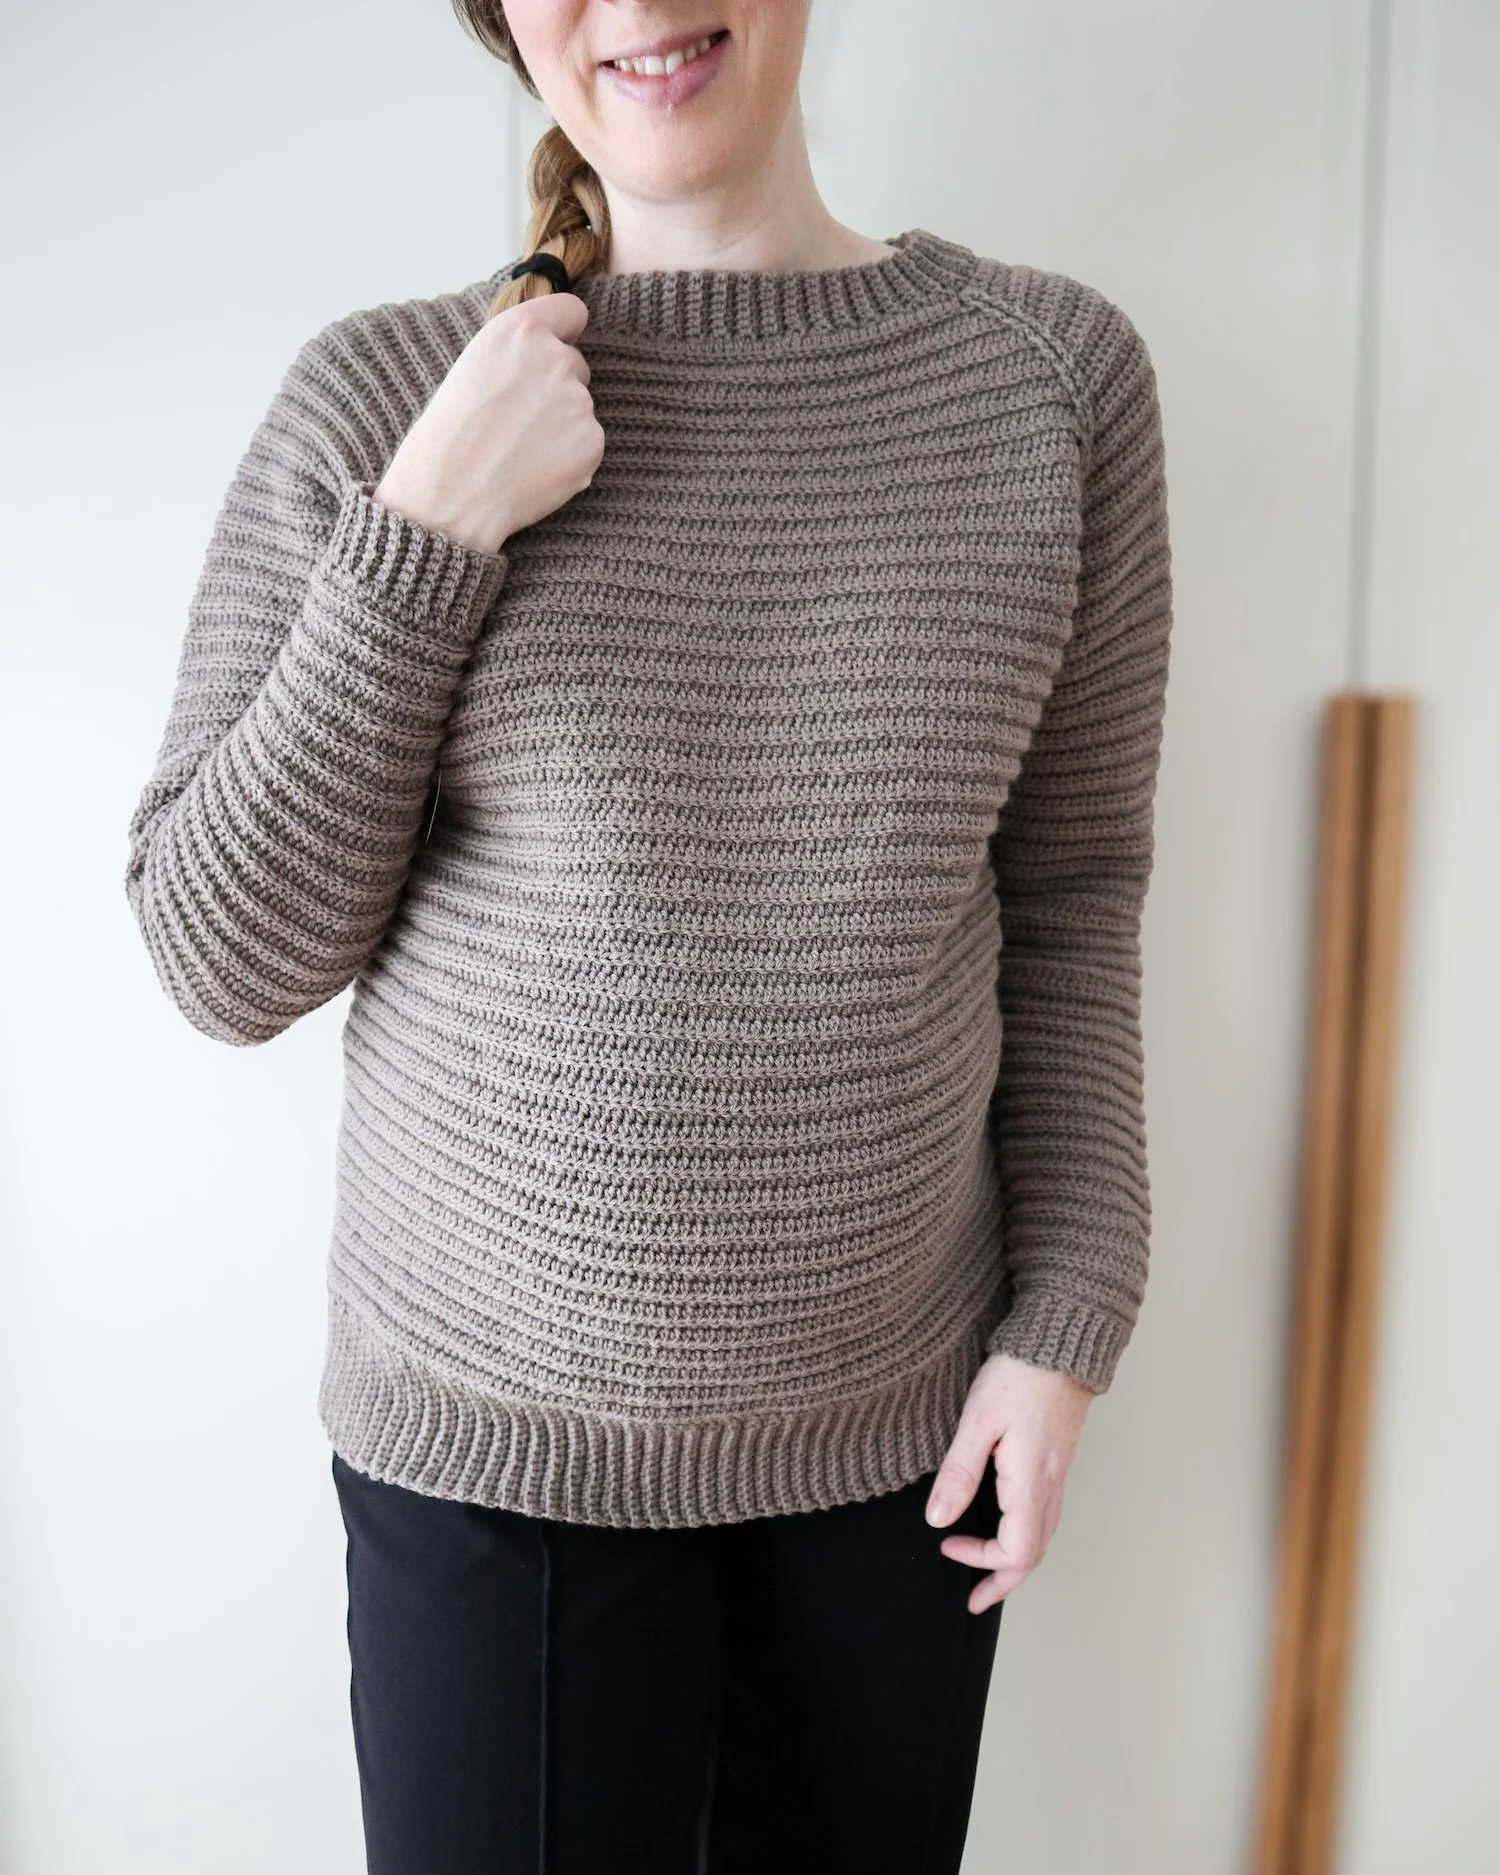
In December 2020 I released the patterns for The winter accessories collection. This collection included 5 crochet accessories: a cowl, two headbands and two beanies. All made in worsted weight yarn for fairly quick projects and ready to make as handmade gifts for the holiday season. Now I am gifting one of these to you. For this Valentine’s Day I gift you the crochet pattern for The Solmu headband. Valentine’s Day is actually friends day here in Finland were I live, so what better way to celebrate than a gift to all my crochet friends.
I didn’t only want to share the pattern with you all in a written form, I also made a YouTube video for you so you can see the steps if you have any questions, or if it is only your preferred way.
This post contains affiliate links.

Story
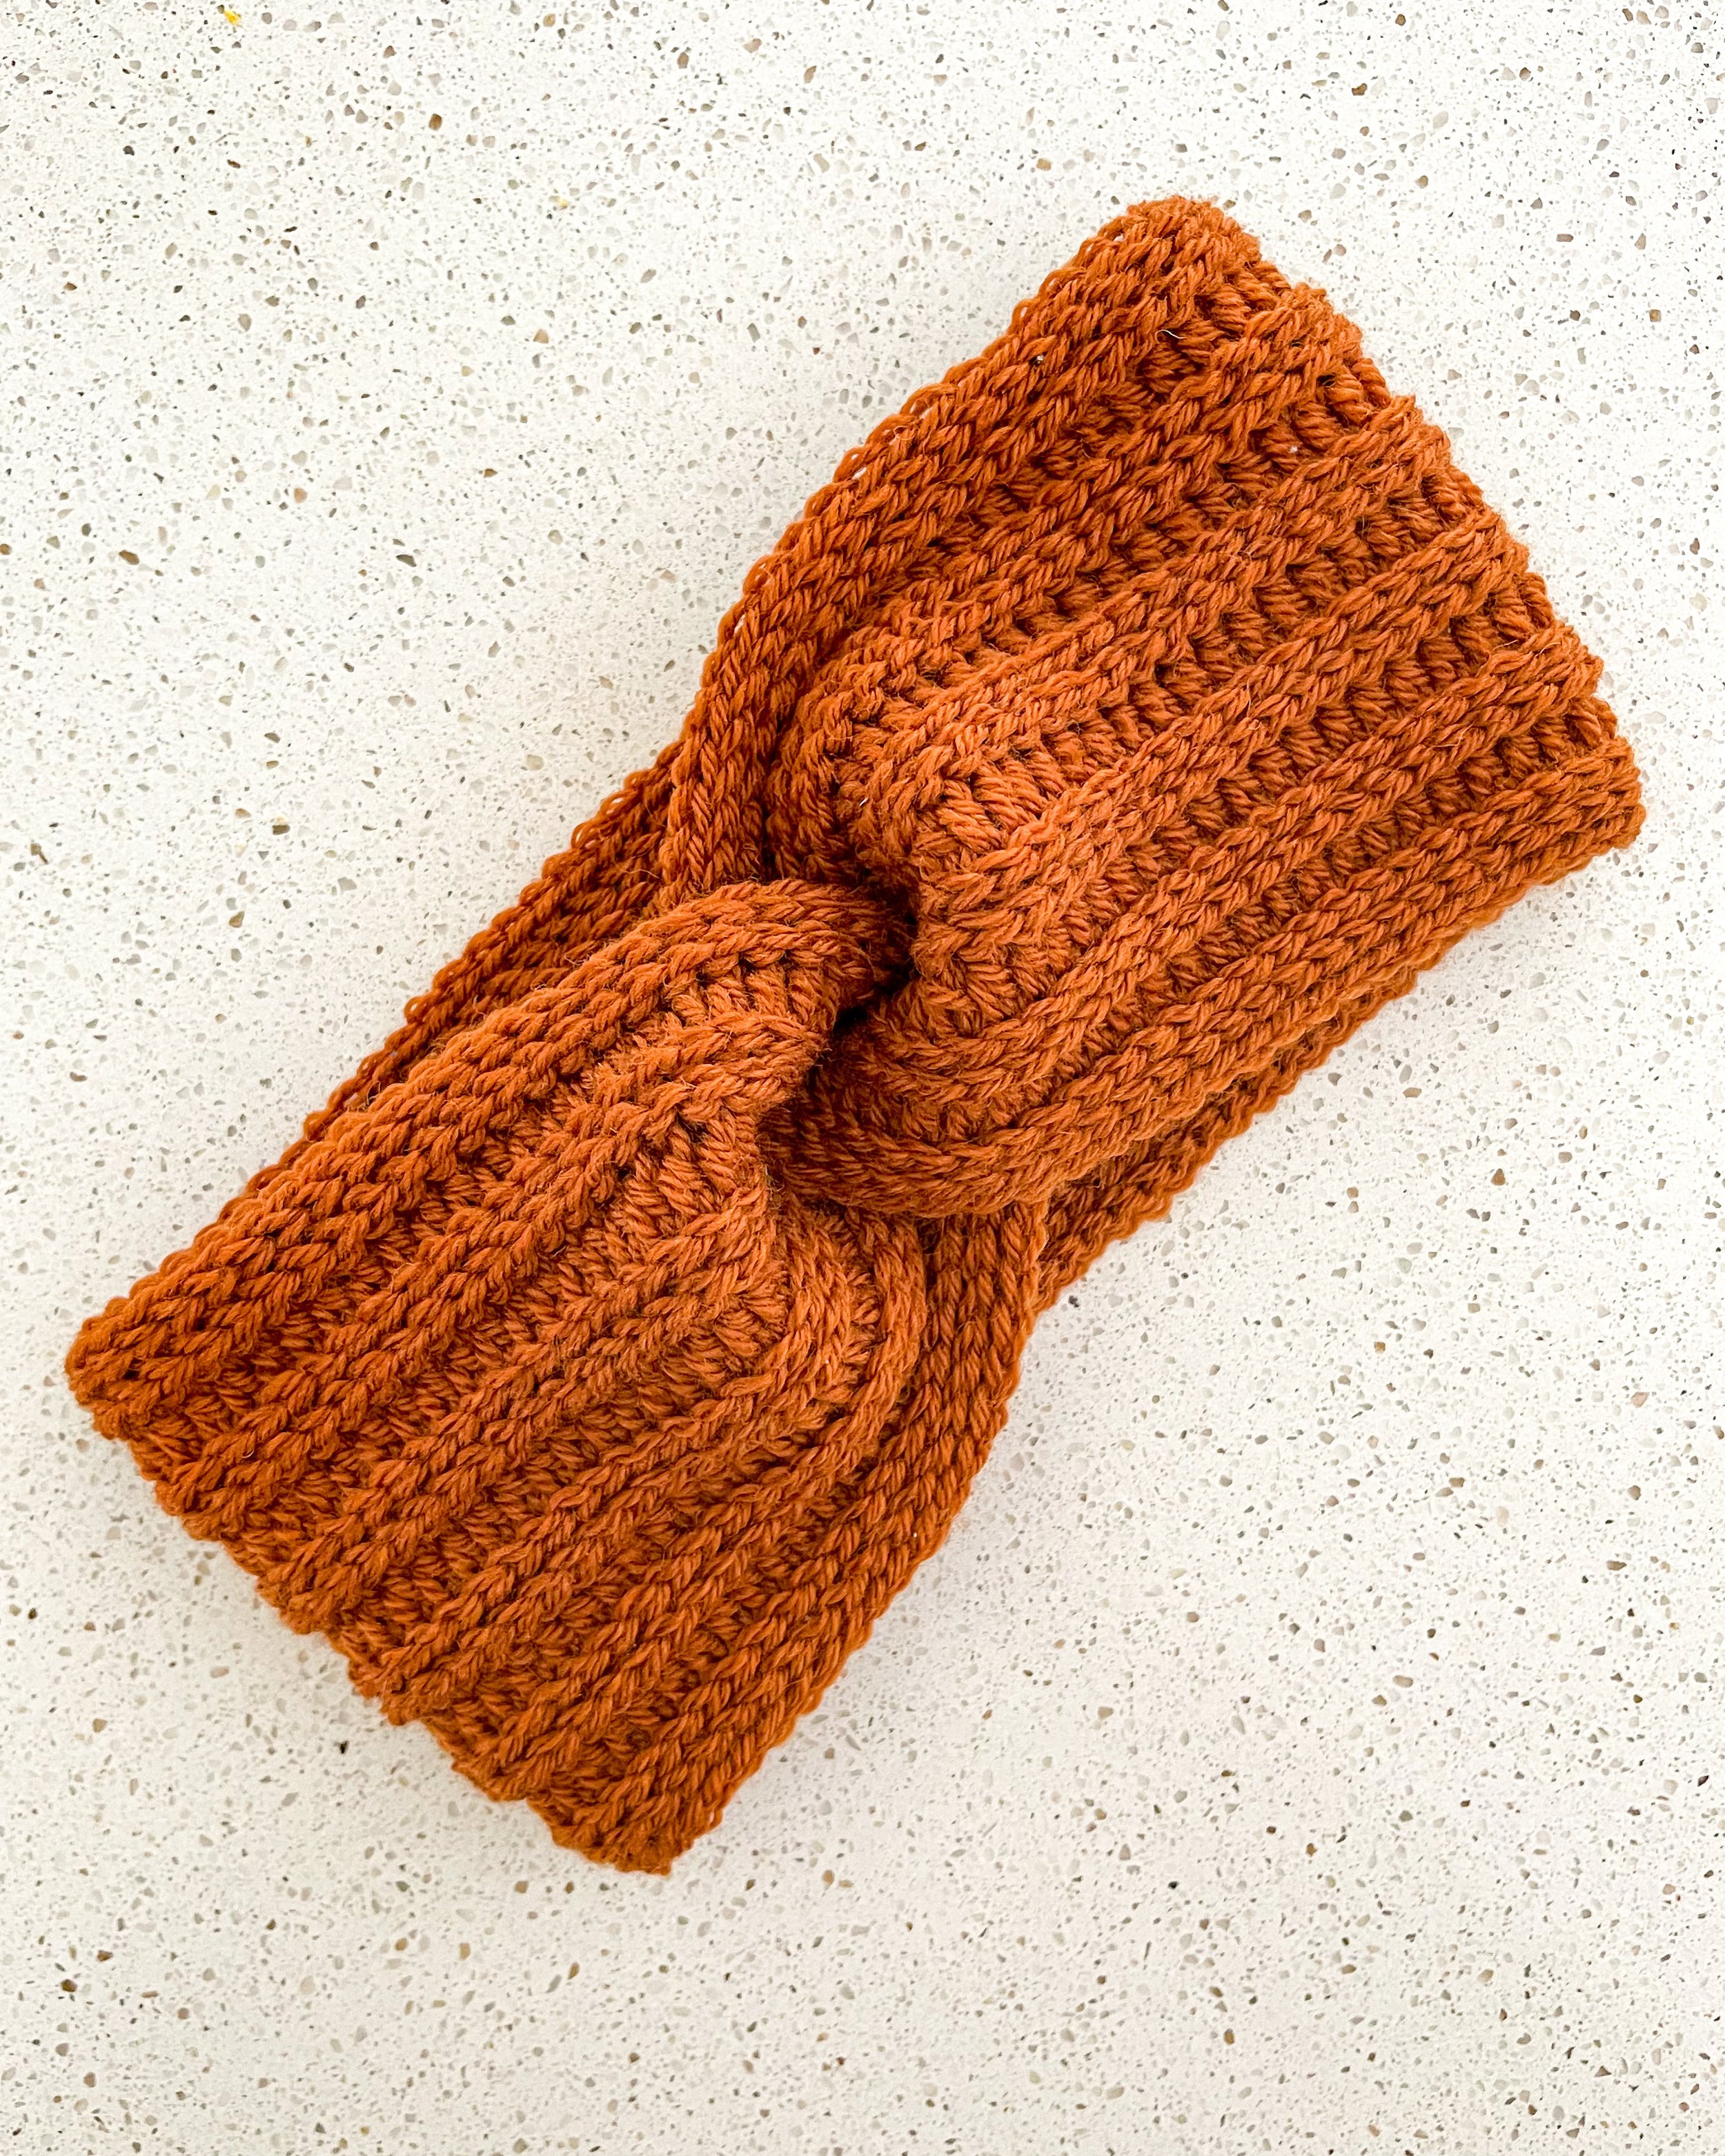
I had many times seen a headband with this stylish knot and wanted to figure out how it is made. It took a few tries and a lot of searching the internet to figure out how it is done. Some how it felt like to most well kept secret.

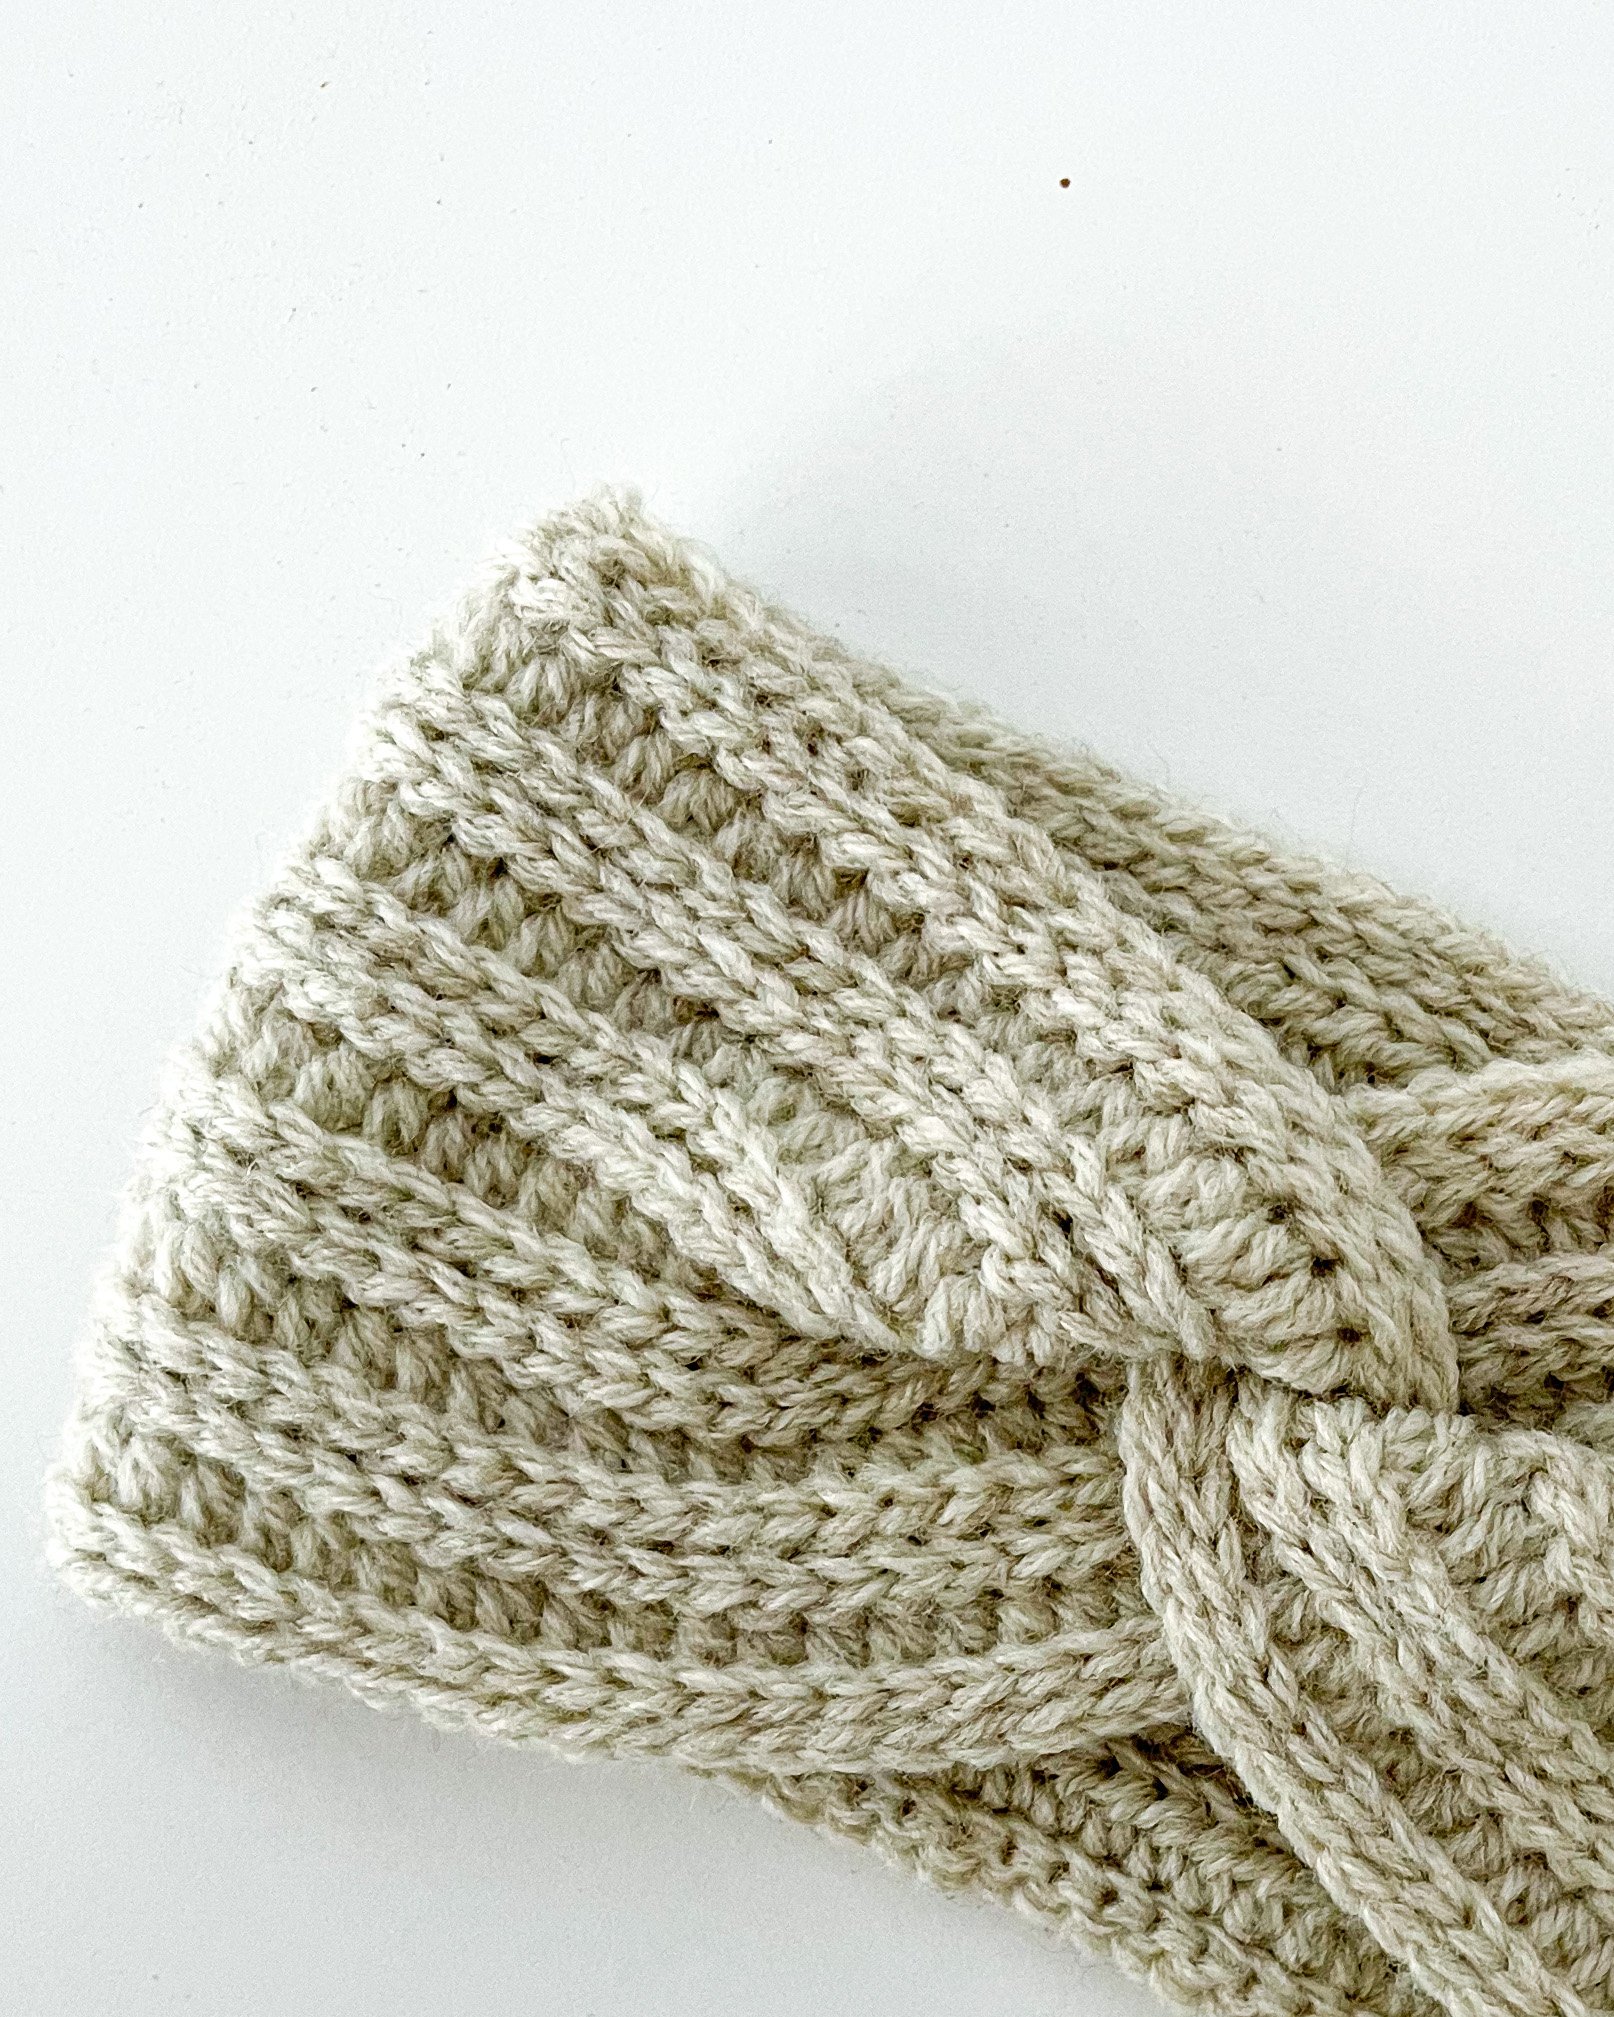
After I managed to figure out how the knot was mad I needed a stitch that would be great for this. I’ve always been in love with slip stitches, mainly due to their knit like look and wanted to incorporate it in the headband. Another favourite stitch of mine is the half double crochet, so I decided to use these two for it. In that way it would be a quicker project than only slip stitches and would have a nice texture. After swatching I was ready to get started and so are you.
Good to know
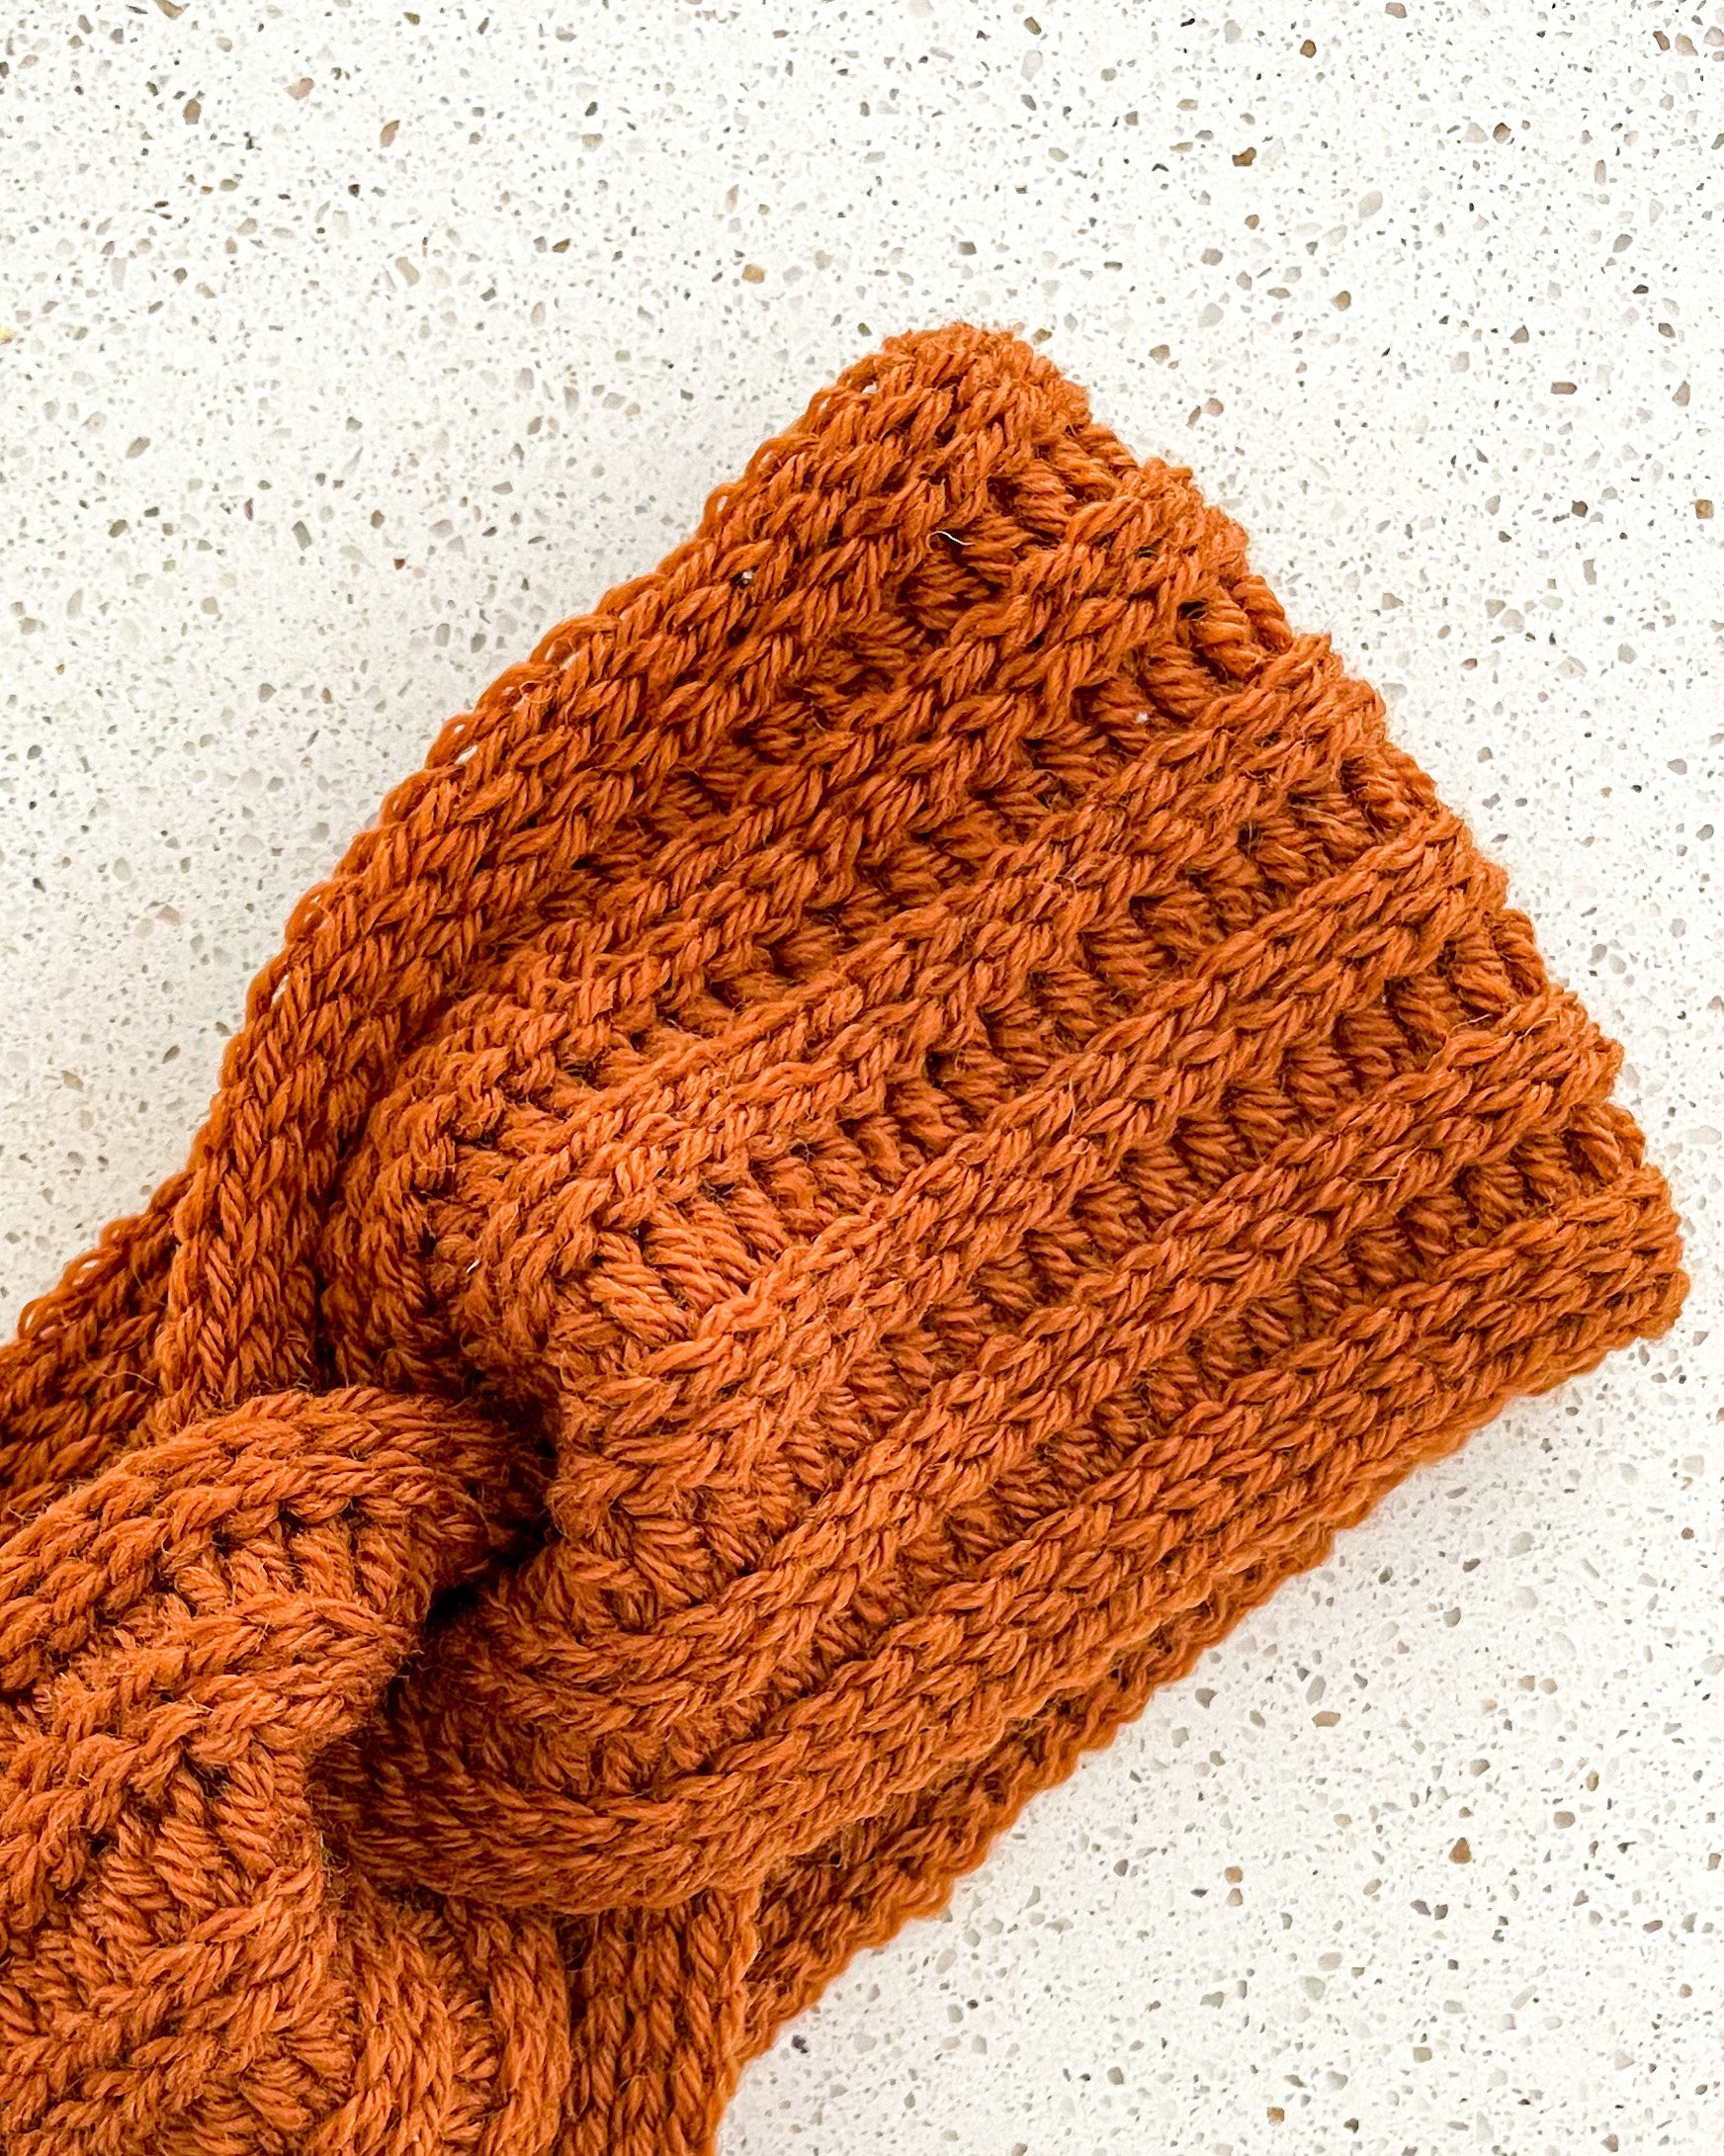
The pattern is made up out of two stitches - the slip stitch and half double crochet. Here is how they are made.
Slip stitch - Insert your hook in the next stitch (or chain). Yarn over, pull through the stitch and the loop on the hook.
Half double crochet - Yarn over, insert your hook in the next stitch (or chain). Yarn over, pull through the stitch. Yarn over, pull through all three loops on the hook.
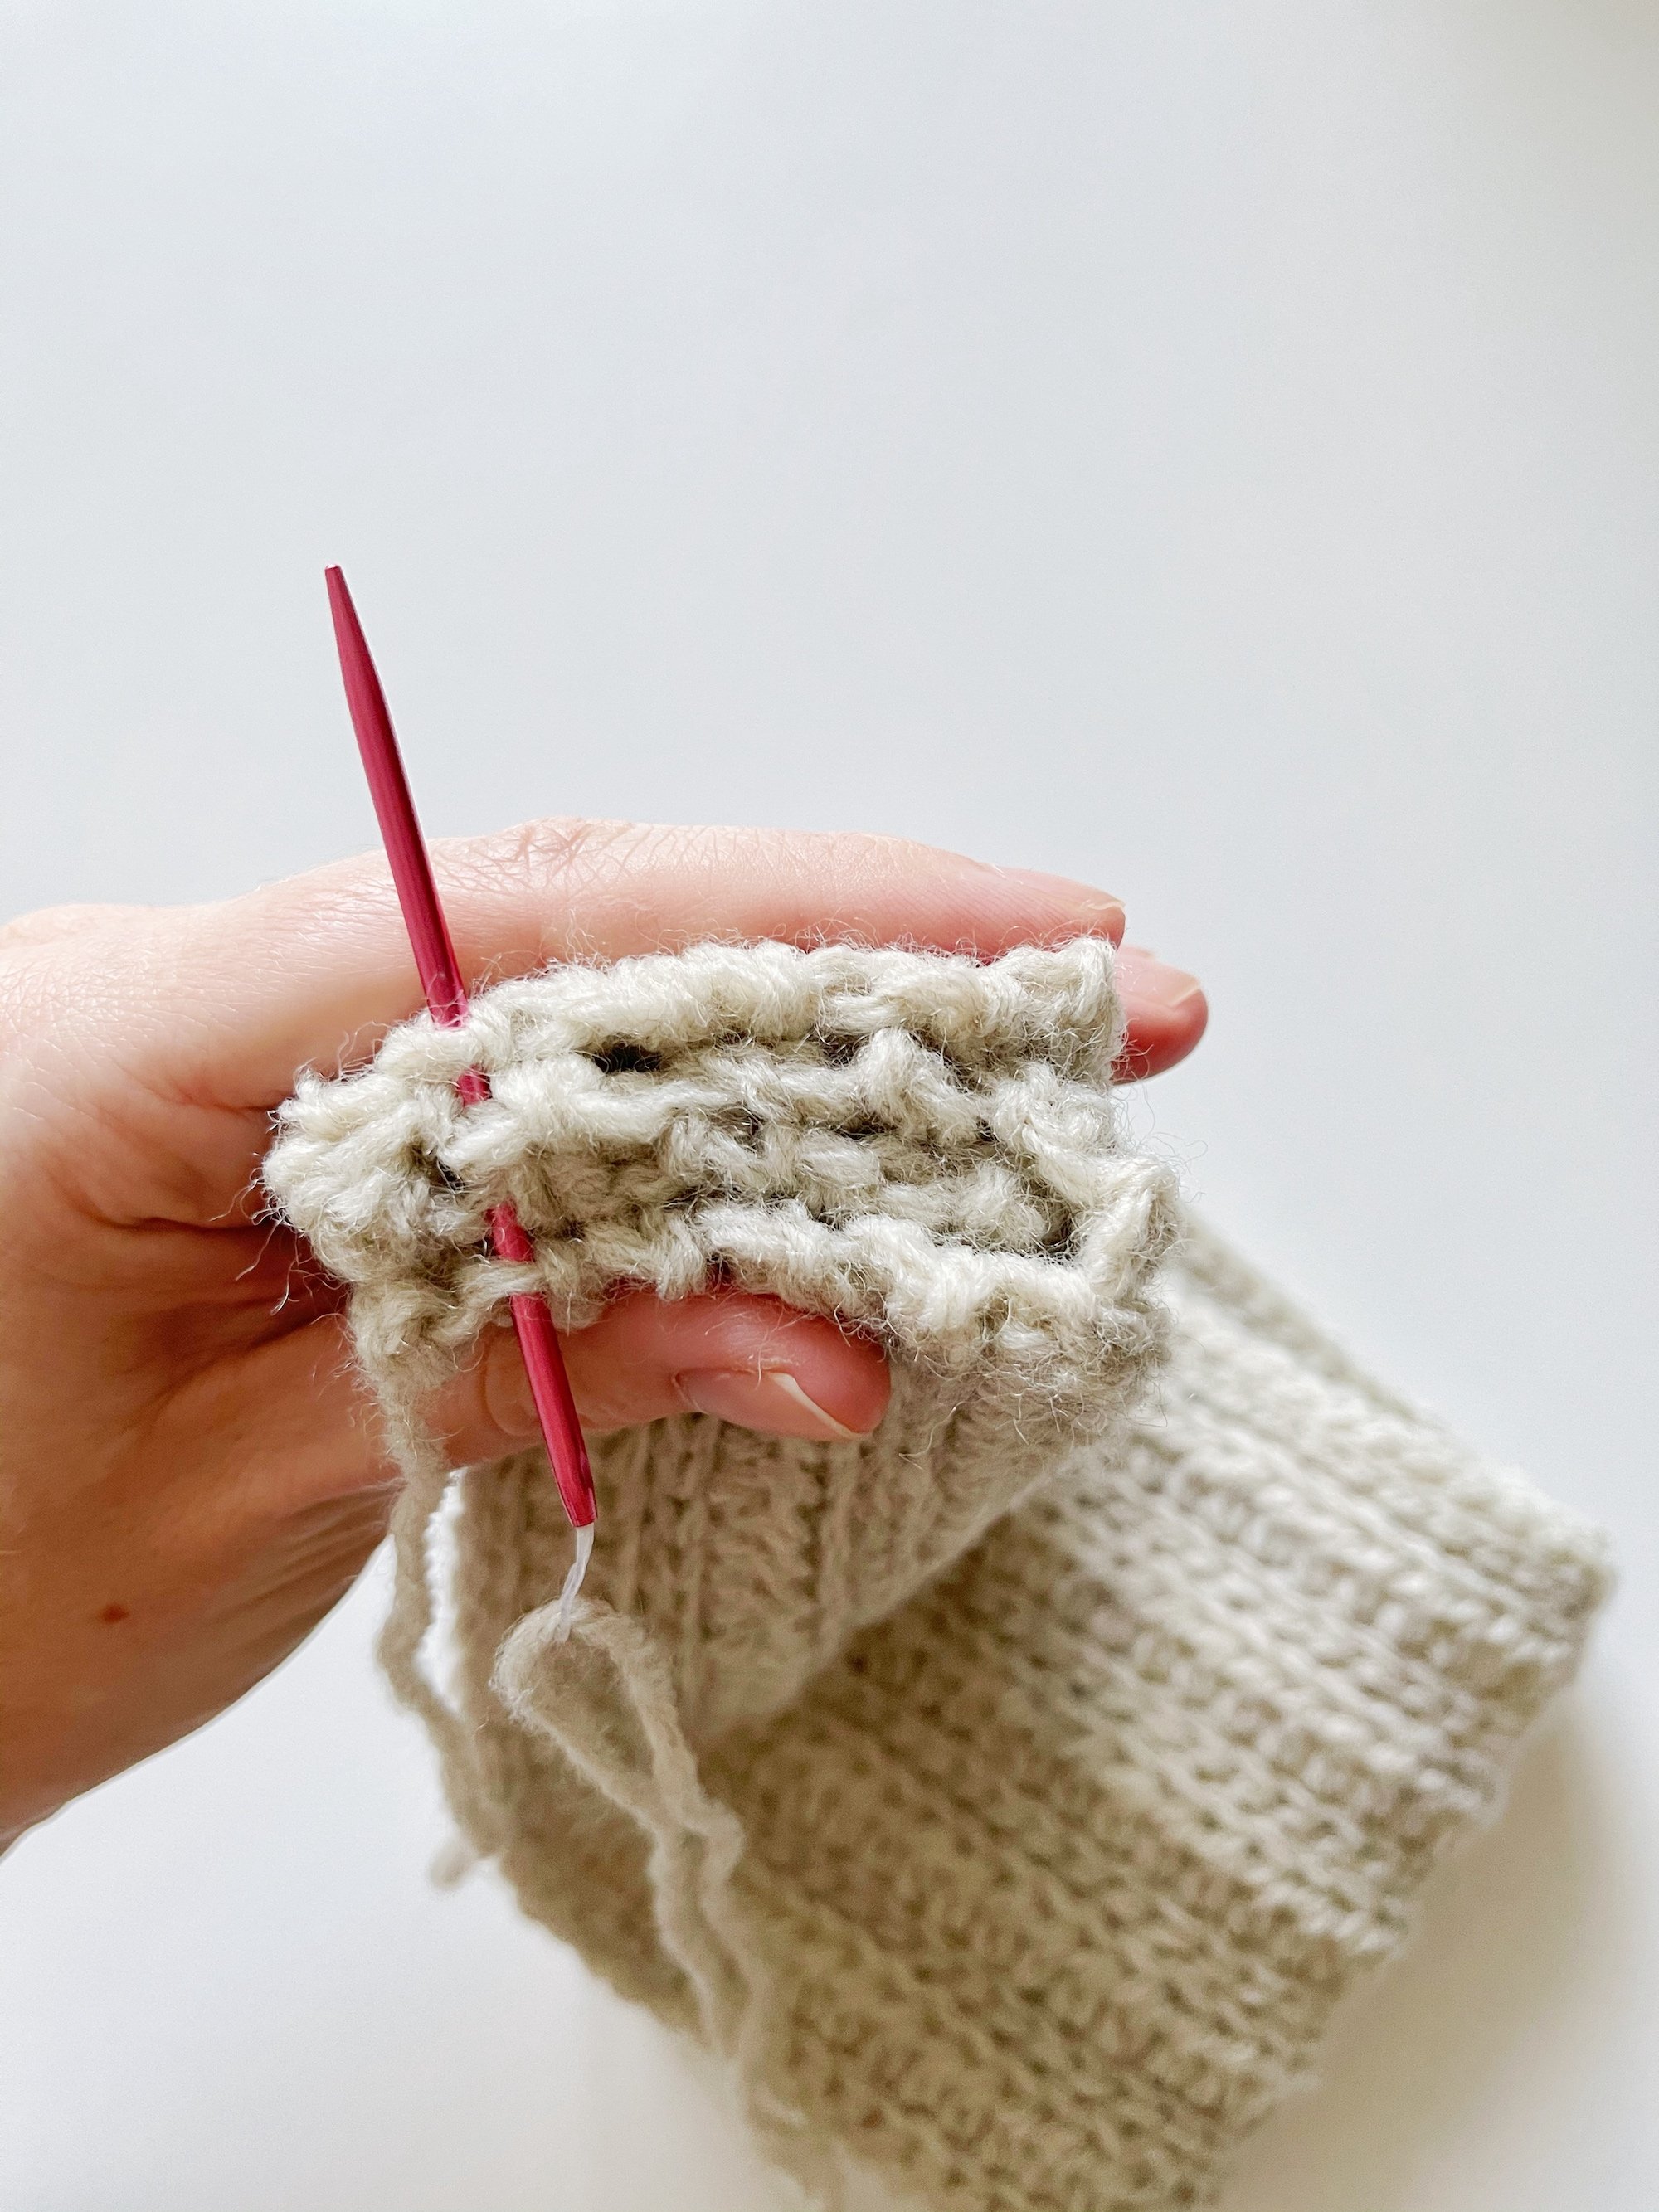
Most of the pattern we will be working in the back bump or the back loop. The back bump you have after your starting chains. You will use that to insert your hook and make your first slip stitches. See pictures below for the back bump or have a look at the YouTube video. When you insert your hook in the next stitch you’ve done that by going under two loops, the front and the back loop. When you are making a slip stitch or half double crochet in the back loop only, it means that you insert the the hook only under the back loop for the next stitch.


The slip stitches might be a bit tricky to make, especially if you make them tighter and tighter (which is really easy to accidentally make). I find that it also depends a lot on the yarn that is used. You want one that has a bit of “bounce” in it to make it smoother. I find that the Wool Ease yarn from Lion Brand I used for the grey headband was really easy to use for slip stitches. The yarn I used in the videos needed a bit of extra push with my finger for a few stitches, but it gets easier when the headband has a few rows that you can push against.

Materials you will need
Yarn
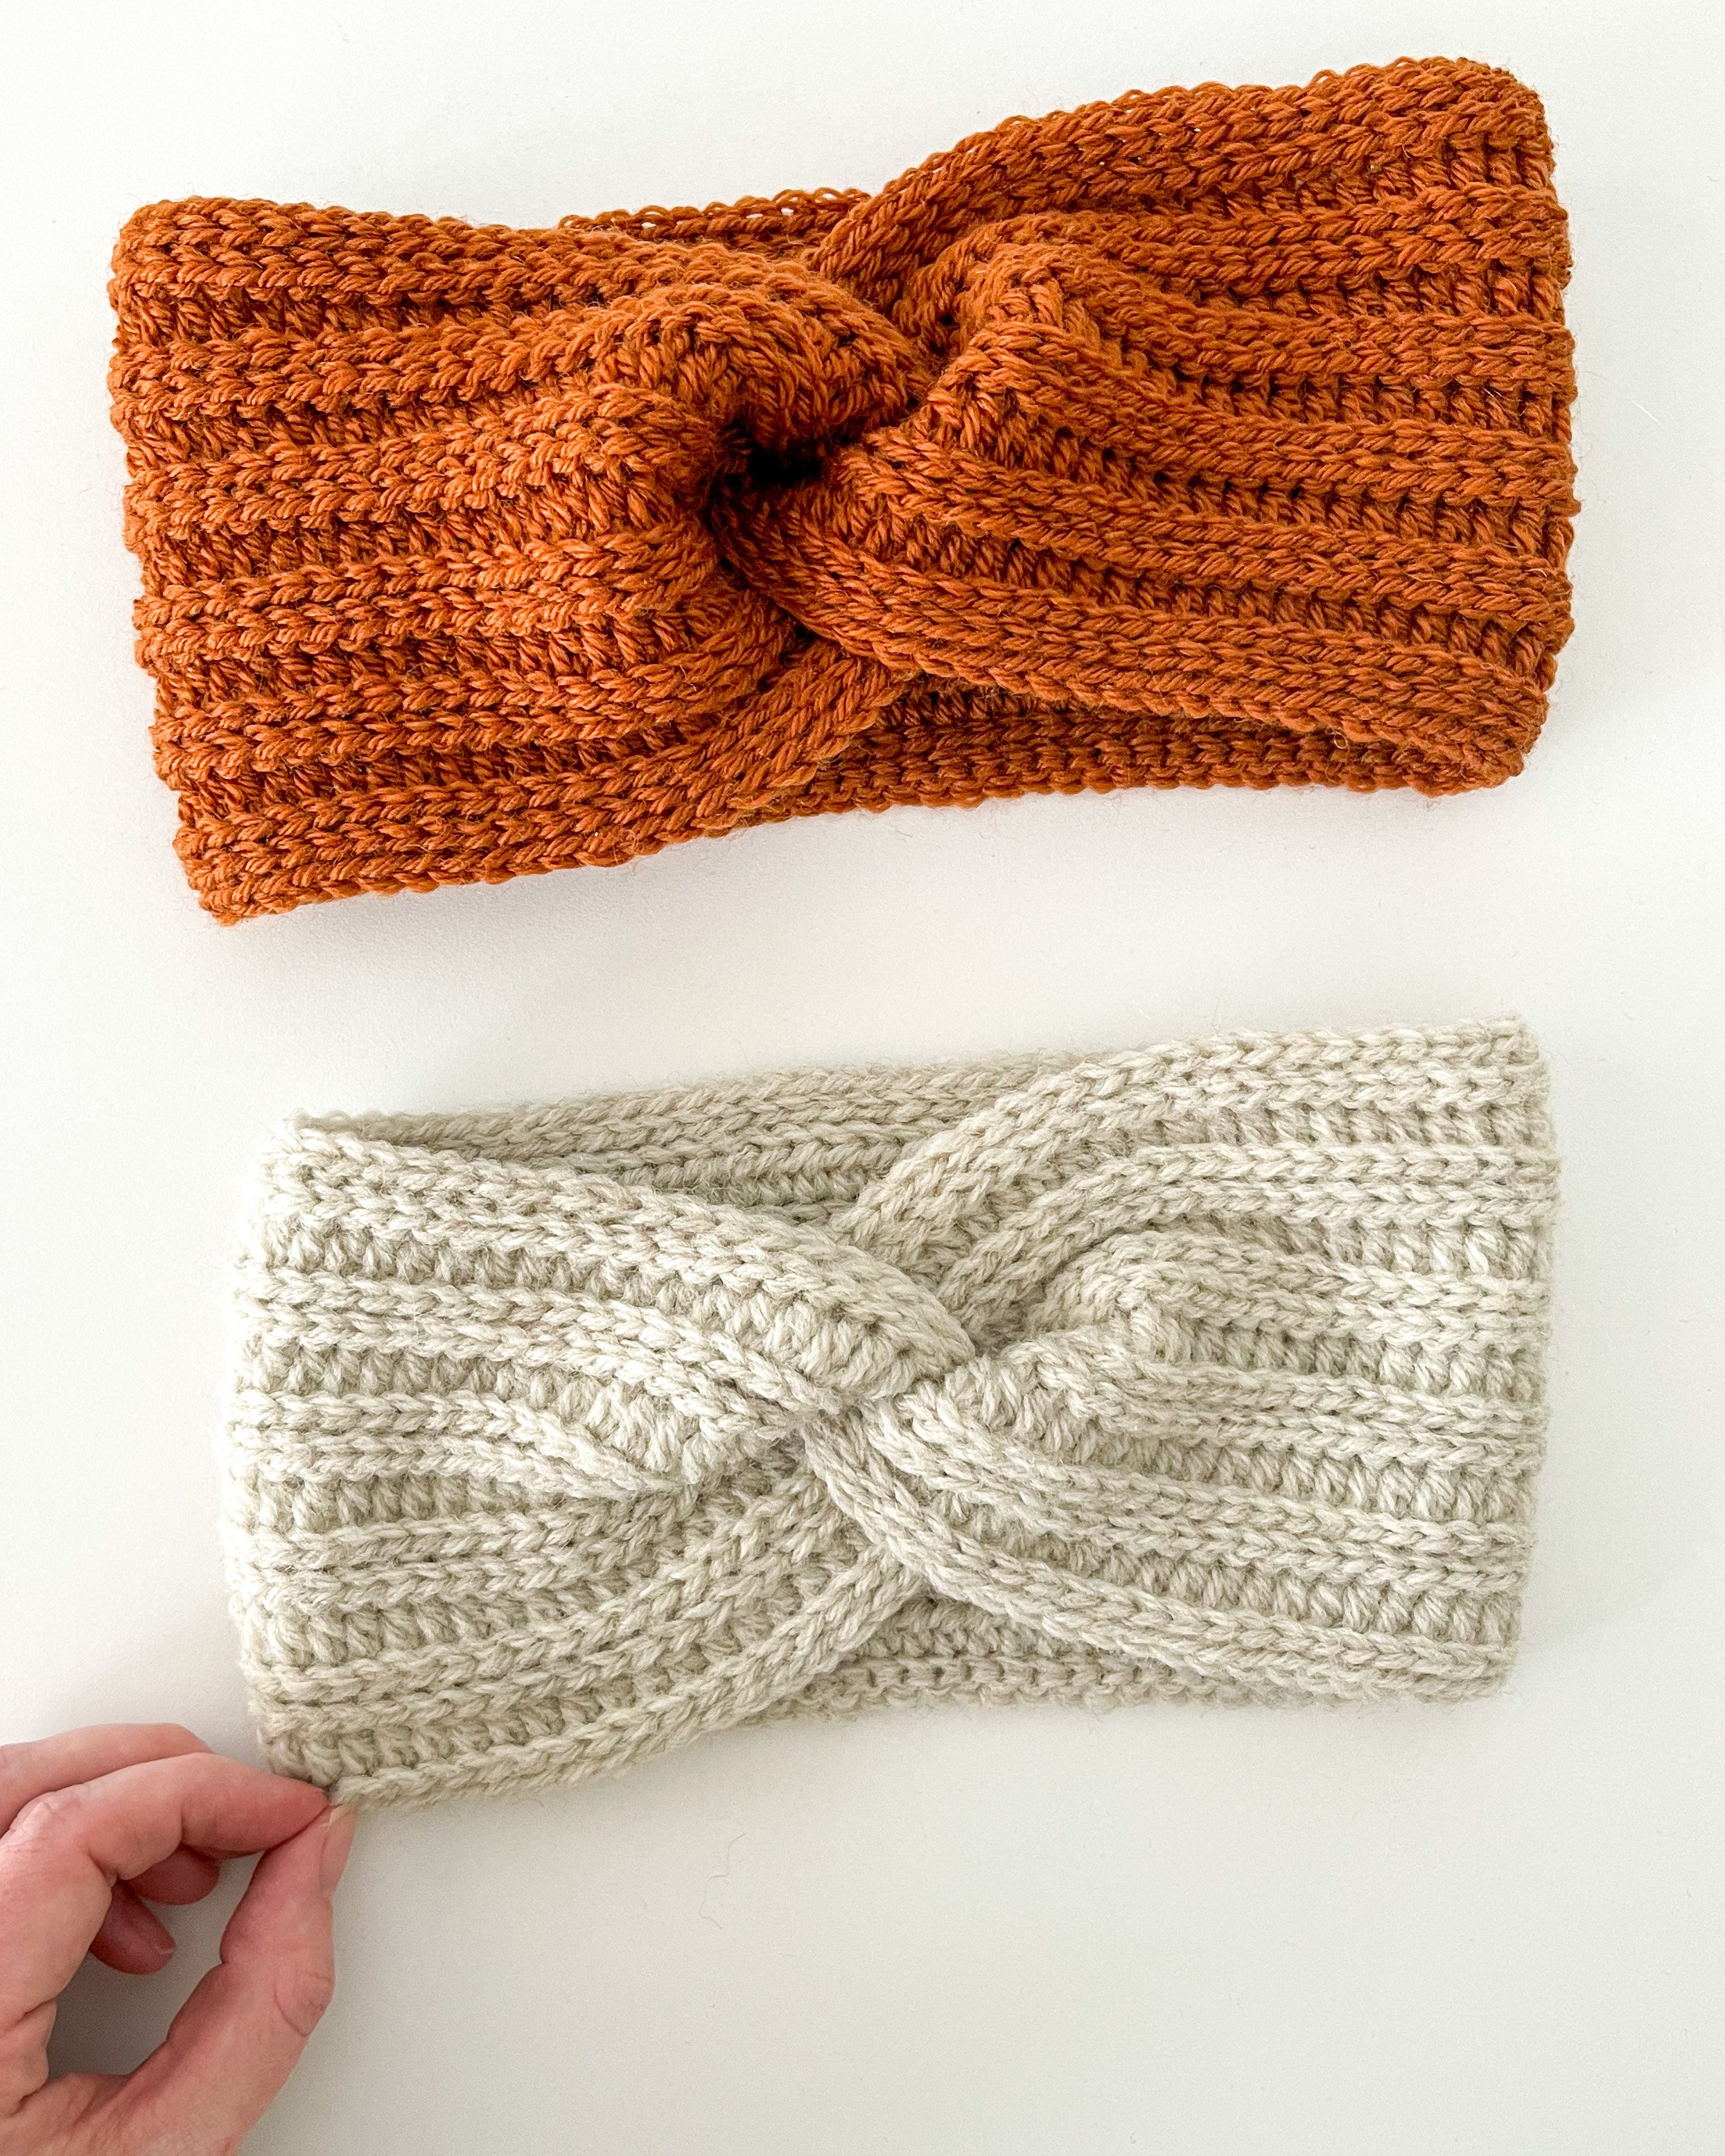
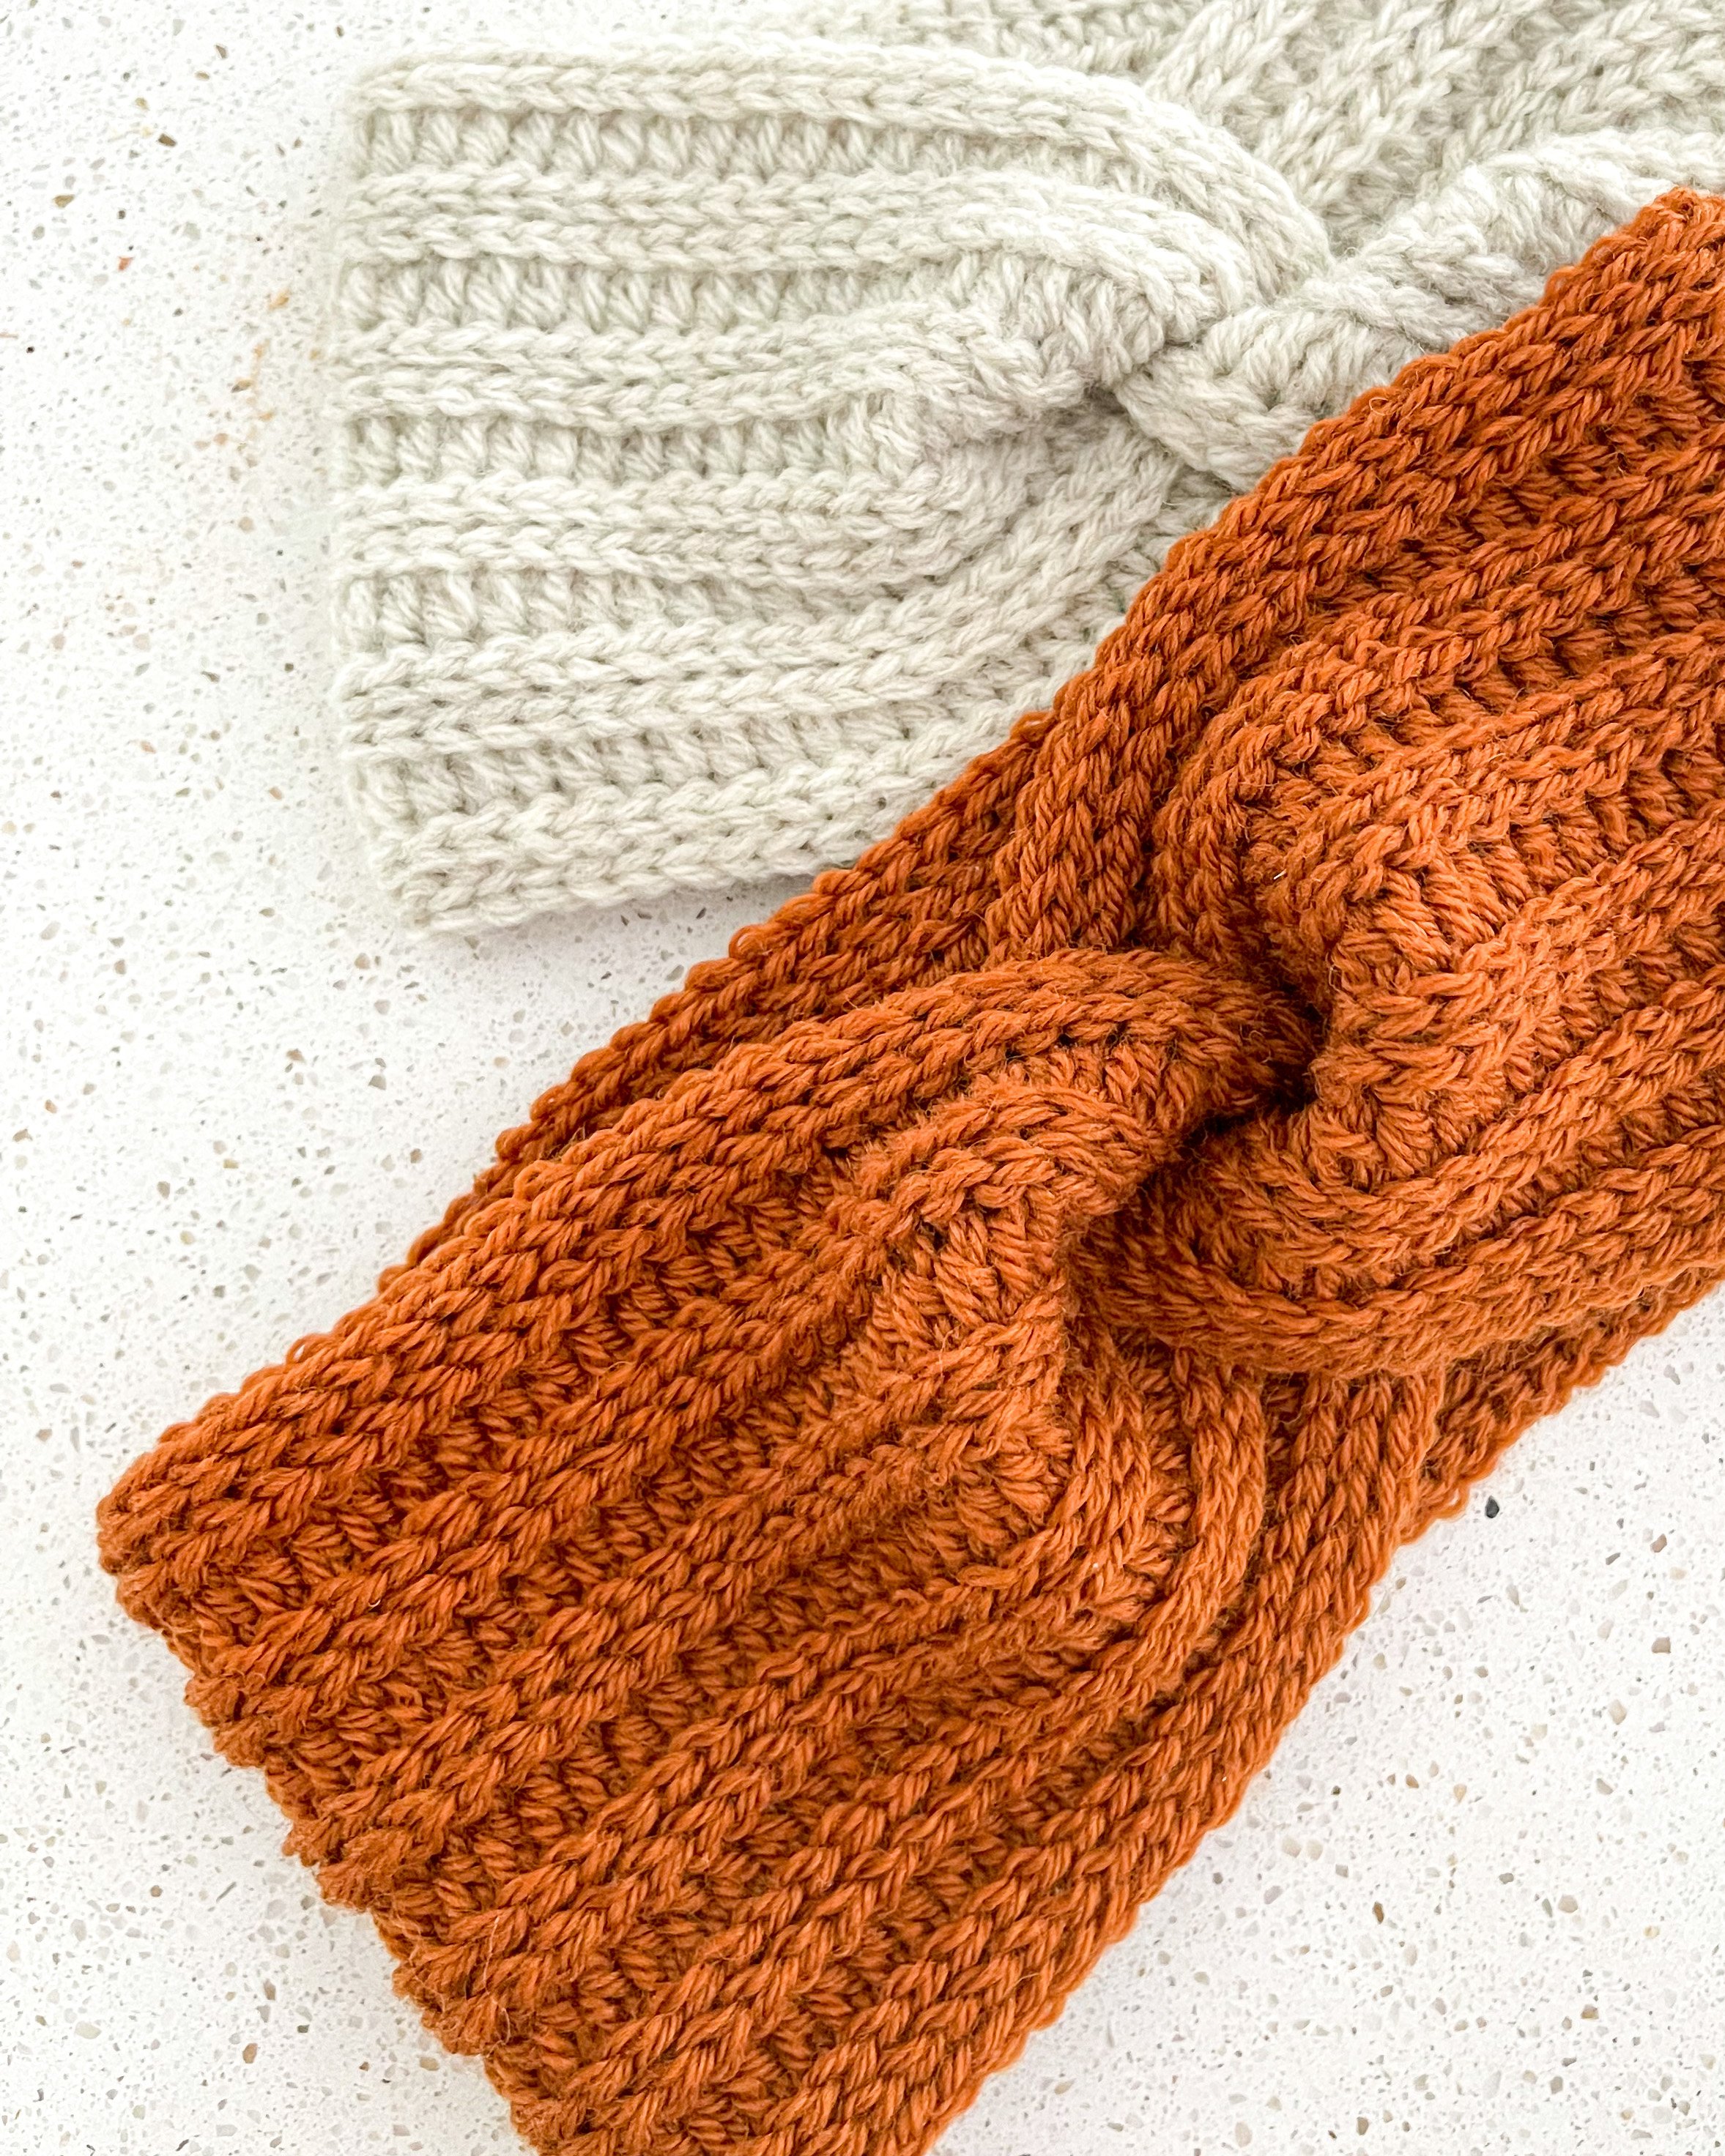
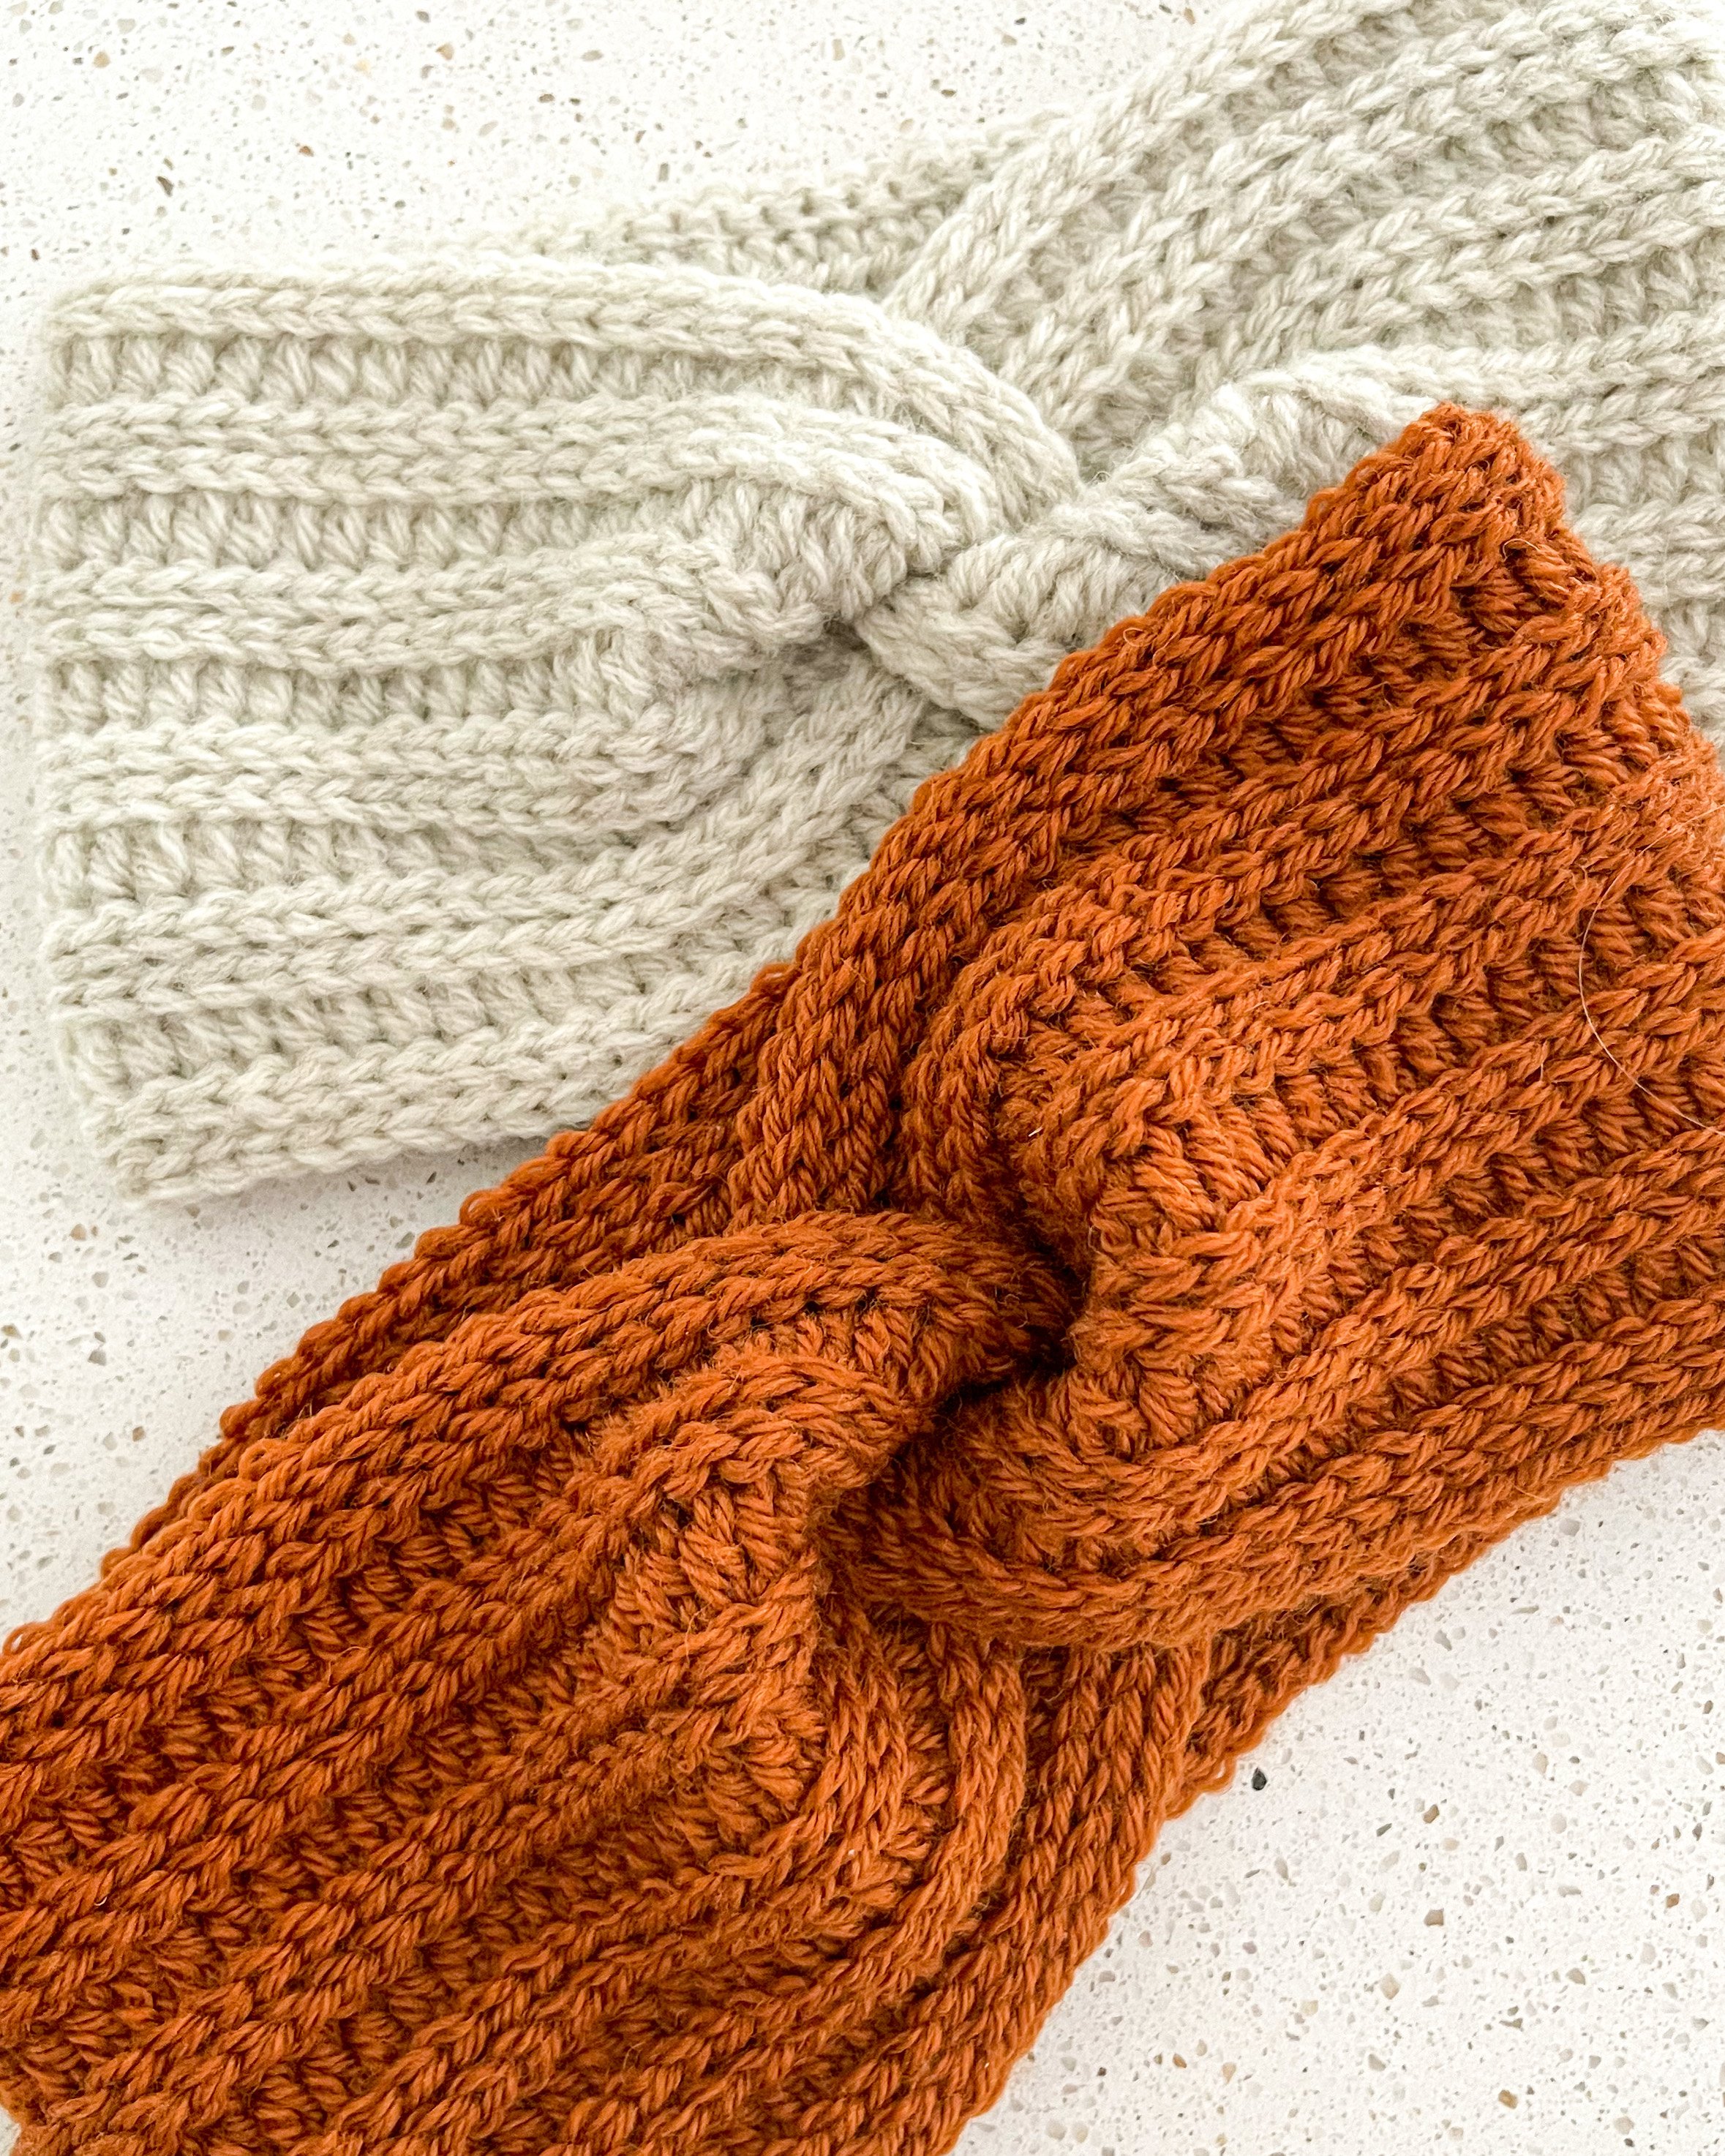
A worsted (4-weight) yarn is a good option for this pattern. Wool Ease from Lion Brand (80% Acrylic, 20% Wool, 85 g = 180 m / 197 yds) is a great option and I used it for the grey one. The brown one uses Ulrika (100% wool, 50g = 100 m) from Svarta Fåret and should be available if you live in Scandinavia.
You will need around 110 m / 120 yards to complete the headband.
Hook size
In the video I use this from Furls Crochet.
If you find that your starting chains get loose and wide, you can make the chains with a smaller hook size. For example a 6 mm hook.
More
You will also need a darning needle to sew the headband together and to weave in ends.
Sizing
Width (before seaming it together): 47 cm / 18.5”, Height 10 cm / 4”.
A good width is around 10 cm / 4” smaller than head circumference.
Add or remove chains to adjust the width. Instructions on how later on.
The Pattern
This crochet pattern uses US crochet terminology.
Turning chains do not count as stitches.
Pin me for laterPin me for later
The Headband is worked flat lengthwise in rows and in the end seamed together. The size of the headband is easy to adjust by adding or removing chains in the beginning. The height of the headband can be adjusted by adding or removing rows.
Abbreviations
Ch - Chain
Sts - Stitches
Sl st - Slip stitch
Sl st BLO - Slip stitch back loop only
Hdc - Half double crochet
Hdc BLO - Half double crochet back loop only
To check gauge - you make the gauge swatch bigger to not measure on the edges.
Chain 24.
In the 2nd back bump from the hook, sl st. Sl st across. Ch 1. Turn. (23 sts)
Row (1) 2-3: Sl st blo across. Ch 1. Turn (23 sts)
Row 4: hdc BLO across. Ch 1. Turn (23 sts)
Repeat row 1-4 until 10 cm / 4” high.
Gauge (10x10cm / 4x4”)
20 hdc BLO across
5 repeats of row 1-4 in height

Back Bumps of a chain

Inserting the hook through the back bump
Headband
Chain 94 (+ 2 ch for every cm / 0.5” wider)
Row 1:
In the 2nd back bump from the hook, sl st. Sl st across. Ch 1. Turn. (93 sts)
Row 2:
Sl st BLO across. Ch 1. Turn. (93 sts)
Row 3:
Hdc BLO across. Ch 1. Turn. (93 sts)
Row 4-6:
Sl st BLO across. Ch 1. Turn. (93 sts)
Row 7 - 22:
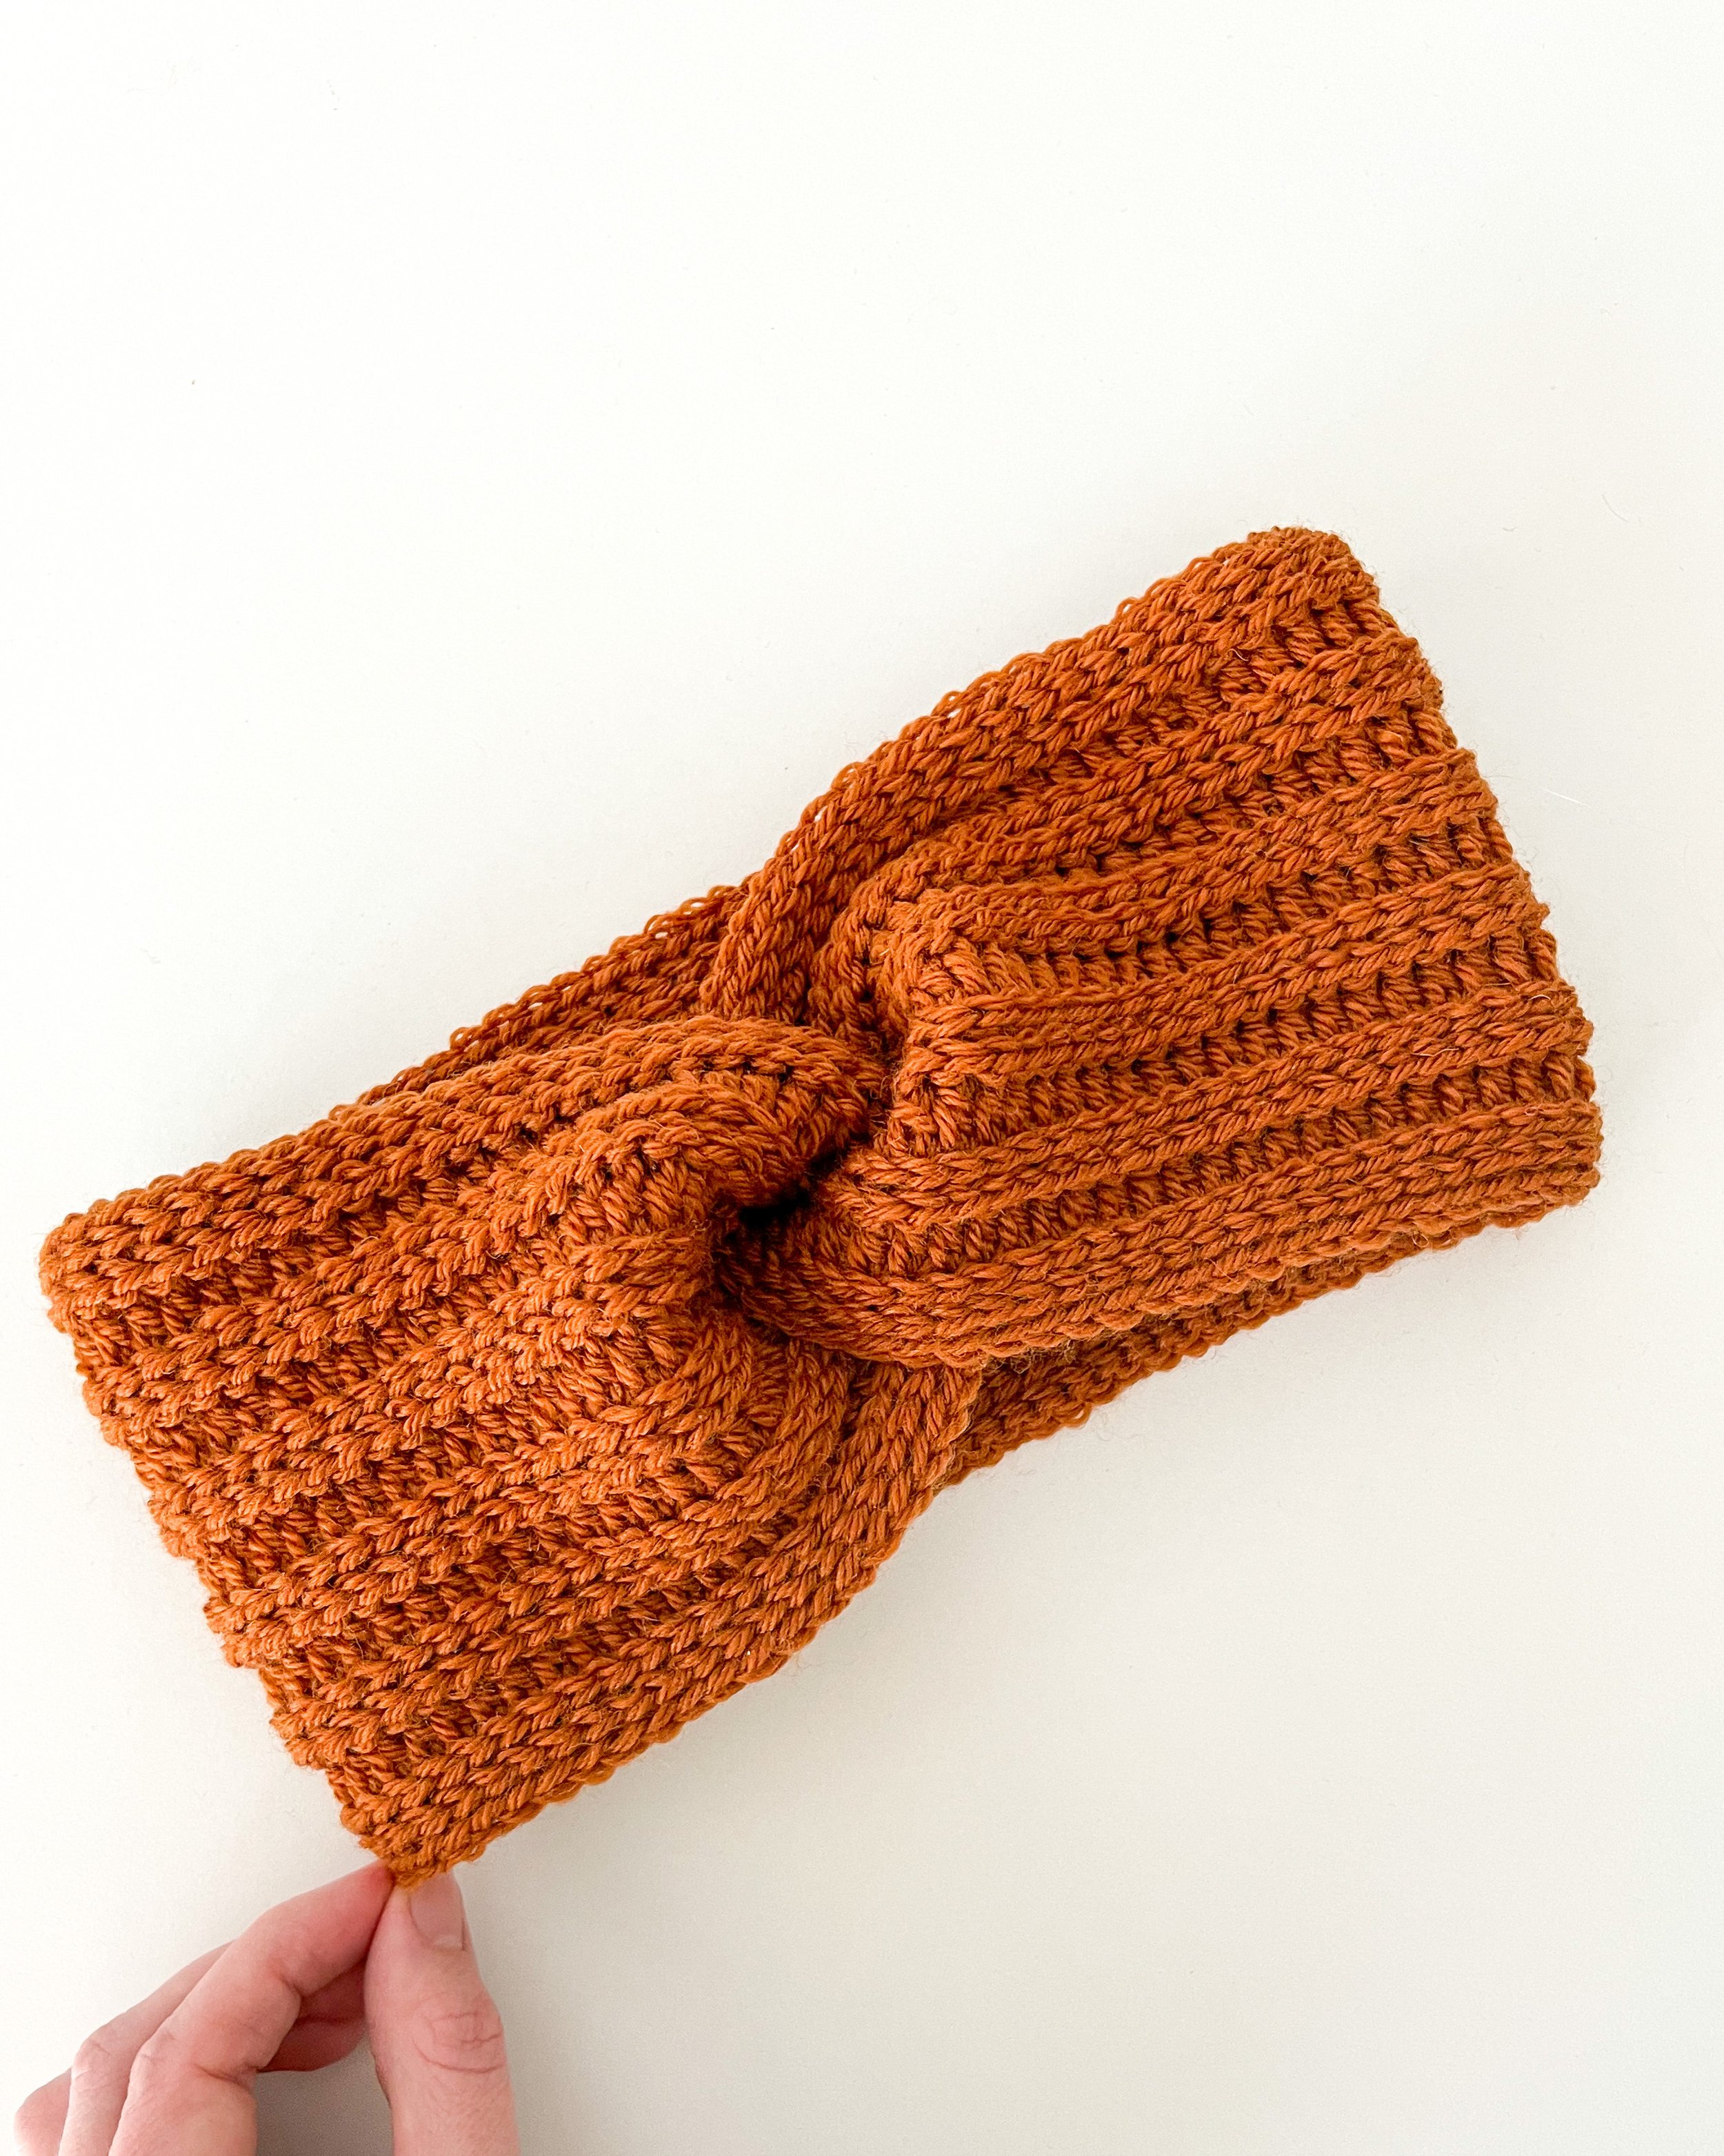
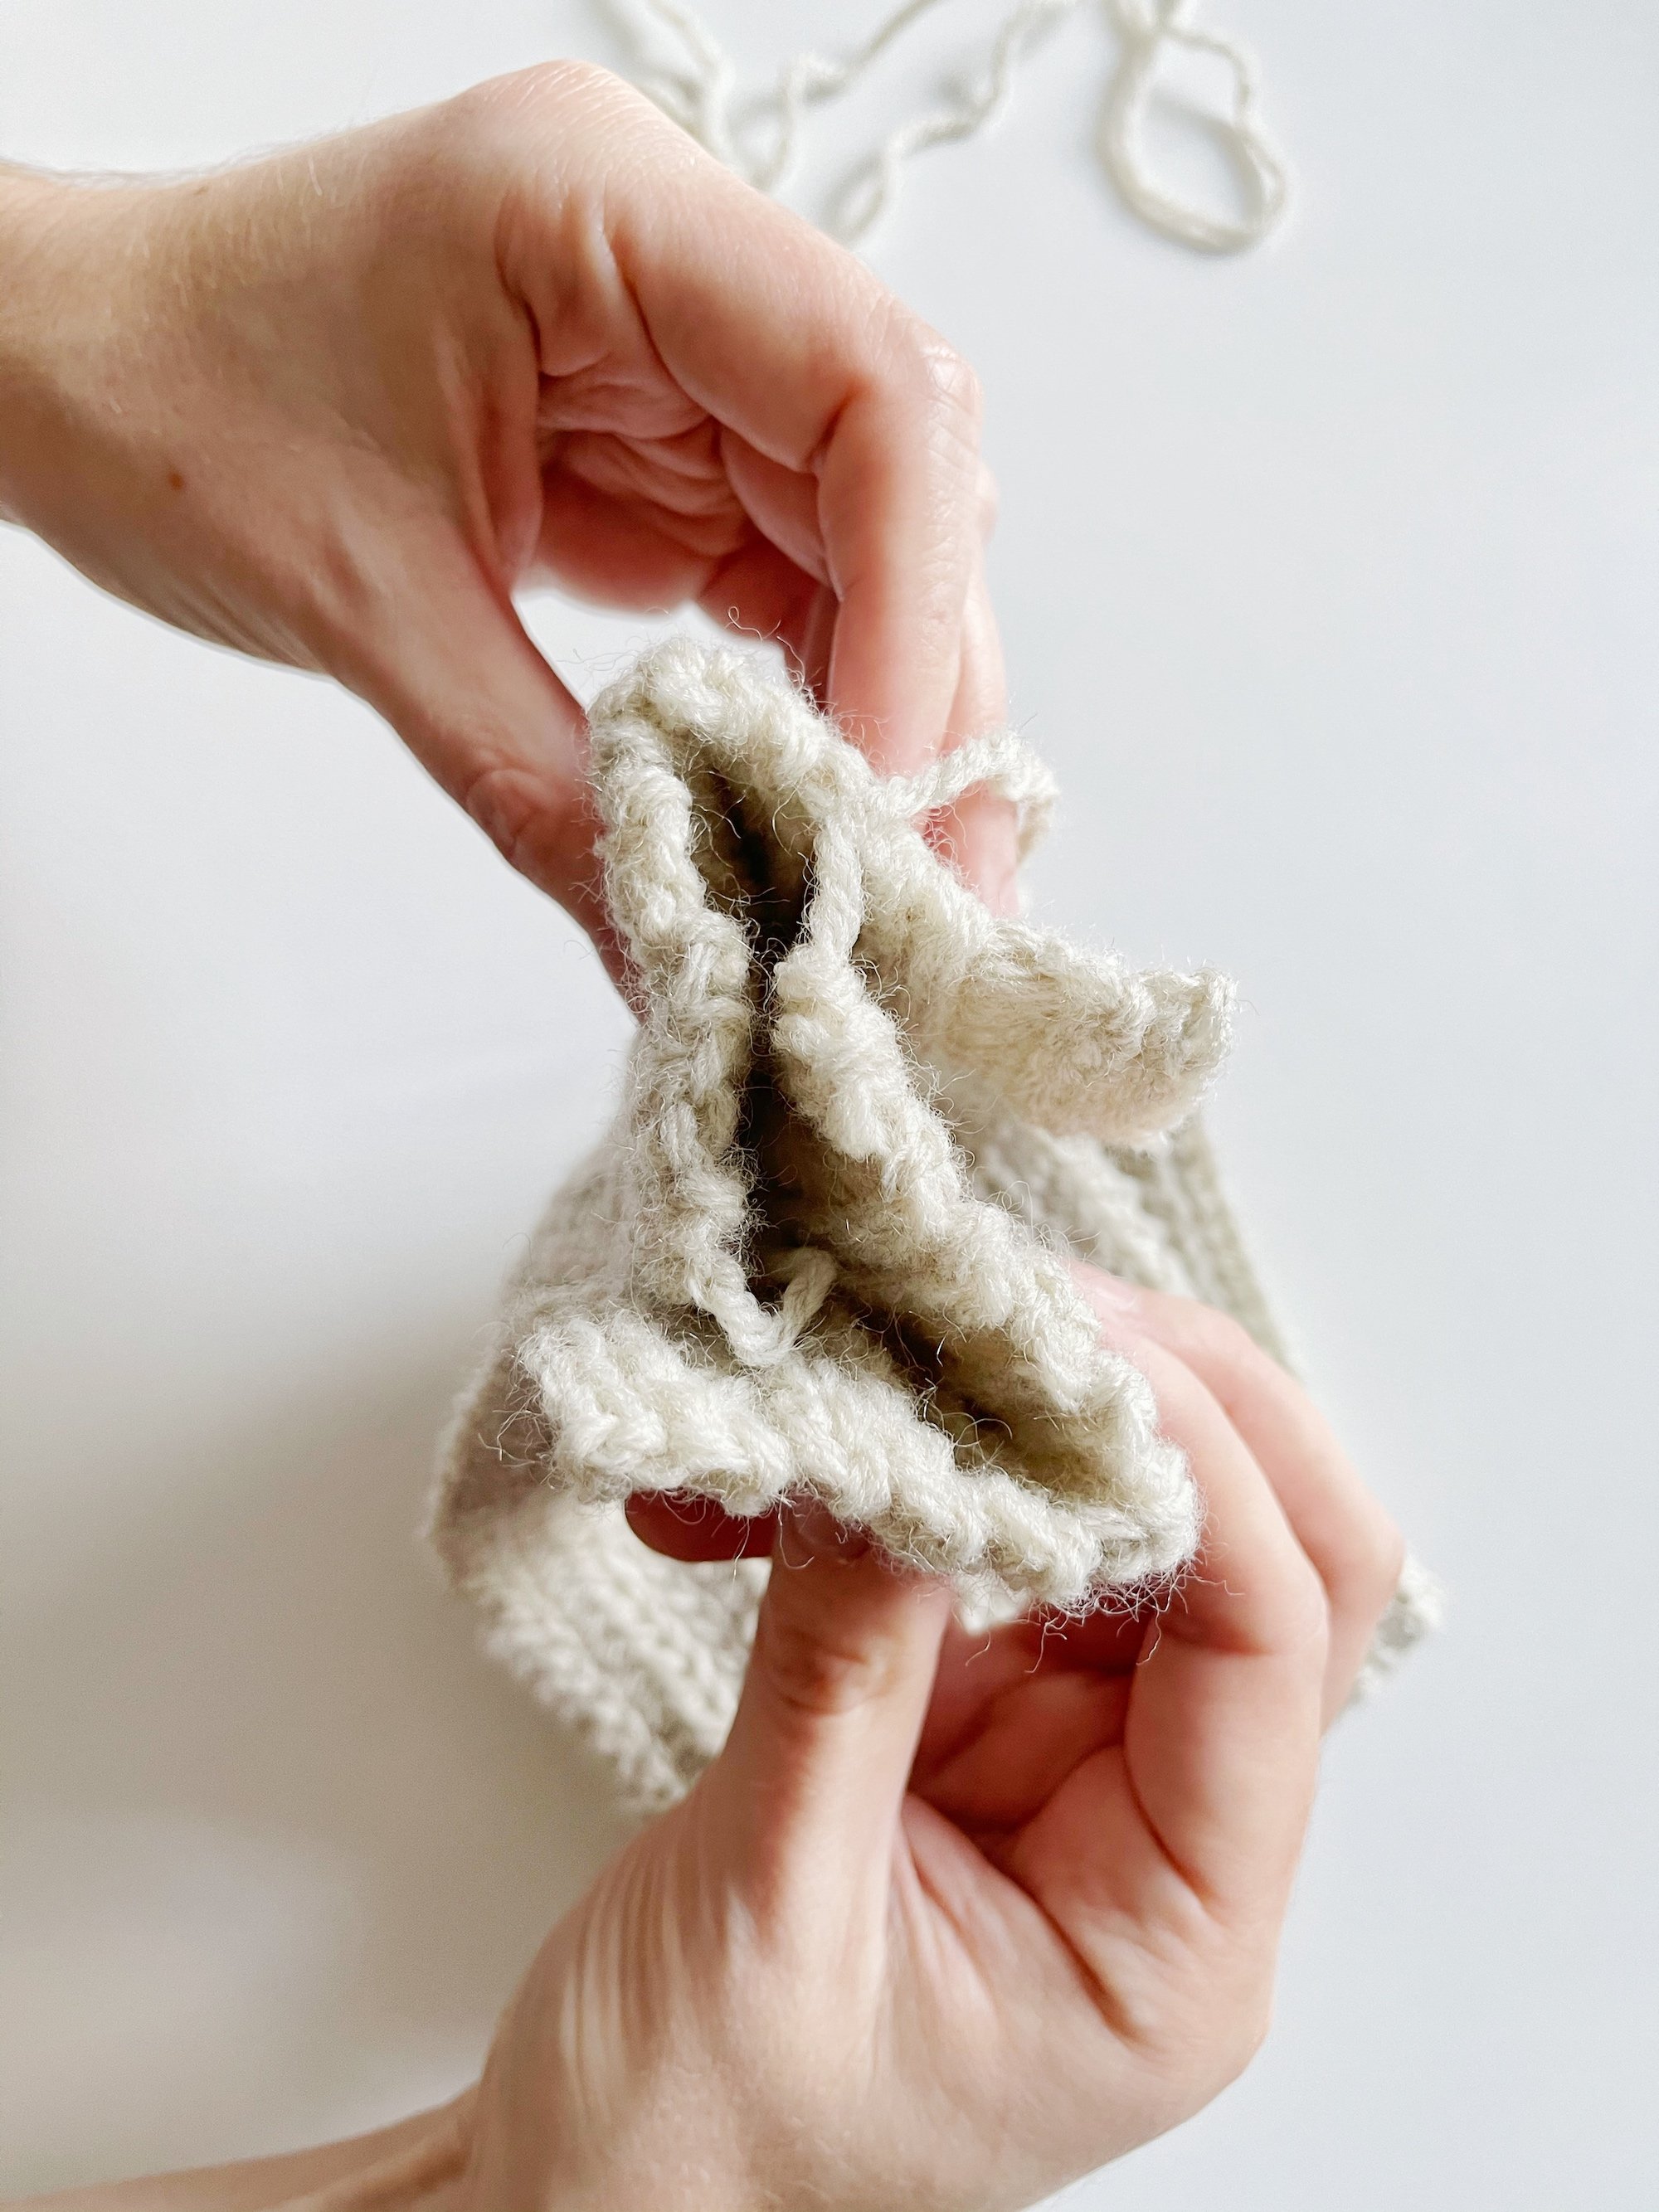
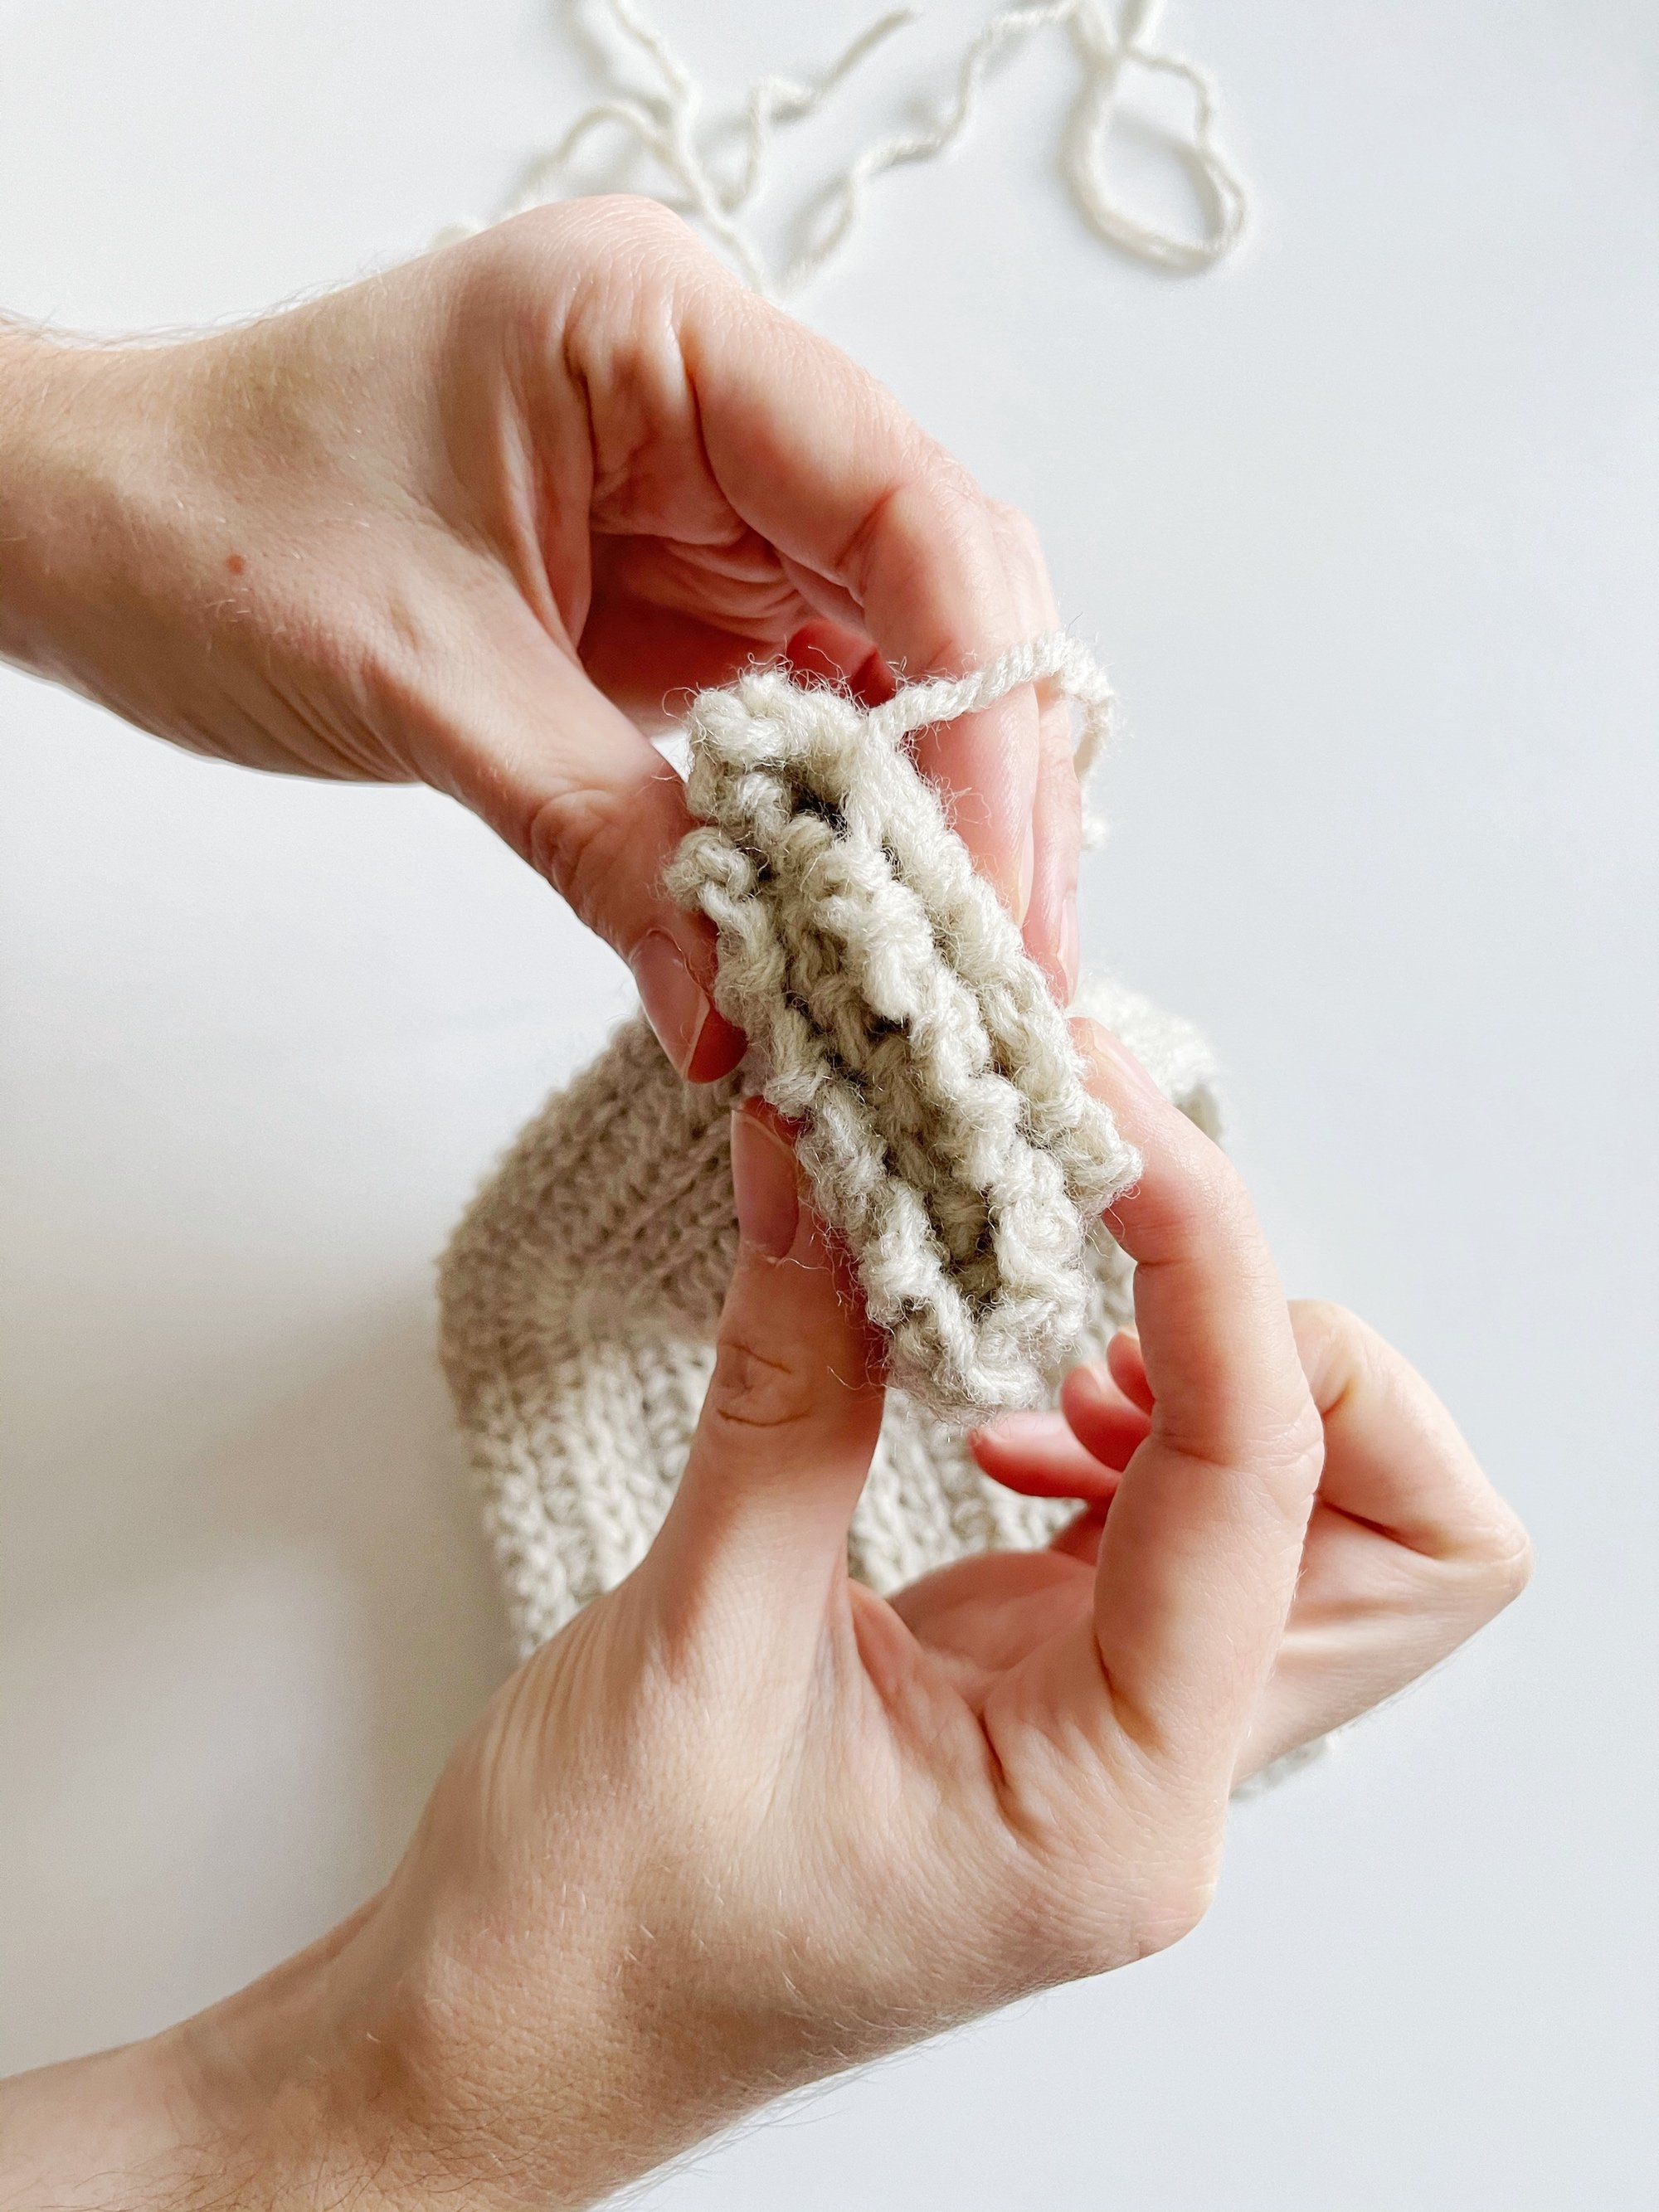
Repeat row 3-6. Fasten off. Leave a tail to sew the sides. Sew the short sides together like the pictures below. After sewing, turn the headband outside in and weave in remaining ends.
Sewing the shortsides together
Happy making!