How to read a crochet pattern
As a part of the Beginner’s series we will now go through how to read a crochet pattern. I remember when I started to crochet, reading a pattern felt impossible. All the abbreviations and parentheses mixed with numbers. How could anyone decipher that. Slowly I started to learn the language step by step and realised it isn’t that hard, not if you take it step-by-step.
Crochet Book "The Beginner's Guide to Crochet Sweaters and Tops" now available - 21 beginner friendly patterns
〰️
Crochet Book "The Beginner's Guide to Crochet Sweaters and Tops" now available - 21 beginner friendly patterns 〰️
Start with the first abbreviation, numer or parenthesis and try to figure out the meaning of it. If it is a parenthesis you need to see the start and end to get the full meaning of what you should do, but you need to start slowly. Figure out the first step and then take it from there. Trying to read the whole row and understand it at once can be quite overwhelming. If you are like me and need to see what you are doing, it usually helps to have the hook and yarn in your hands and crochet while you read. Ok, you might have to remake a few times, but it is all in the learning process. Just remember to be patient.

Grab a cup of coffee and let’s start deciphering!
So let’s start deciphering!
Stitch abbreviations
During a pattern you will use a specified stitch. This can be one stitch through out the pattern or a mix of stitches. To know what stitch to use it is written in the row instructions. To save space on the row the stitch is written as an abbreviation. For this tutorial we will use single crochet (sc), double crochet (dc), chain (ch), same stitch (ss), stitches (sts) as abbreviations. That means that every time you read sc on a row you should crochet a single crochet. If it says dc you should crochet a double crochet and so on.
Every pattern should have a list of abbreviations used in that pattern. It is always a good idea to start looking at this to know what you can expect when reading the pattern.
Beginning of a pattern
After you’ve checked your gauge (blog post to come on this) you are ready to get started on the pattern. It typically begins with how many chains you should make to get started. That is written like:
Ch 68
That means you should make 68 chains.
Sometimes it also says what hook you should use:
With the 3mm hook, ch 68.
It can also be written like:
Starting chain: 68 sts.
or
Foundation chain: 68 sts.
If it says foundation chain you need to read through the pattern to see if you should make foundation chains or regular chains.
Now you have your 68 chains and is ready to continue with row 1.
Row 1: In the second ch from the hook, sc. Sc across row. Ch 1. Turn. (67 sts)
Let’s take it step-by-step:
In the second chain from the hook, sc. You being by making a single crochet in the second chain from the hook, that means that you count to the second chain from the hook and begin there. This might be third, forth, fifth chain etc. depending on the pattern.
Sc across row: make a single crochet in every chain for the rest of the row.
Ch 1: Make 1 chain.
Turn: flip over your work so that you again can start to crochet from right to left.
(67 sts): This is how many single crochet you now have in your project. Since you started the row in the second chain from the hook, you “lost” one stitch ending up with 67 sts. (If you begin in the 3rd chain you’ll have 66 sts, forth 65 sts etc.) Every row doesn’t need to end with saying the number of stitches. Usually it is said once and if there are no changes on next row it isn’t repeated again. If the row already says how many stitches to make it is no need to mention it again in the end of the row either.
Numbers before stitches
When there is numbers before stitches that tells you how many of that stitch to make.
Row 2: 30 sc, 7 dc, 30 sc. Ch 1. Turn. (67 sts)
This means that you begin by making 30 single crochets, then 7 double crochets, followed by 30 single crochets. Ch 1 and turn are the same as before. (67 sts) is still valid since you still have 67 sts, the are just now a mix of single crochet and double crochet.

Different sizes
When you have a pattern that has multiple sizes the sizes typically have a different number of stitches that needs to be made for that row. In the description of the pattern it is usually written how these are read throughout the pattern.
XS (S, M, L, XL) (2XL, 3XL, 4XL, 5XL)
Means that when you later on in the rows have numbers the first number is for size XS, the first after parenthesis for S, then follows size M etc.
Row 3: 67 (68, 69, 70, 71) (72, 73, 74, 75) sc. Ch 1. Turn.
Here size XS crochet 67 single crochet, size S 68, M 69, L 70, XL 71, 2XL 72, 3XL 73, 4XL 74, 5XL 75 single crochets.
Another example on how it is written is:
XS (S) M (L) XL (2XL) 3XL (4XL) 5XL
In a pattern it is used like this:
Row 3: 67 (68) 69 (70) 71 (72) 73 (74) 75 sc. Ch 1. Turn.
Meaning is the same i.e. XS crochet 67 single crochet, size S 68, M 69, L 70, XL 71, 2XL 72, 3XL 73, 4XL 74, 5XL 75 single crochets.
If there is only one number before the stitch, then the means that it is the same amount of stitches for all sizes.
Repeats
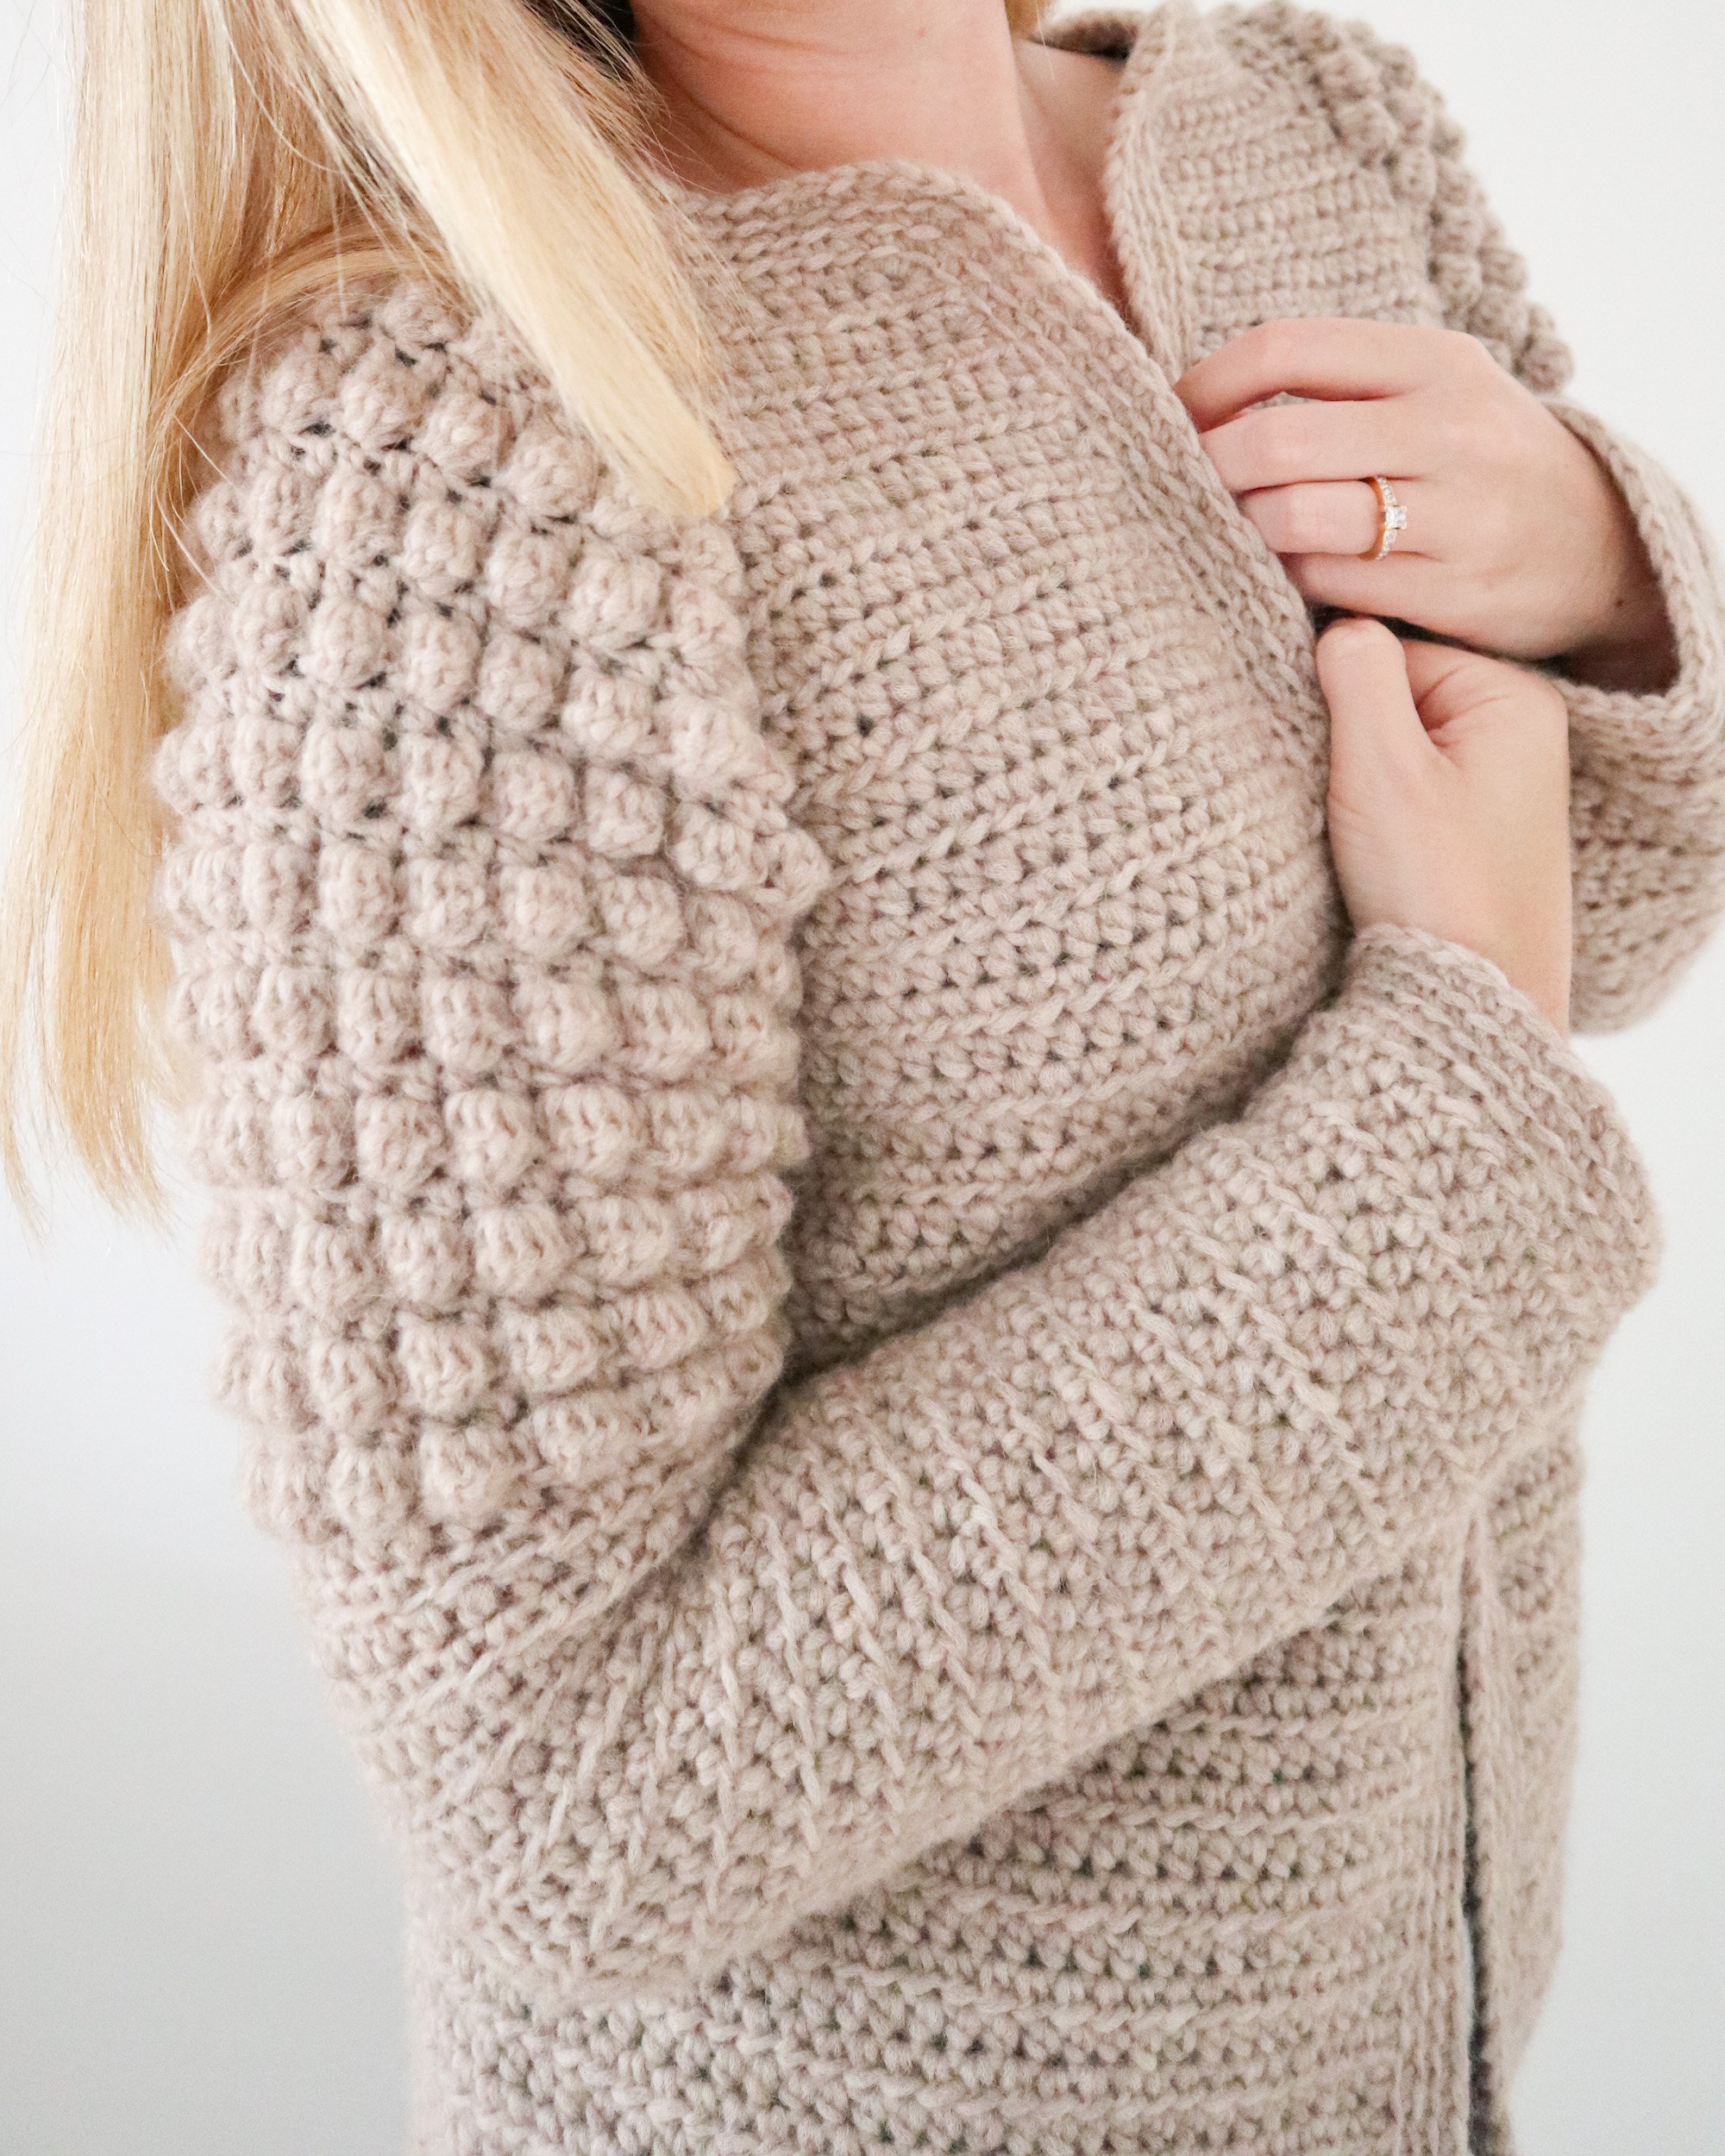
A pattern using repeats - Morning Waves Cardigan
In a pattern you sometimes want to repeat an instructions several times. That is called a repeat. This can be written in different ways in the pattern. Here we will go through some of the most common ways.
Row 4: 2 sc, *sc, dc* repeat *-* until the 2 final sts, 2 sc. Ch 1. Turn.
You will begin by making two single crochets, then you will repeat the part that is between the two * until you only have two stitches left. That means that you will make every other stitch a sc and every other a dc until you only have 2 stitches left. Then you will end the row by making a single crochet in each if the two stitches left.
It can also say how many times you should make a repeat. For example:
Row 4: 2 sc, *sc, dc* repeat *-* 5 times, 2 sc. Ch 1. Turn.
Begin with a single crochet in the two first stitches, then you will repeat the part that is between the two * for a total of six times. You make first make a single crochet, then a double crochet and then you repeat this section 5 times (the first time doesn’t count as a repeat, therefore repeat 5 times, but in reality you’ve made it six times (but only repeated it 5 times)).
Brackets can also be used to say how many times to repeat a specific step (I.e. it has the same meaning as row 4 above):
Row 4: 2 sc, [sc, dc] 5 times, 2 sc. Ch 1. Turn.
You can also repeat within a repeat. For example:
Row 5: 2 sc [5 dc, *sc, dc* repeat *-* 5 times, 5 dc] 4 times, 2 sc. Ch 1. Turn.
Here you first make 2 sc, then 5 dc, then 1 sc, 1 dc, since this is within *-* you will now do this again for 5 times i.e: 1 sc, 1 dc, 1 sc, 1 dc, 1 sc, 1 dc, 1 sc, 1 dc, 1 sc, 1 dc. Then you will make 5 dc. Now we have an end bracket meaning we now will repeat the steps within the brackets 4 times. I.e. 5 dc, 1 sc, 1 dc, 1 sc, 1 dc, 1 sc, 1 dc, 1 sc, 1 dc, 1 sc, 1 dc , 1 sc, 1 dc, 5 dc. When we have done this 4 times we will end the row with 2 sc. Ch 1 and turn.
If we wouldn’t use *-* and brackets to shorten the row, the row would be like this (I’ve removed the number 1 before the stitch, since it is abundant):
Row 5: 2 sc, 5 dc, sc, dc, sc, dc, sc, dc, sc, dc, sc, dc, sc, dc, 5 dc, 5 dc, sc, dc, sc, dc, sc, dc, sc, dc, sc, dc, sc, dc, 5 dc, 5 dc, sc, dc, sc, dc, sc, dc, sc, dc, sc, dc, sc, dc, 5 dc, 5 dc, sc, dc, sc, dc, sc, dc, sc, dc, sc, dc, sc, dc, 5 dc, 5 dc, sc, dc, sc, dc, sc, dc, sc, dc, sc, dc, sc, dc, 5 dc, 2 sc. Ch 1. Turn.
You probably see why we want to have a way to shorten this.
Learn more about our Beginner Friendly Crochet Book for Garment Making
〰️
Learn more about our Beginner Friendly Crochet Book for Garment Making 〰️
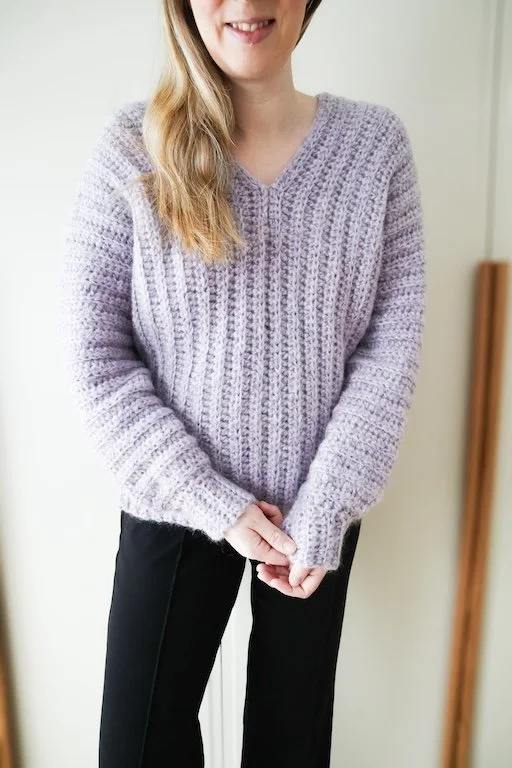
Increase

A sweater with a round yoke that uses increases - Sunrise Sweater.
Sometimes you are making increases in a crochet pattern. That can for example be on a sleeve that you have started from bottom and working your way up, you typically then want it to be wider at the top than at the bottom. For that you’ll need increases. Or if you are making a round yoke you will increase in the round to make the yoke bigger as you go along.
What an increase is is that you are making two stitches in the same stitch, for example two single crochet that will be crocheted in the same stitch. I.e. you first make one single crochet and then instead of continuing to next stitch you make another single crochet in the same stitch as the one you just made. After that you continue to next stitch.
There are different ways to make increases. In this section we will talk about to options. Increasing in the beginning and end of the row and increase several times during the row/round.
Increases in the beginning and end of a row:
Row 6: 2 sc in ss, 65 sc, 2 sc in ss. Ch 1. Turn. (69 sts)
2 sc in ss is the increasing part. This means that you now have one more single crochet that you had on previous row. On our row 4 we make it in the beginning and end of the row, increasing our stitch count wit 2, from 67 sts to 69 sts. I.e. you need to remember to always read the full line between the ¨,¨to know what you are going to do.
The row could also be written like this:
Row 6: 2 sc in ss, sc until final st, 2 sc in ss. Ch 1. Turn. (69 sts)
The meaning is the same, just 2 different ways of writing it.
Sometimes you also want to crochet a few stitches before you make the increase. That is written like this:
Row 6: sc, 2 sc in the ss, 63 sc, 2 sc in ss, sc. Ch 1. Turn. (69 sts)
Here you make one single crochet before the increase, and you end the row with a single crochet after the increase in the end of the row.
Several increases during the row/round:
Row 7: 2 sc, * 2 sc in the ss, 8 sc* *-* repeat 5 times, 2 sc. Ch 1. Turn.
Here we start the row with 2 sc, and after that make and increase. This increase is then repeated every 9th stitch, which is shown by that you make 8 sc before you again repeat the 2 sc in the same stitch.
Decrease
Decreases are typically marked in a similar way as increases in a pattern, the only difference is that instead of making two stitches in the same stitch you are crocheting two stitches together, thereby removing a stitch. This is marked as 2tog, for example sc2tog means that you should crochet two single crochets together.
For example our row with 67 sc is decreased to 65:
Row 8: sc2tog, 63 sc, sc2tog. Ch 1. Turn. (65 sts)
Let me know in the comments below if there are more things you which me to cover in this post! I hope this helps you in your crochet journey.
Happy crocheting!


Create a stunning lace crochet cardigan with our free, easy-to-follow pattern. Perfect for beginners and intermediate crocheters, this pattern includes step-by-step instructions for a beautiful, lightweight cardigan.